I decided I couldn't afford a super expensive overlanding trailer (I've seen great ones for 20k-50k) — so I opted to build one in my workshop, so it would be set up exactly the way I want it. So much fun... so much work.
/ Planning Is Important
I didn't do a lot of it.. at least not on paper. It did cause me a few problems as I went along, but it actually ended up working out in my favor at the end of it. Once I had the idea.. now it was just a matter of finding the pieces and parts.. and doing a bunch of ordering. Amazon is my friend. So is eBay. Even Facebook Marketplace. But Amazon loves me more.
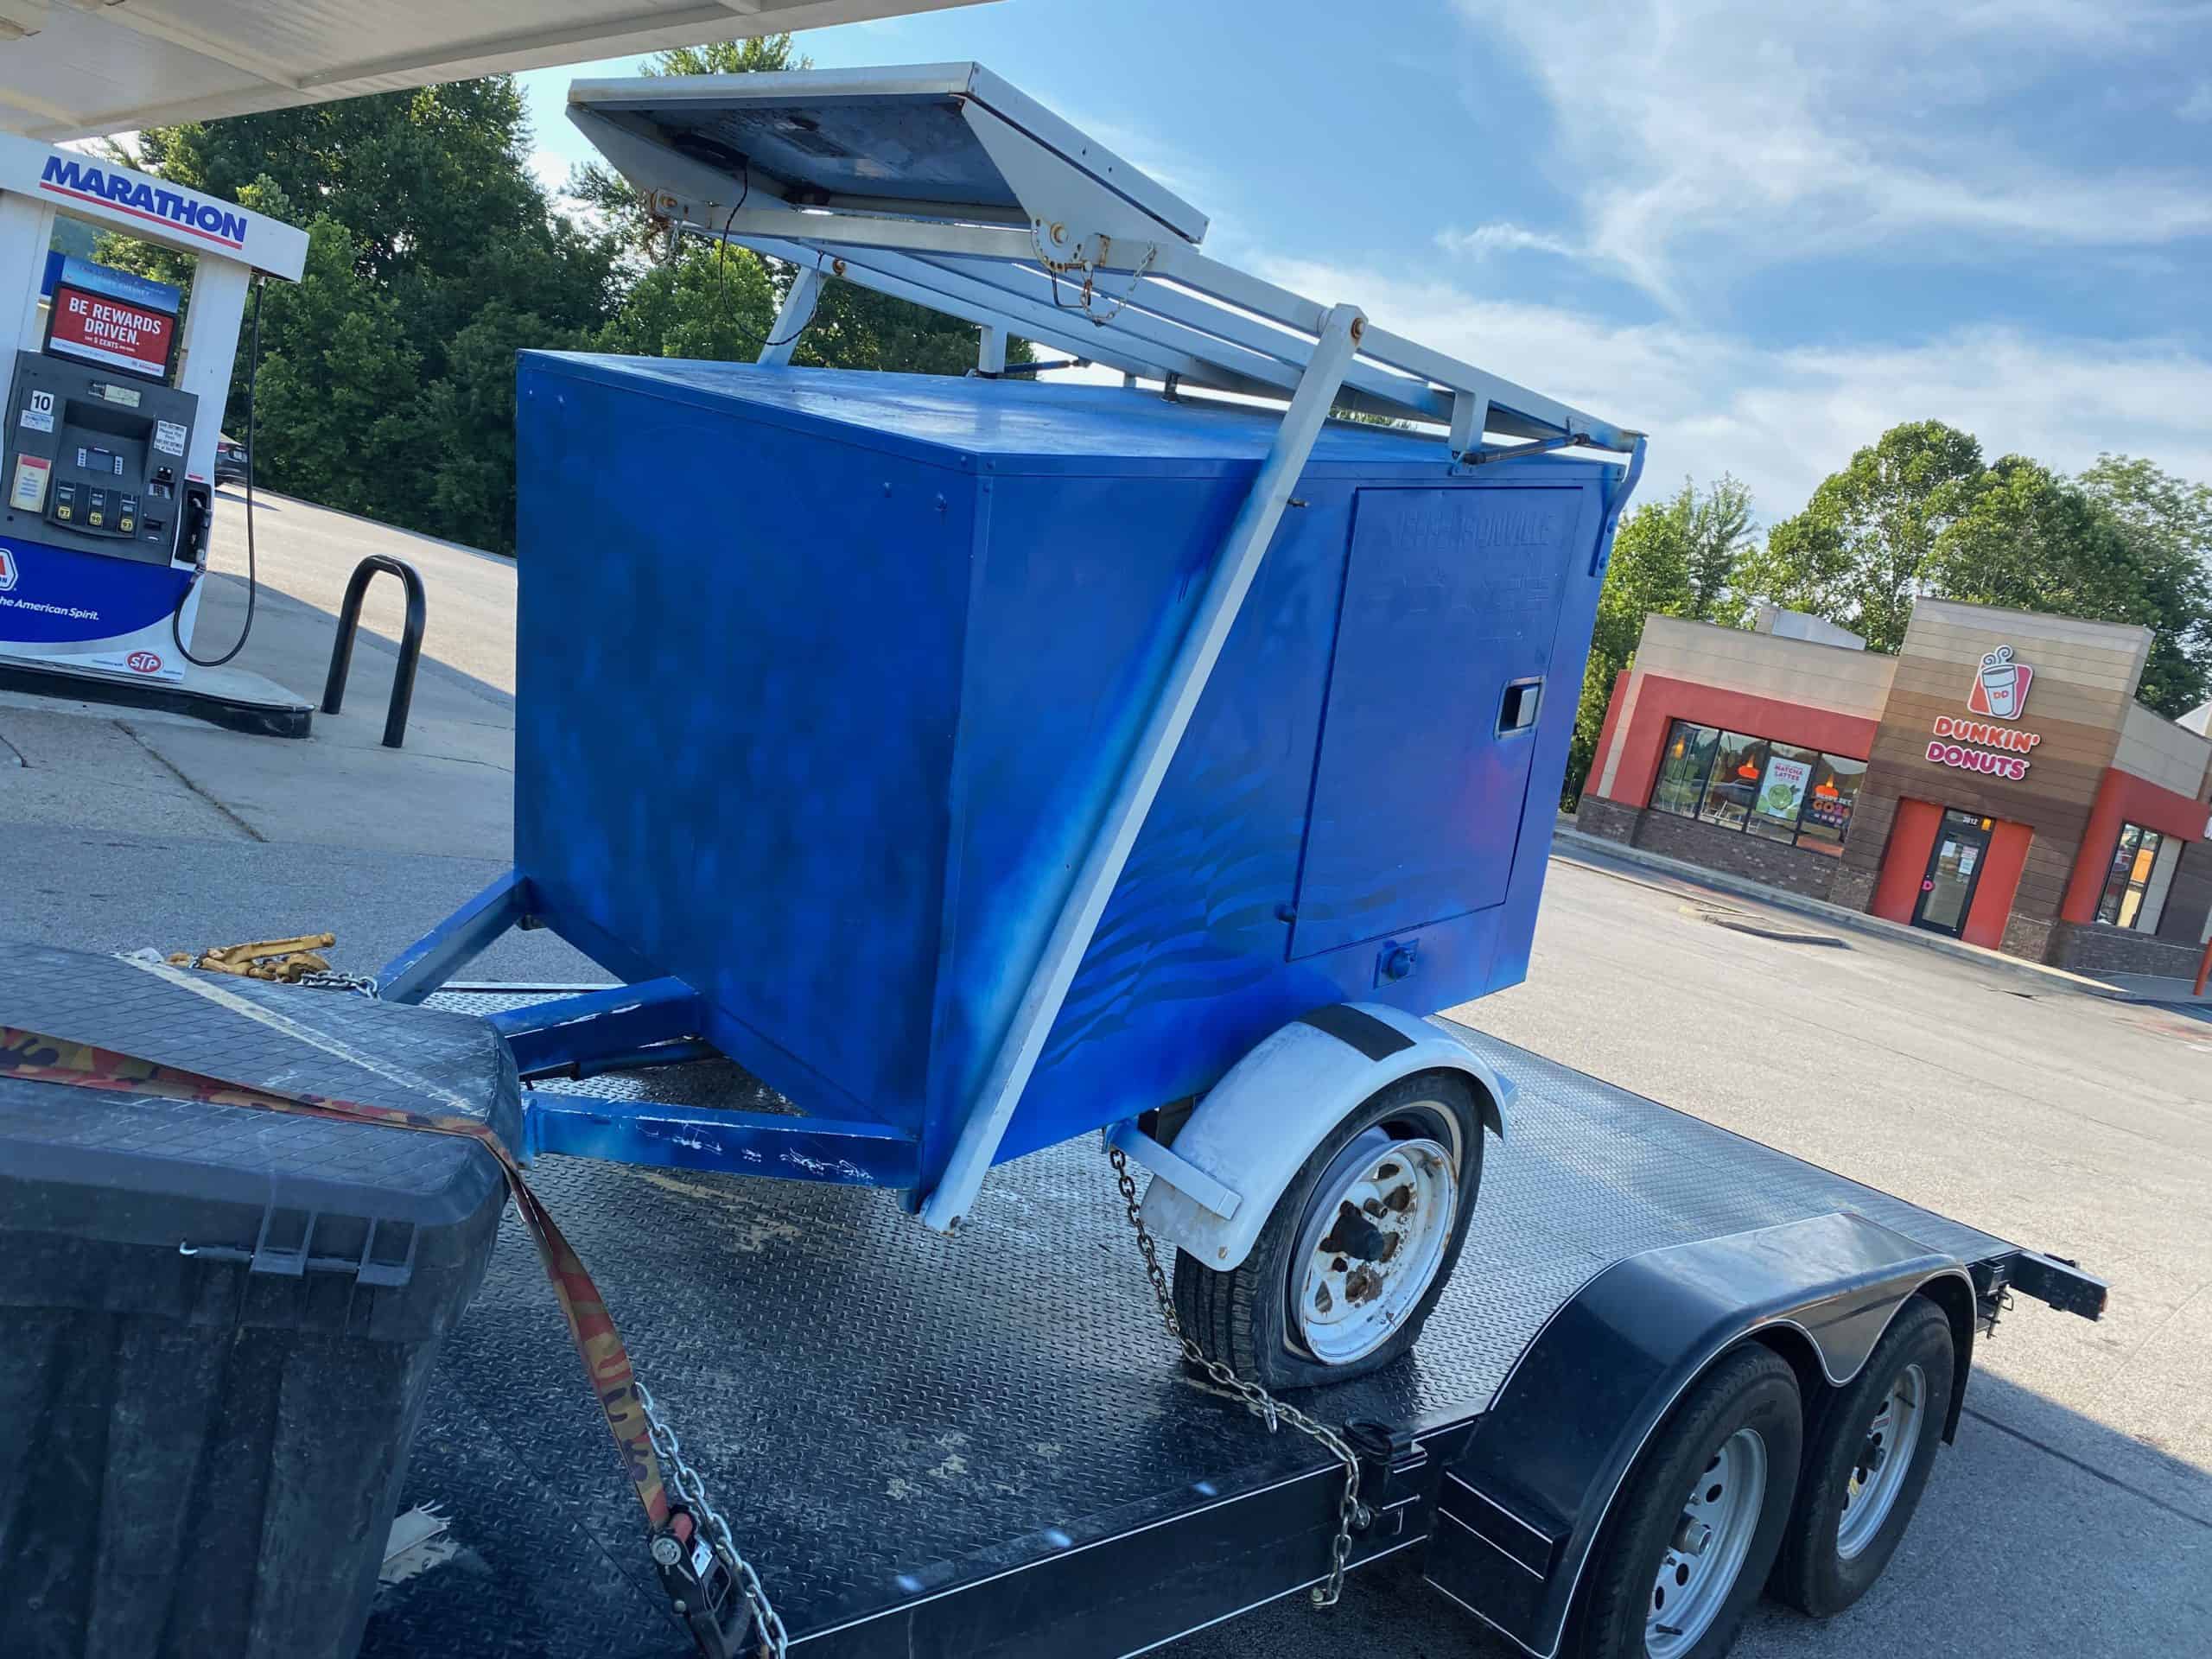
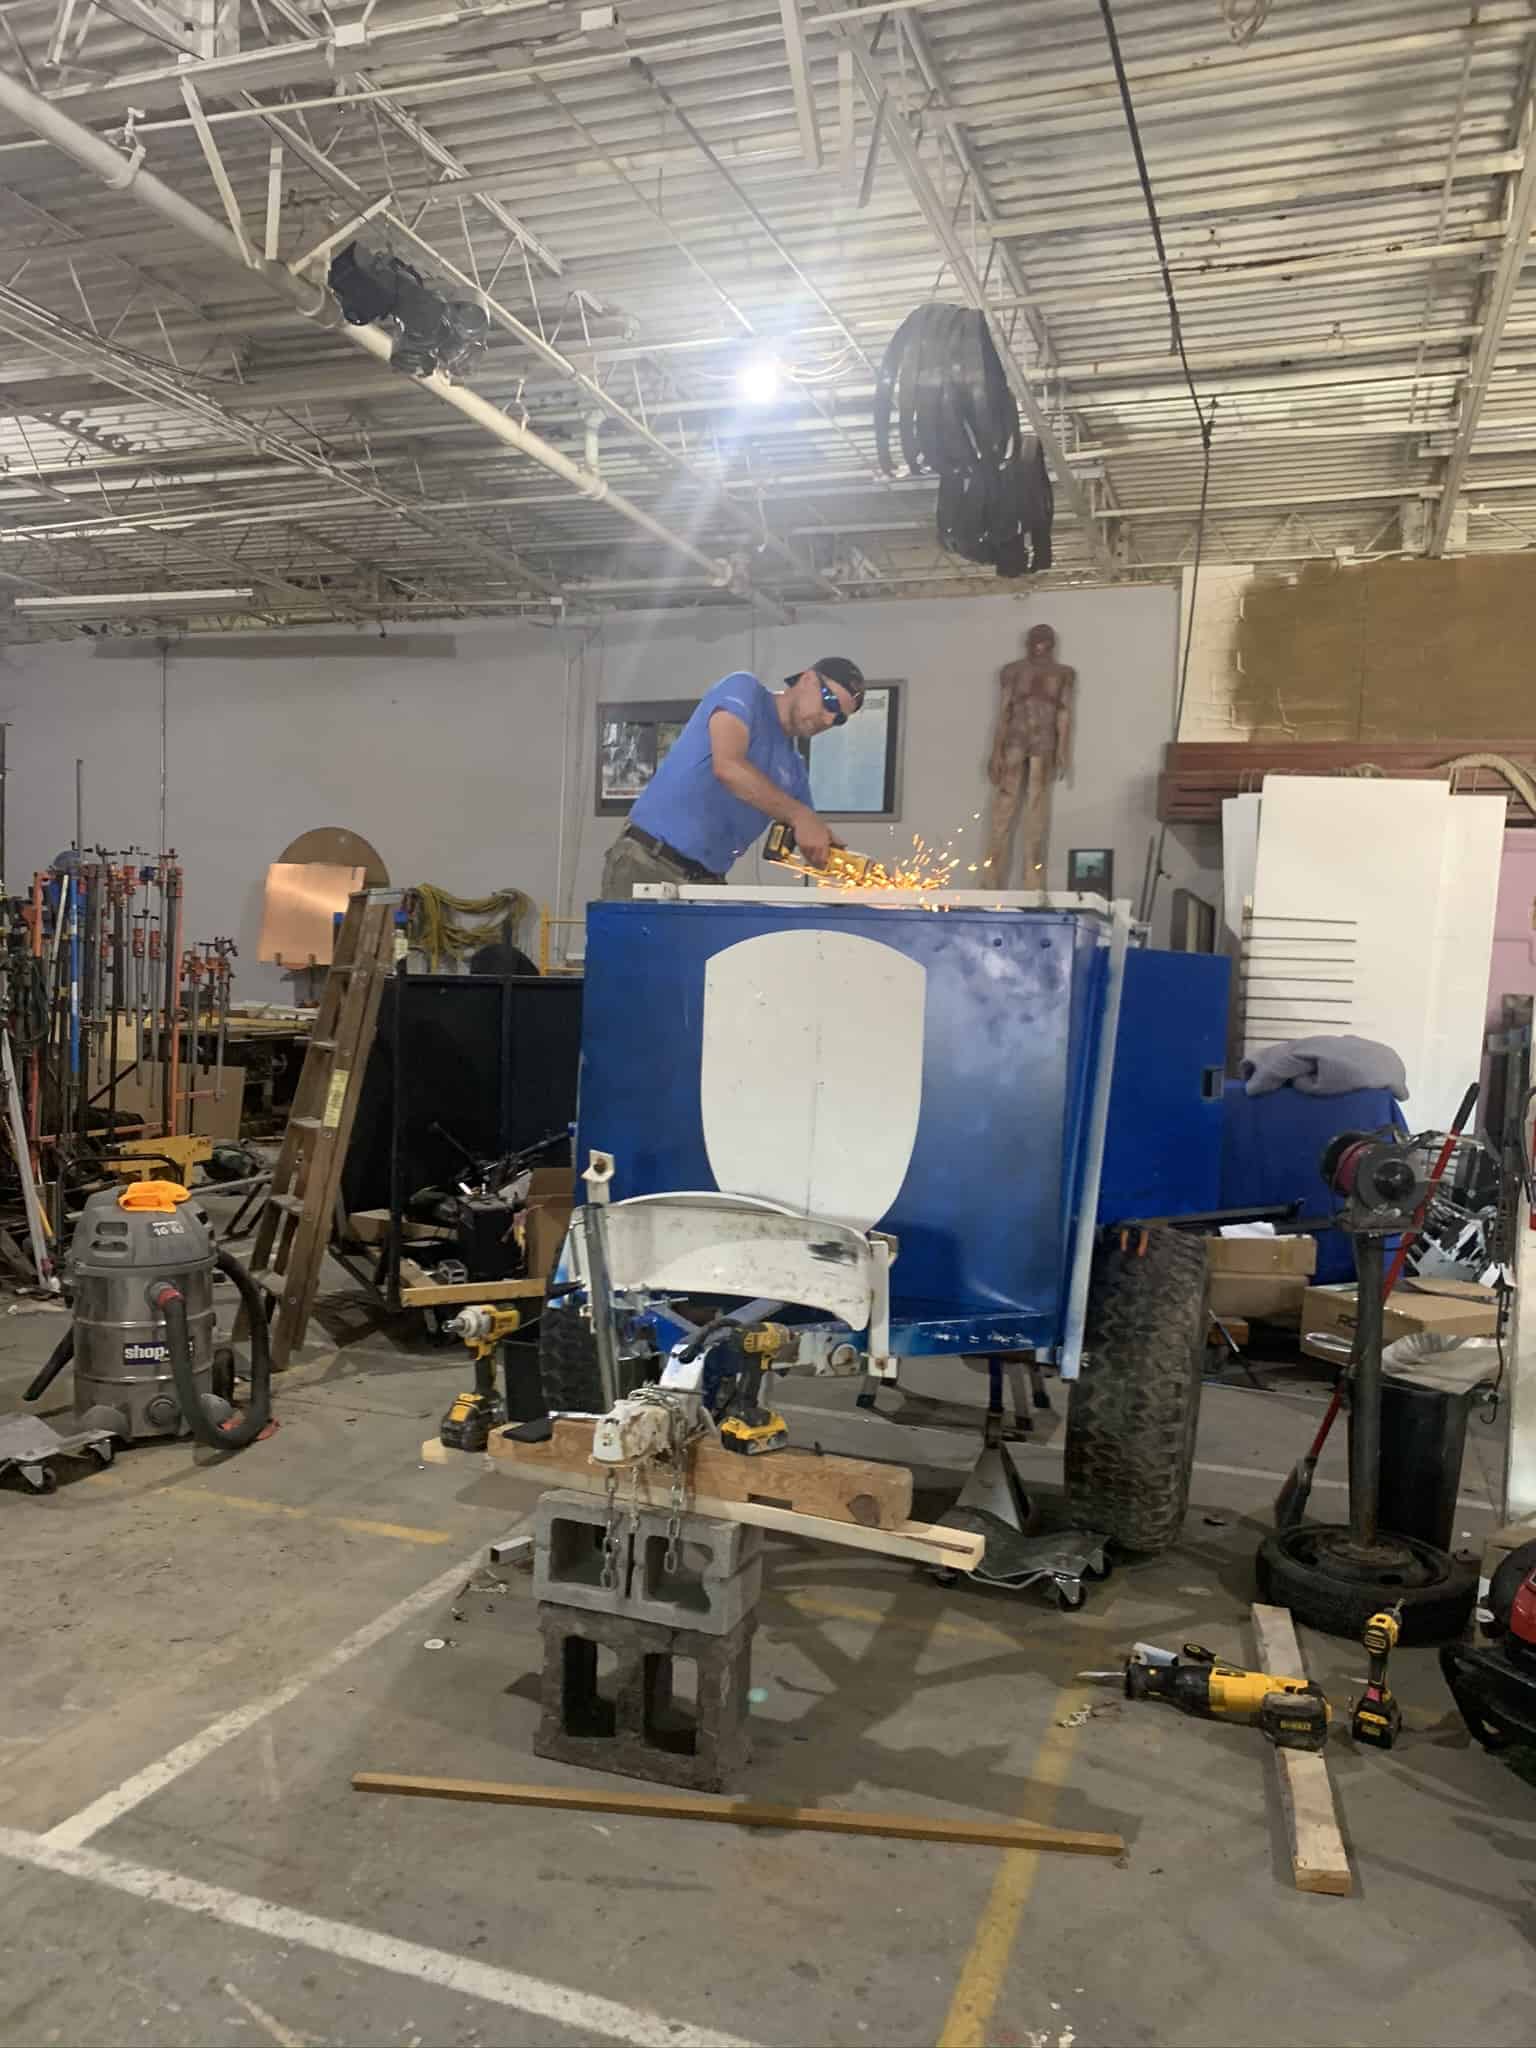
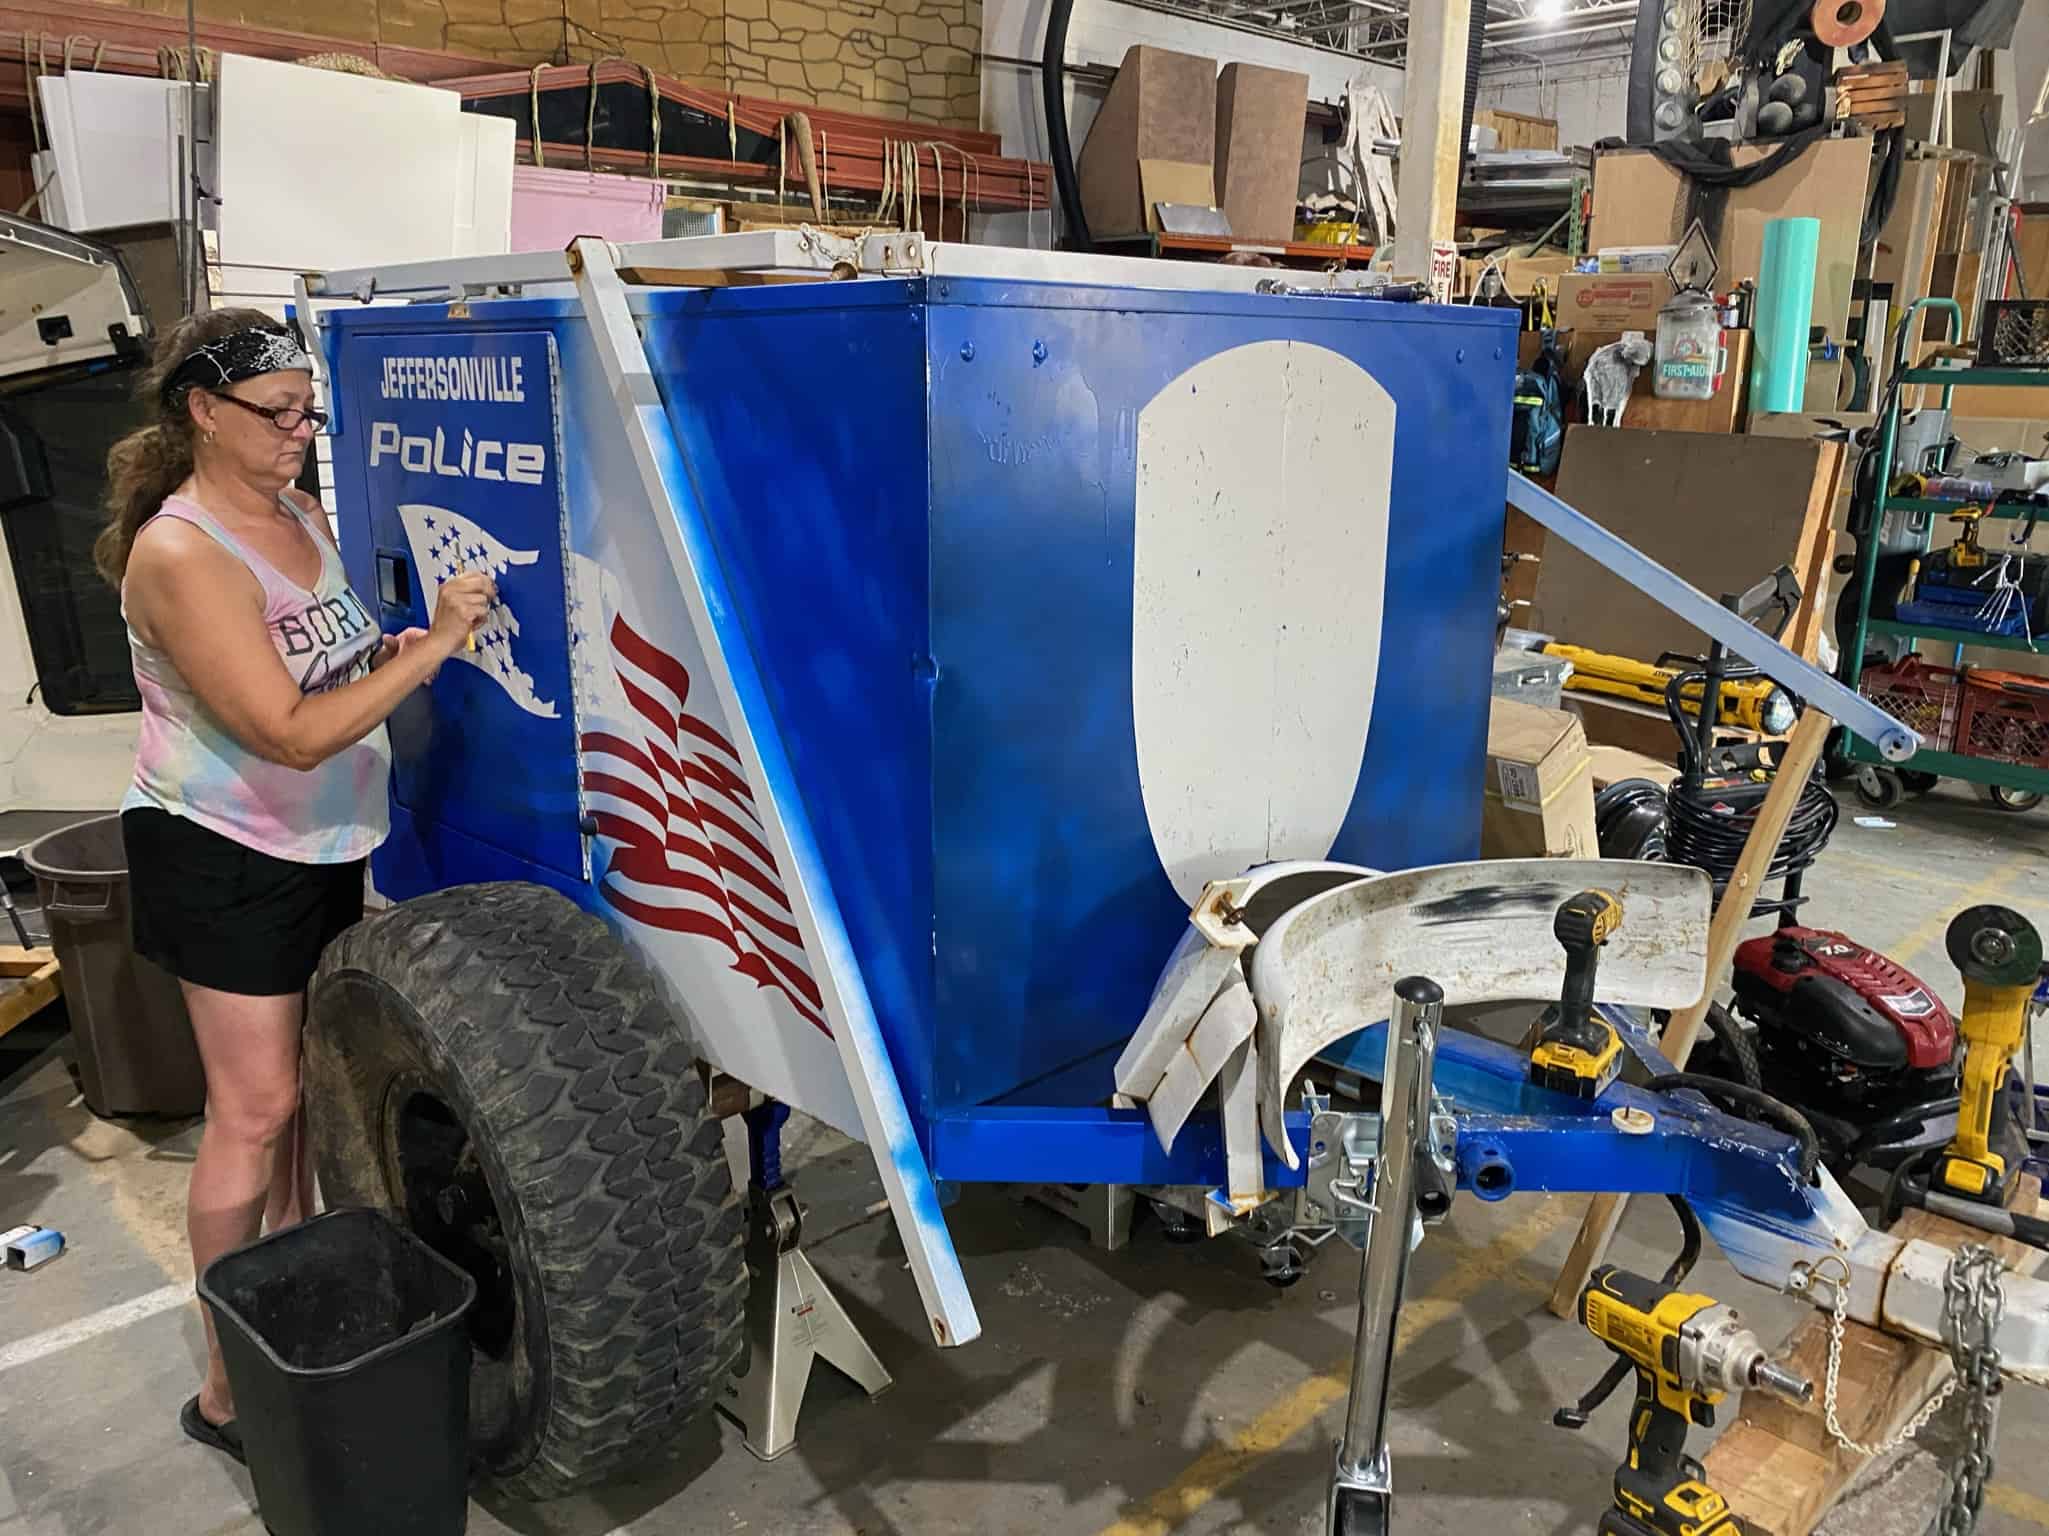
I suck at welding.. at least welding structural things I depend on.. so I needed to find a trailer that would work as a base. I found one, on Facebook Marketplace. This is gonna be interesting.
/ Gut It and Rework the Framework
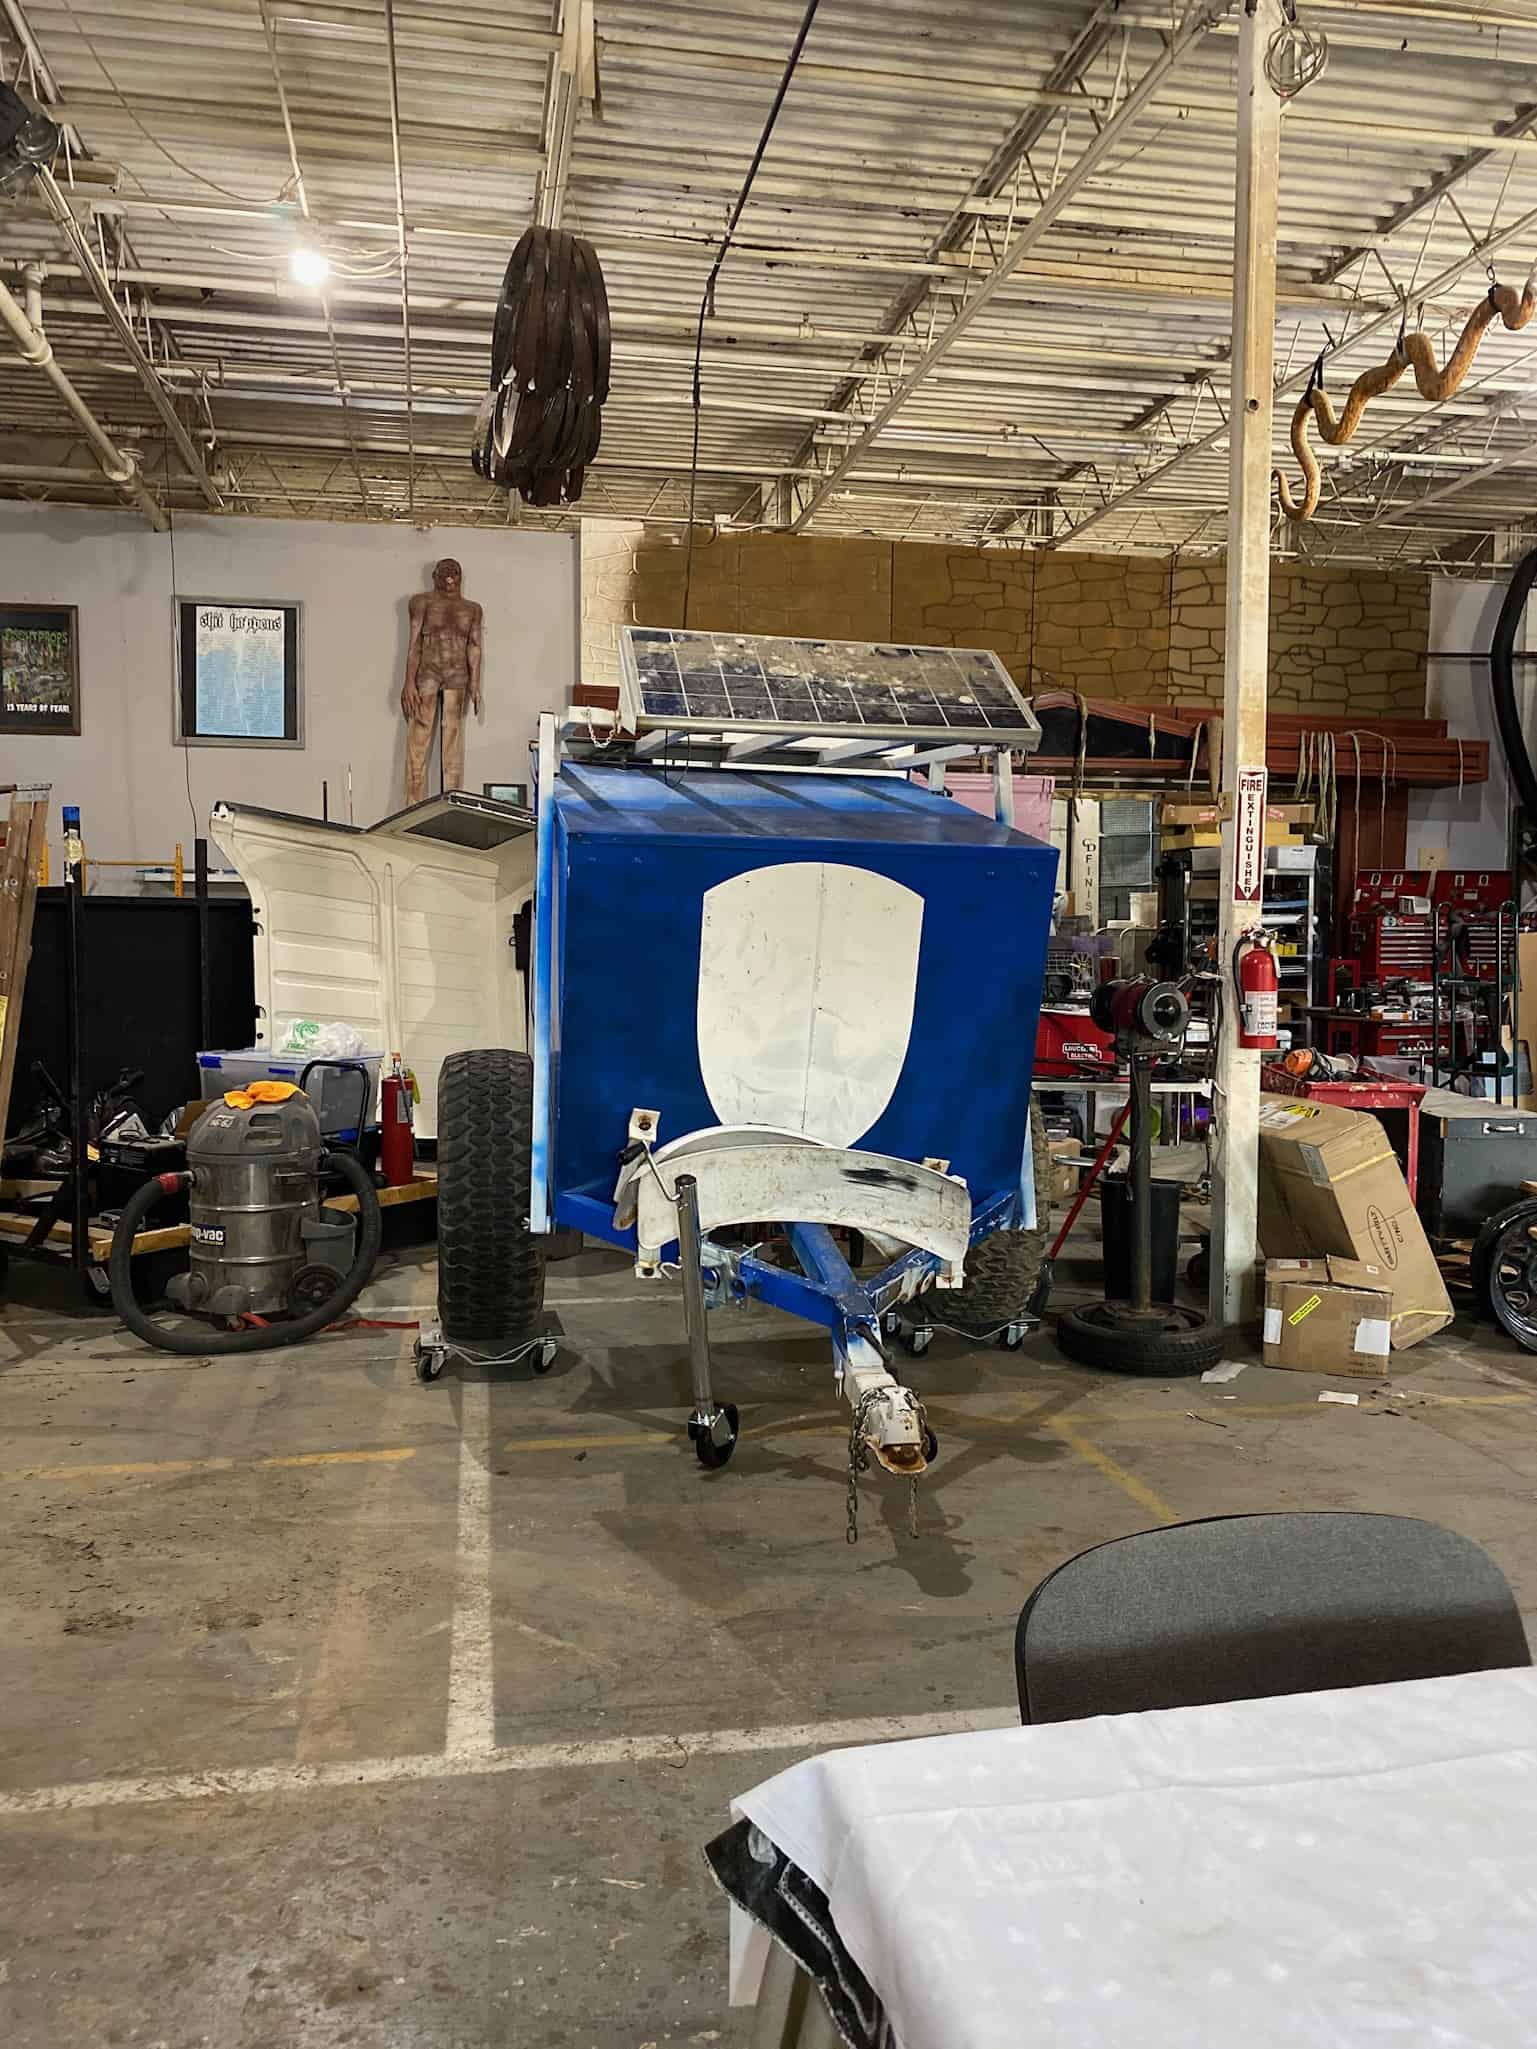
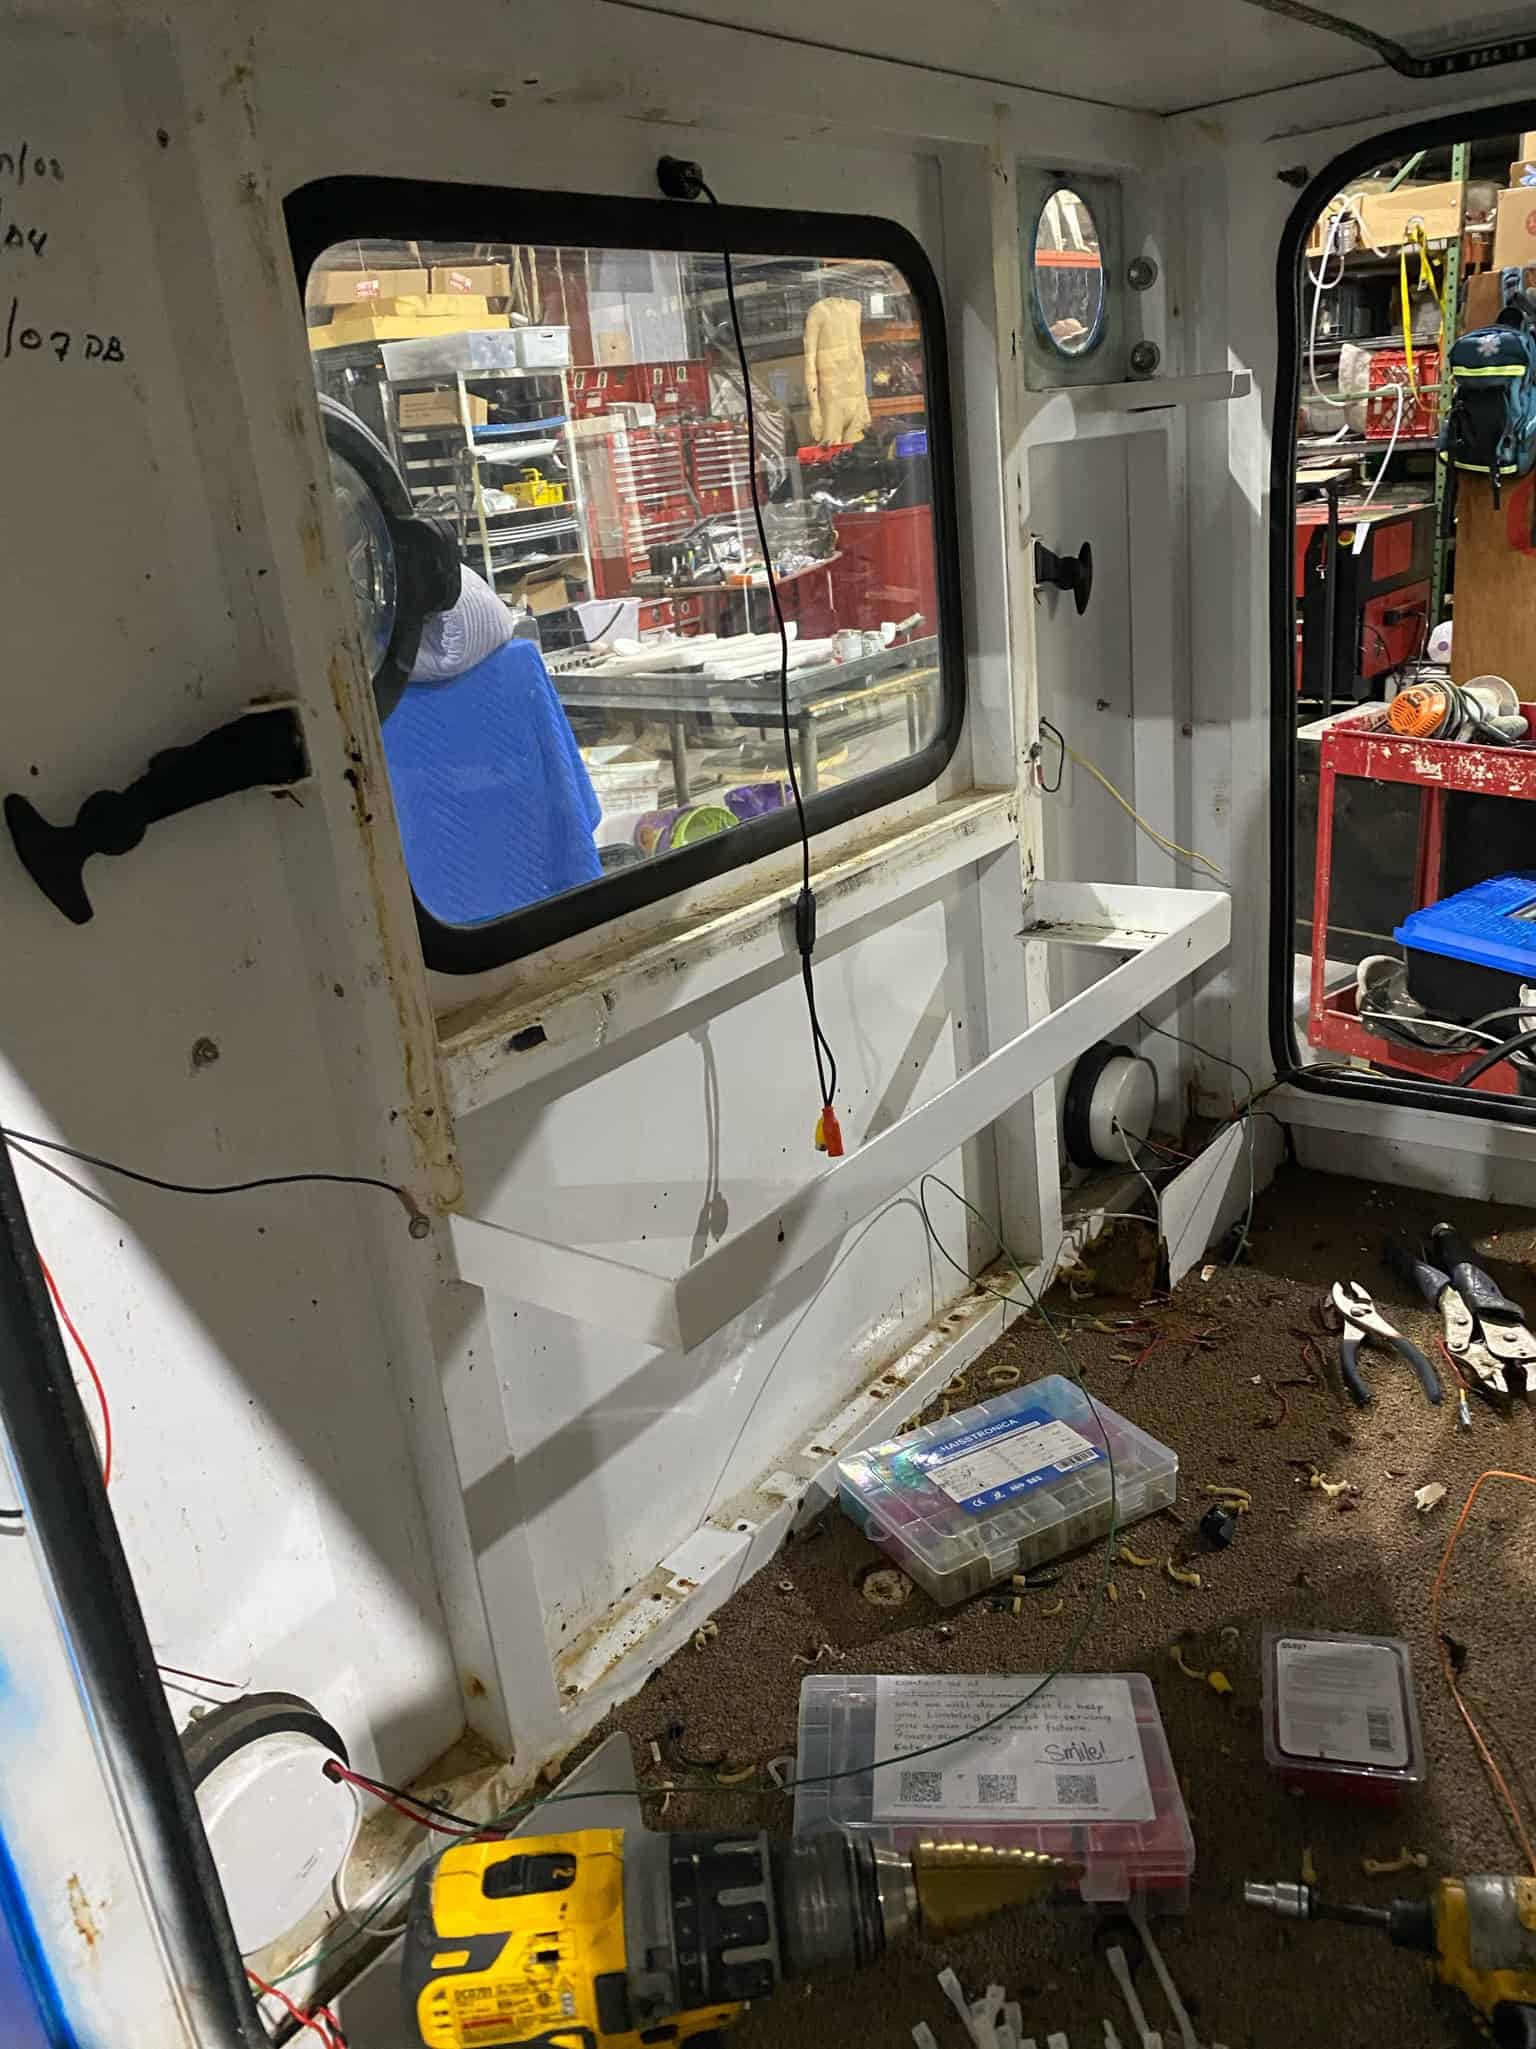
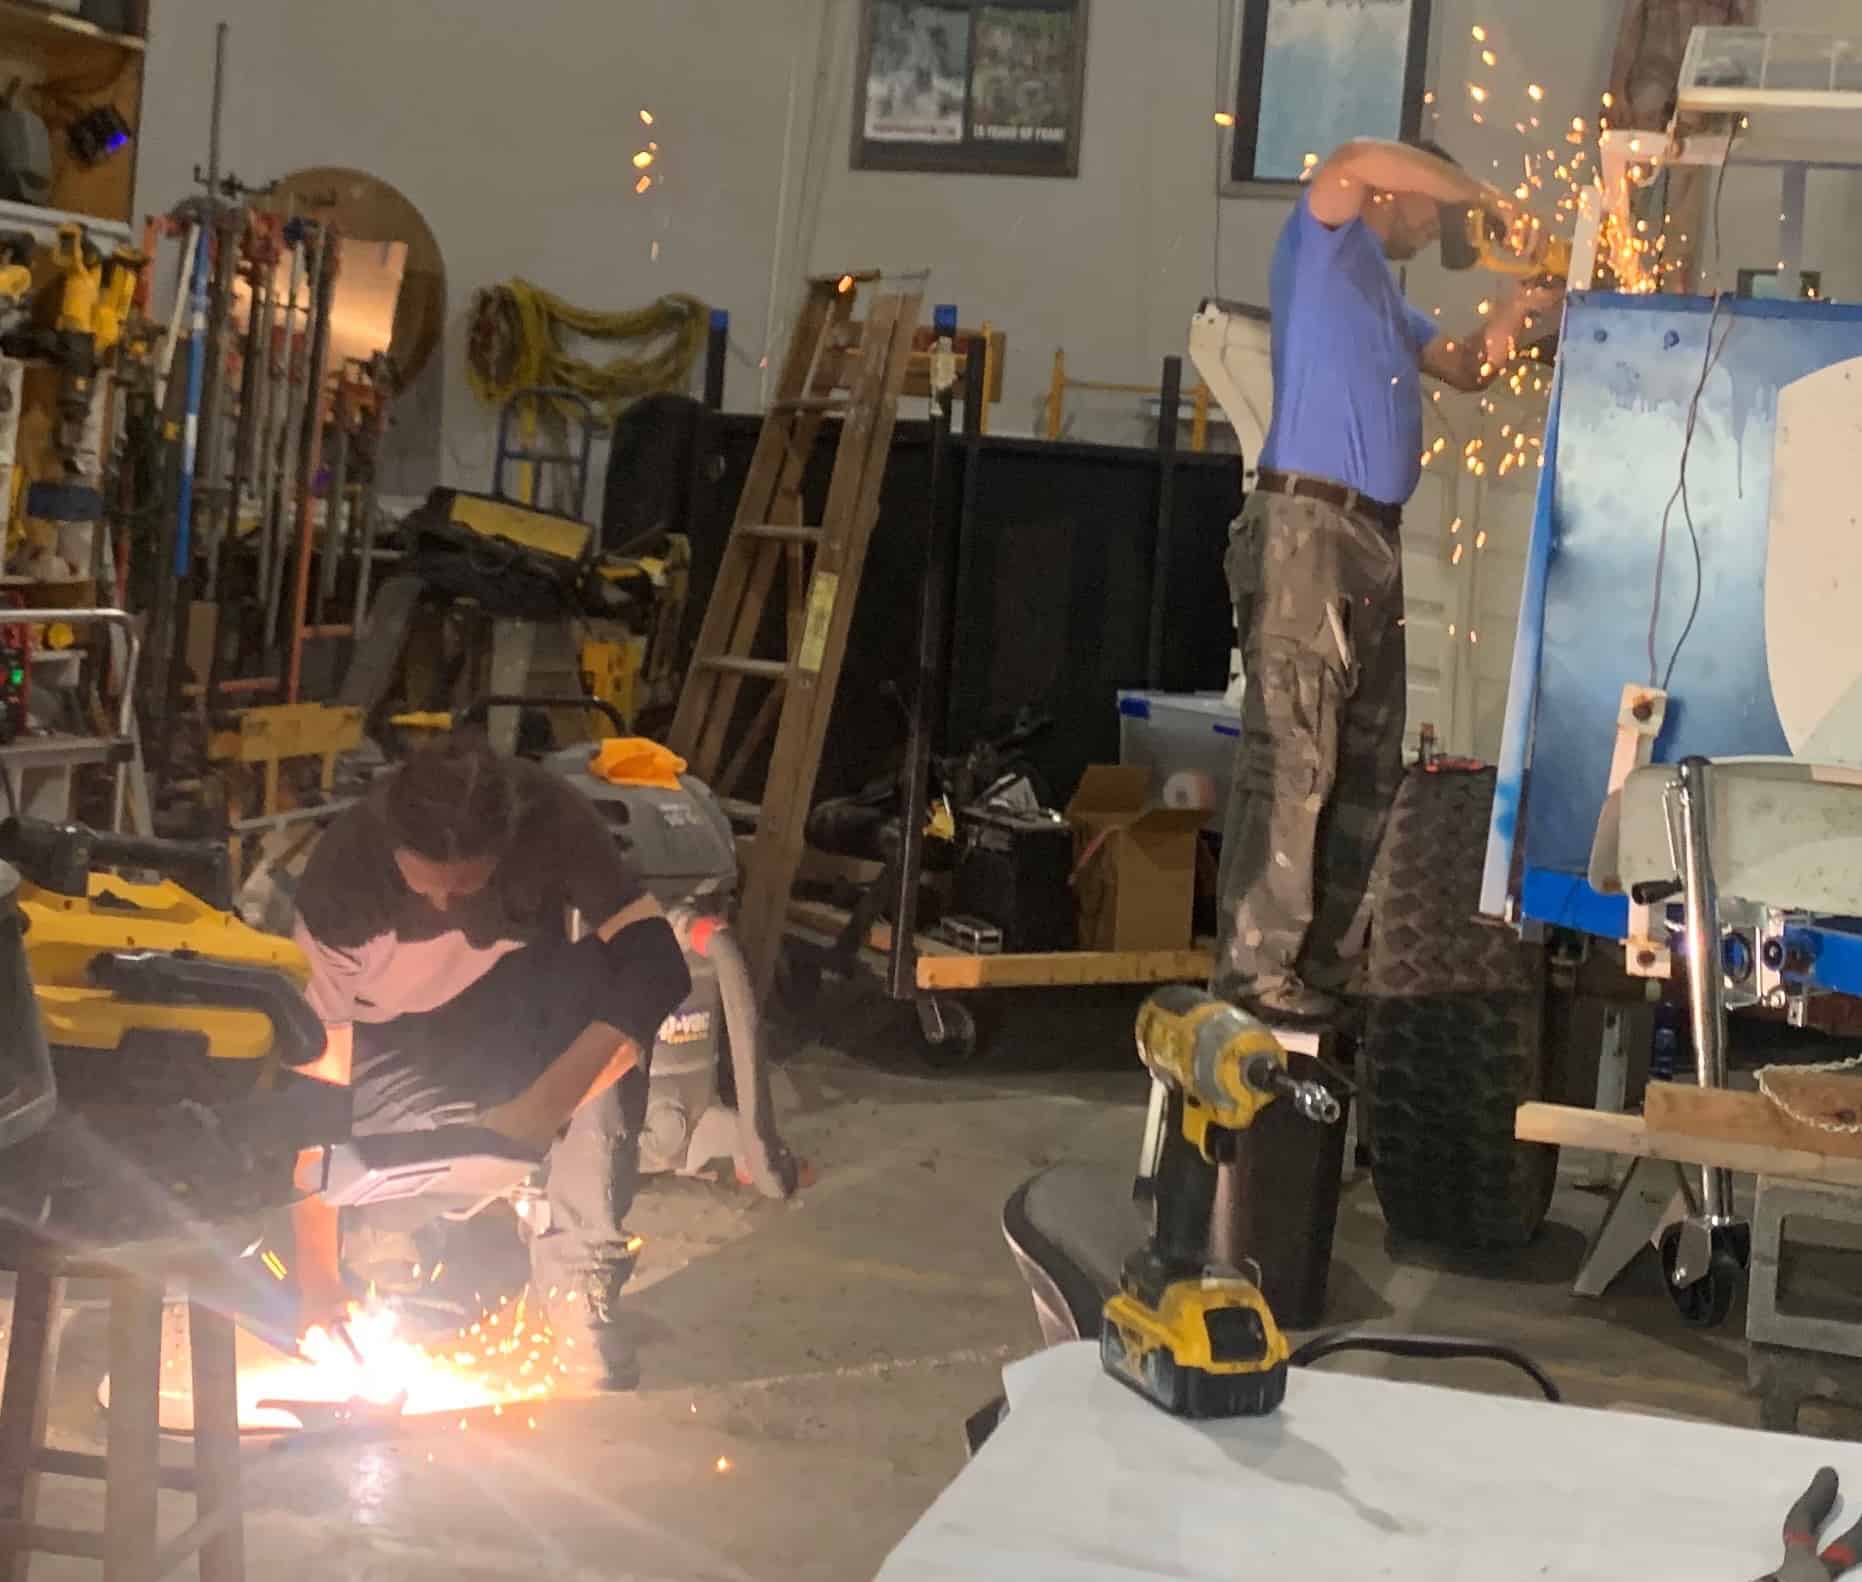
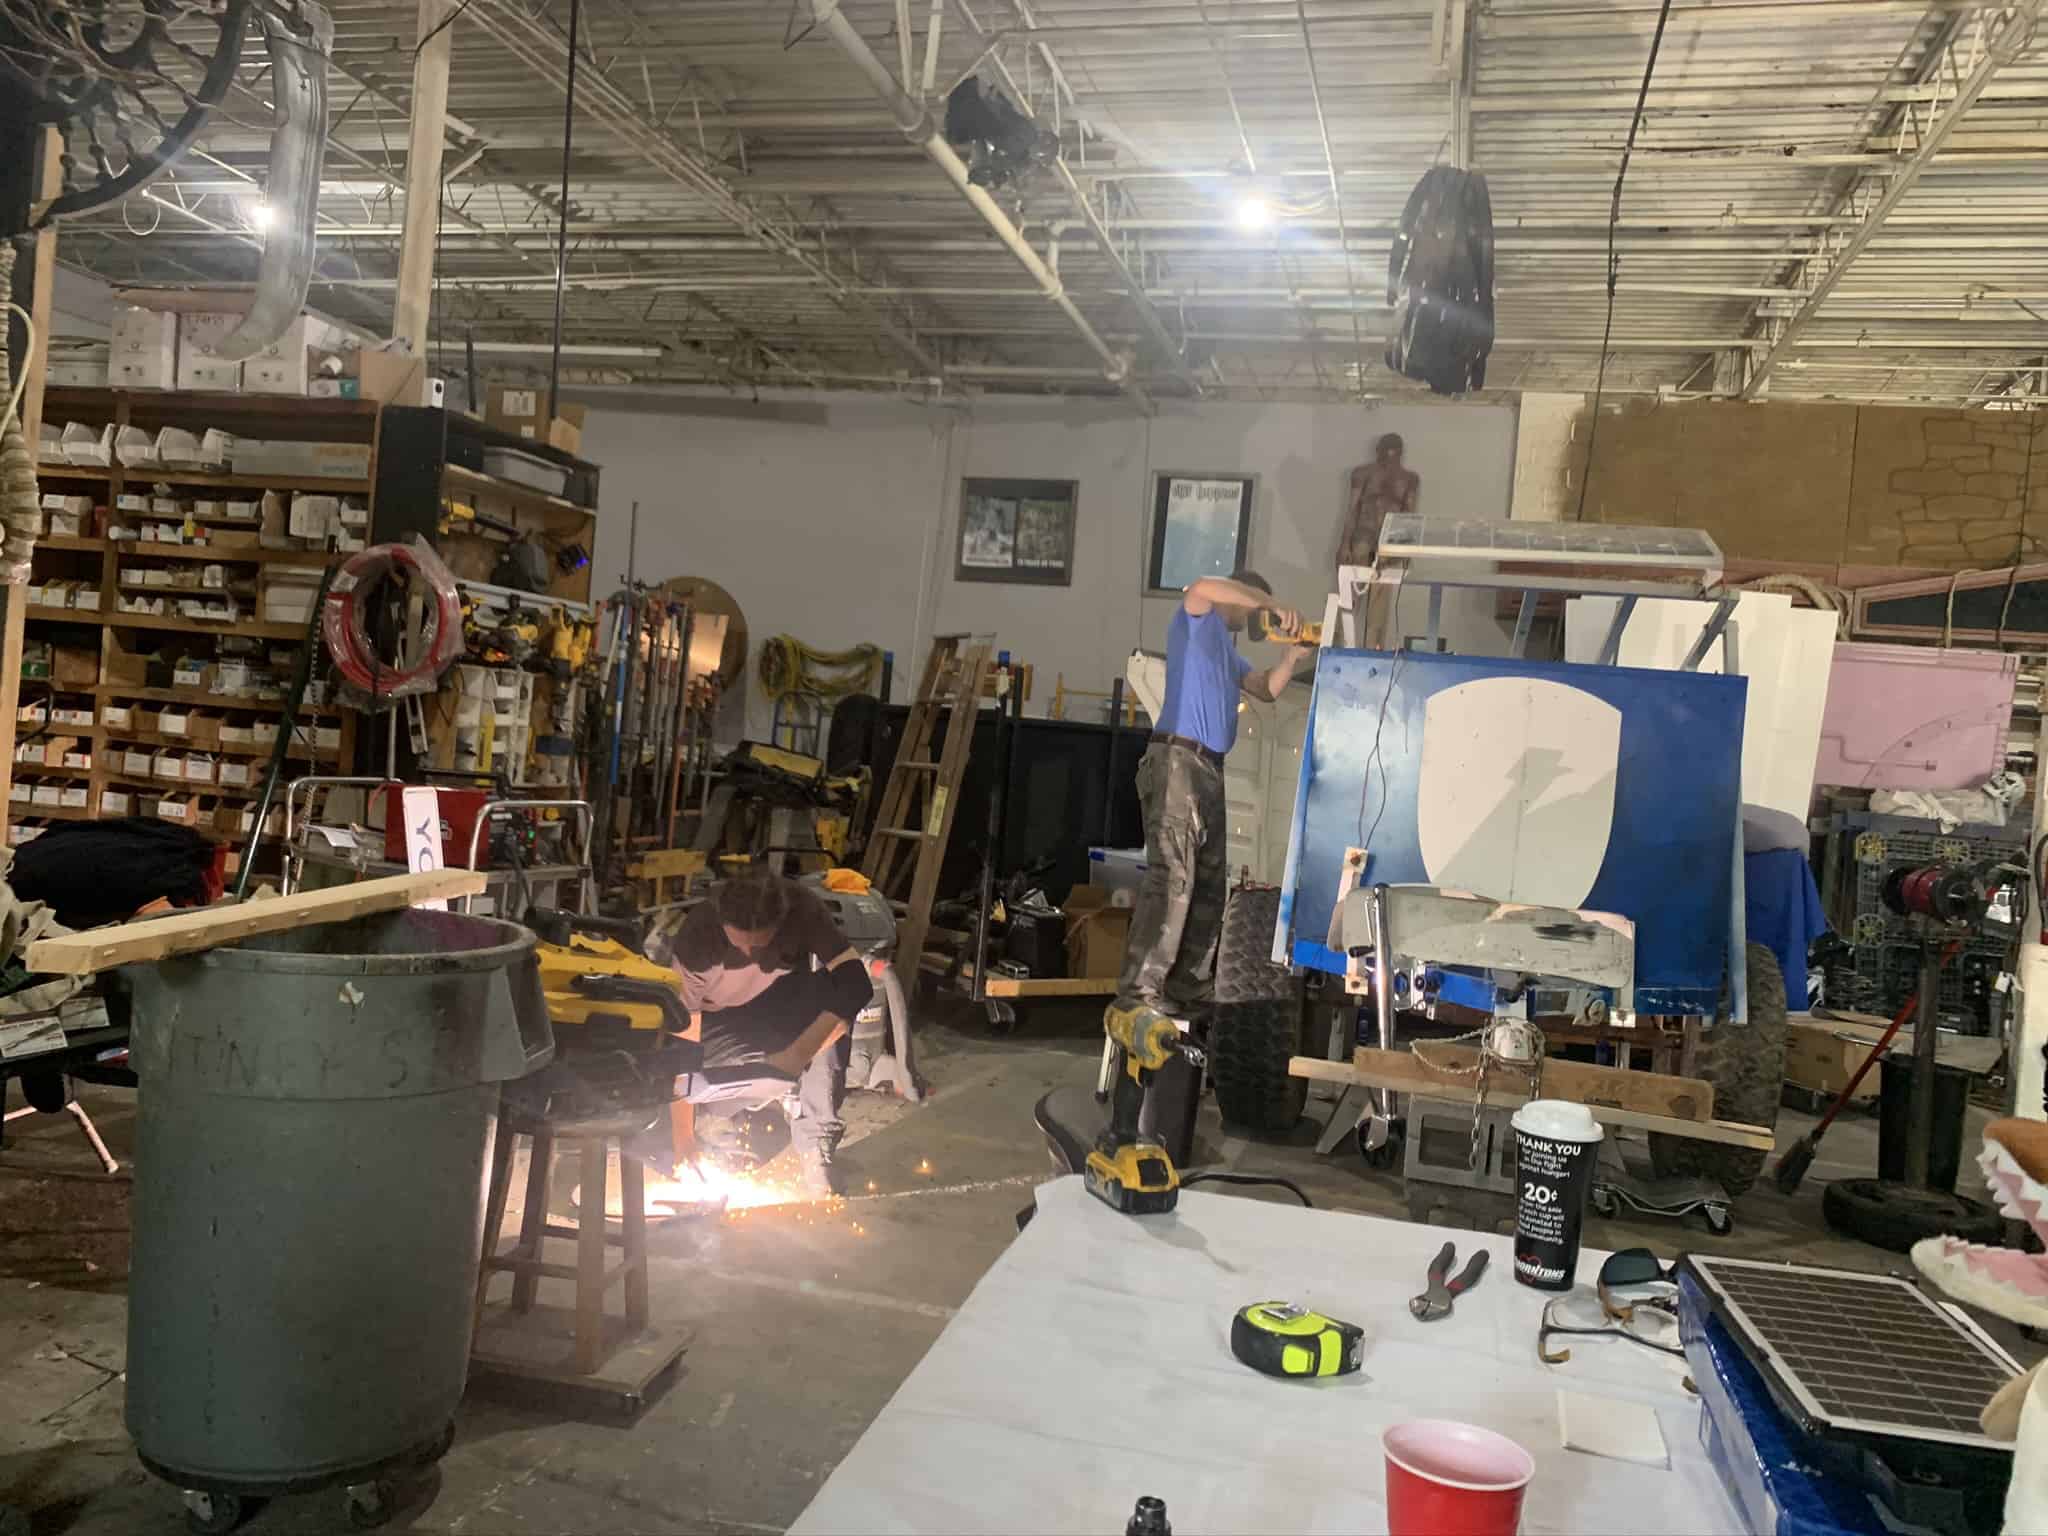
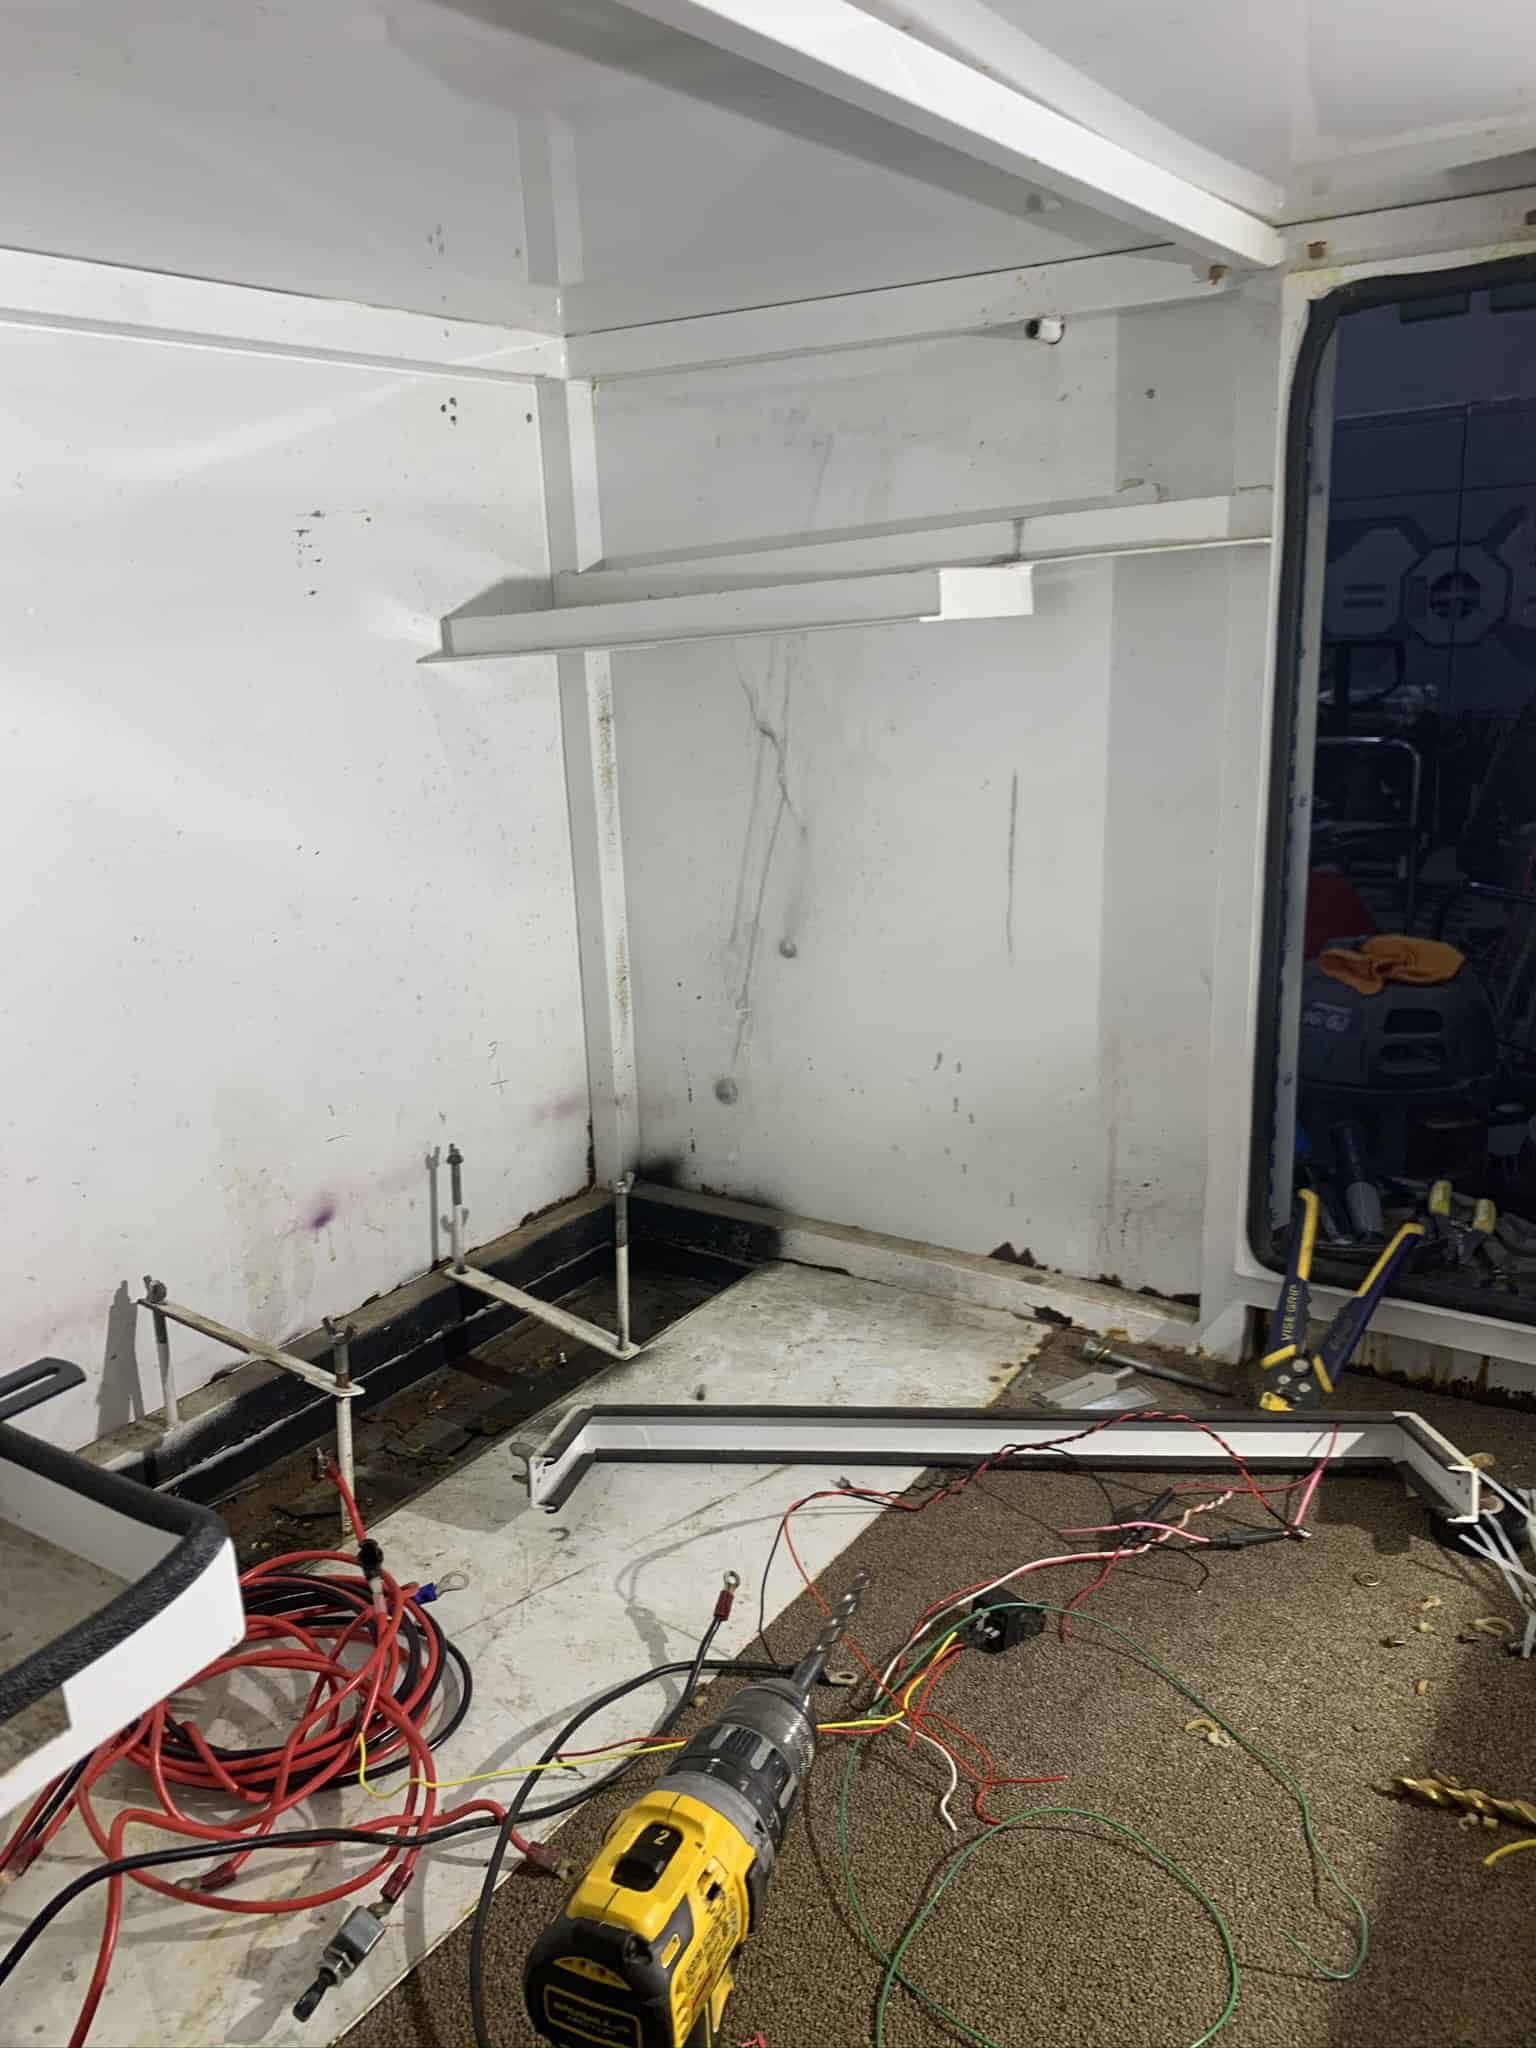
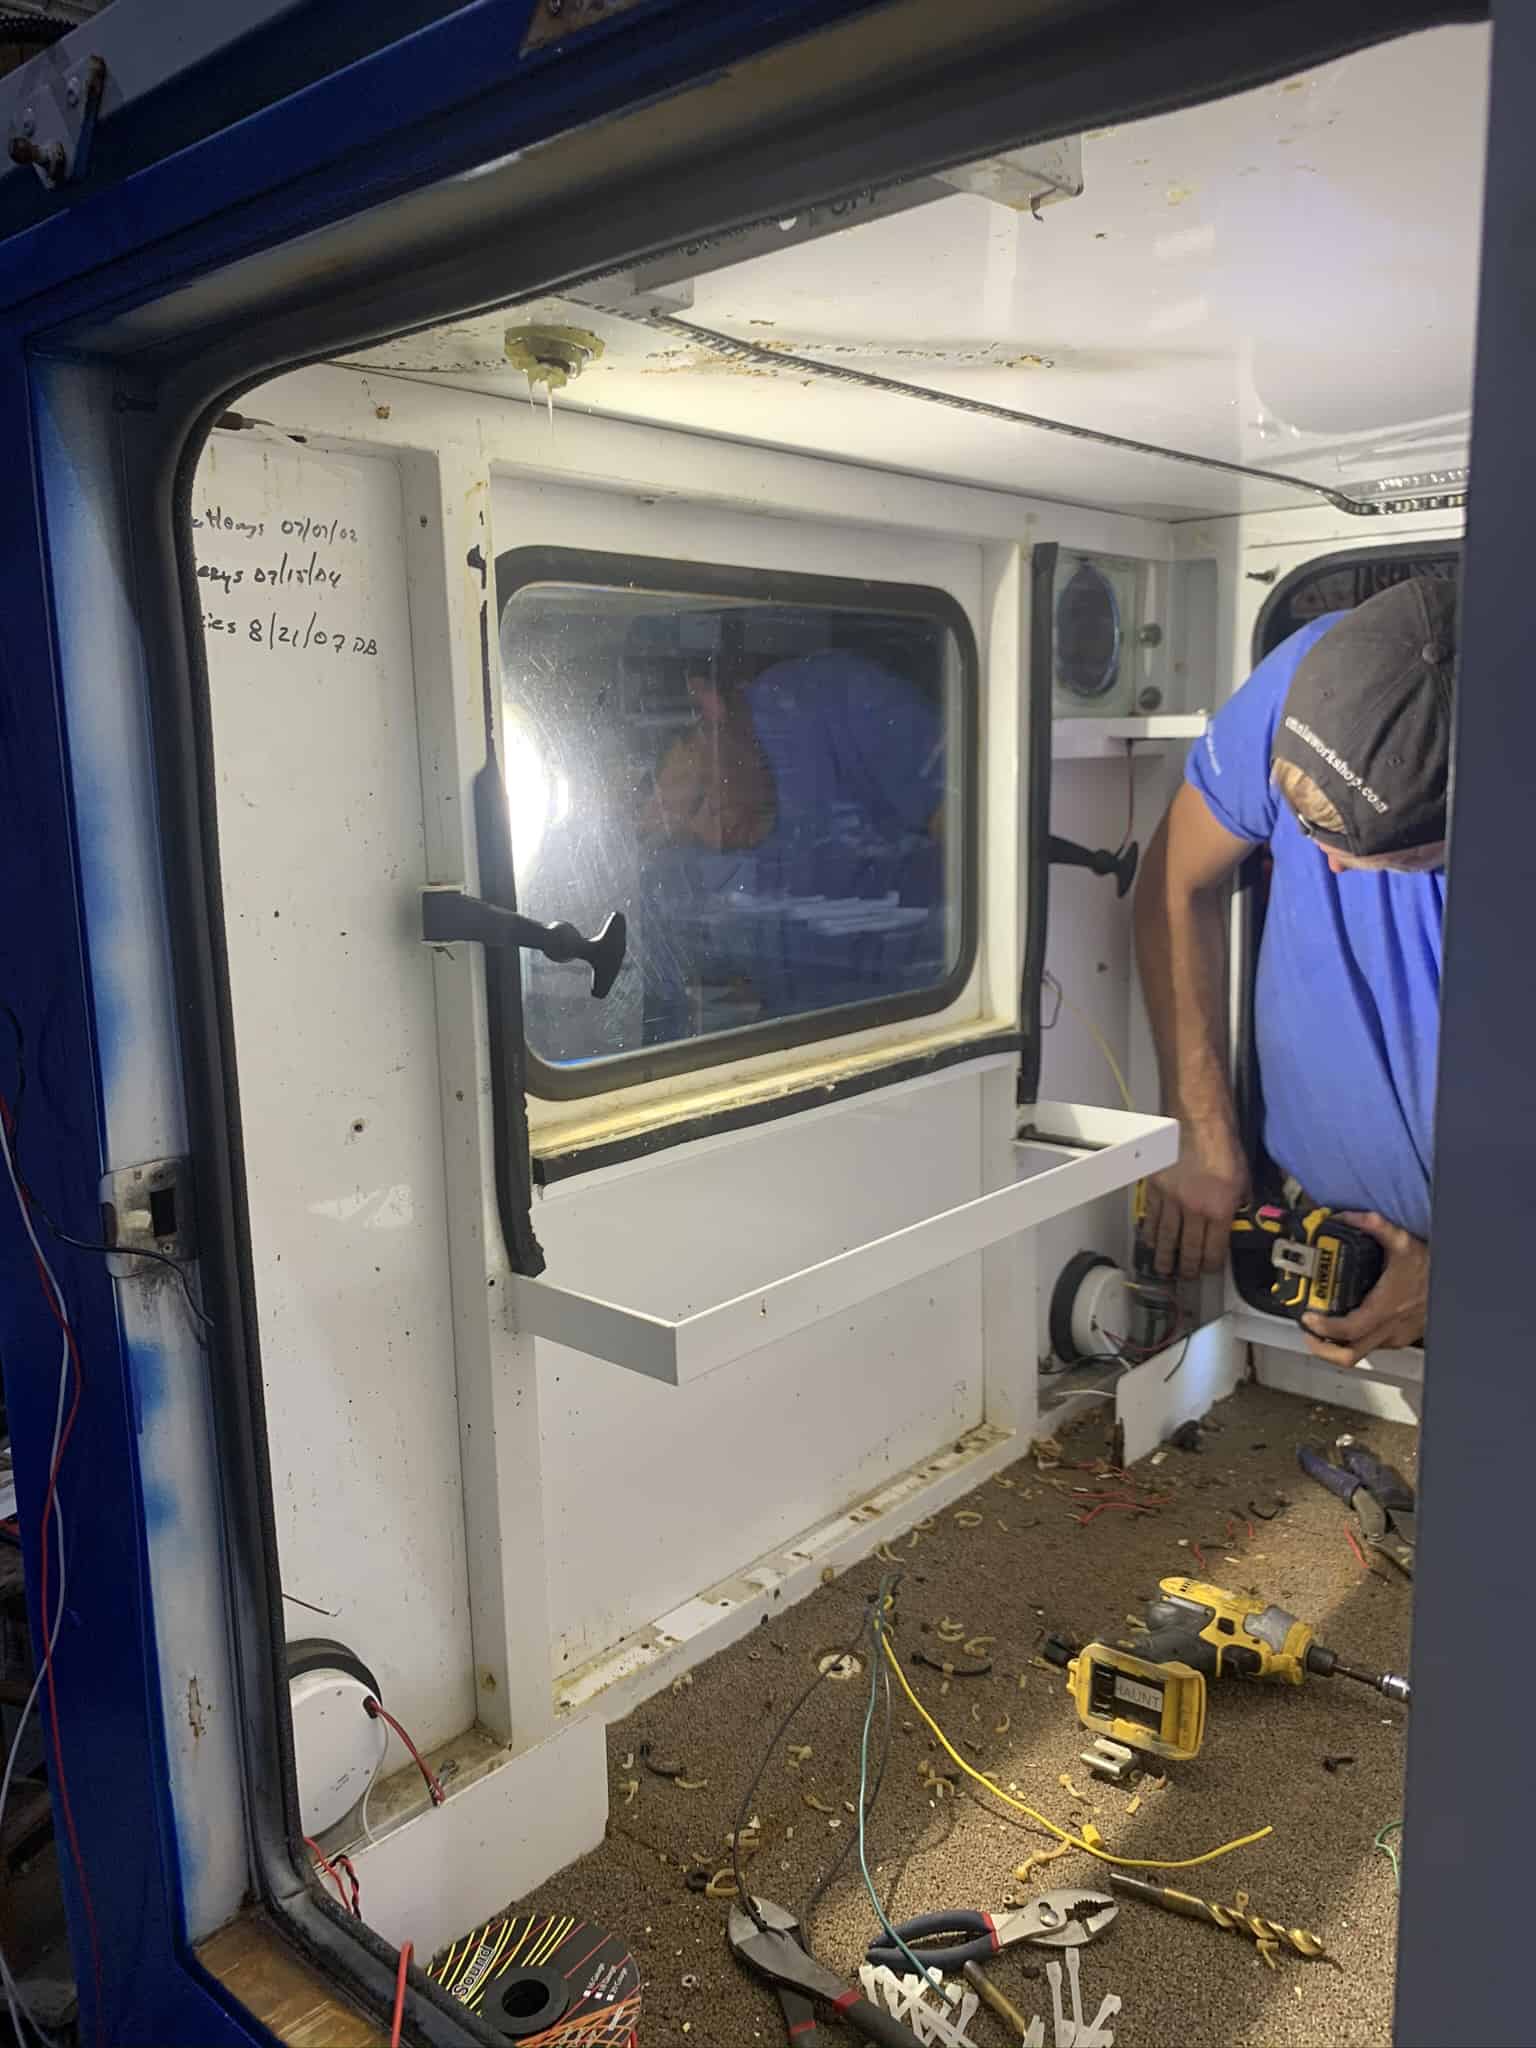
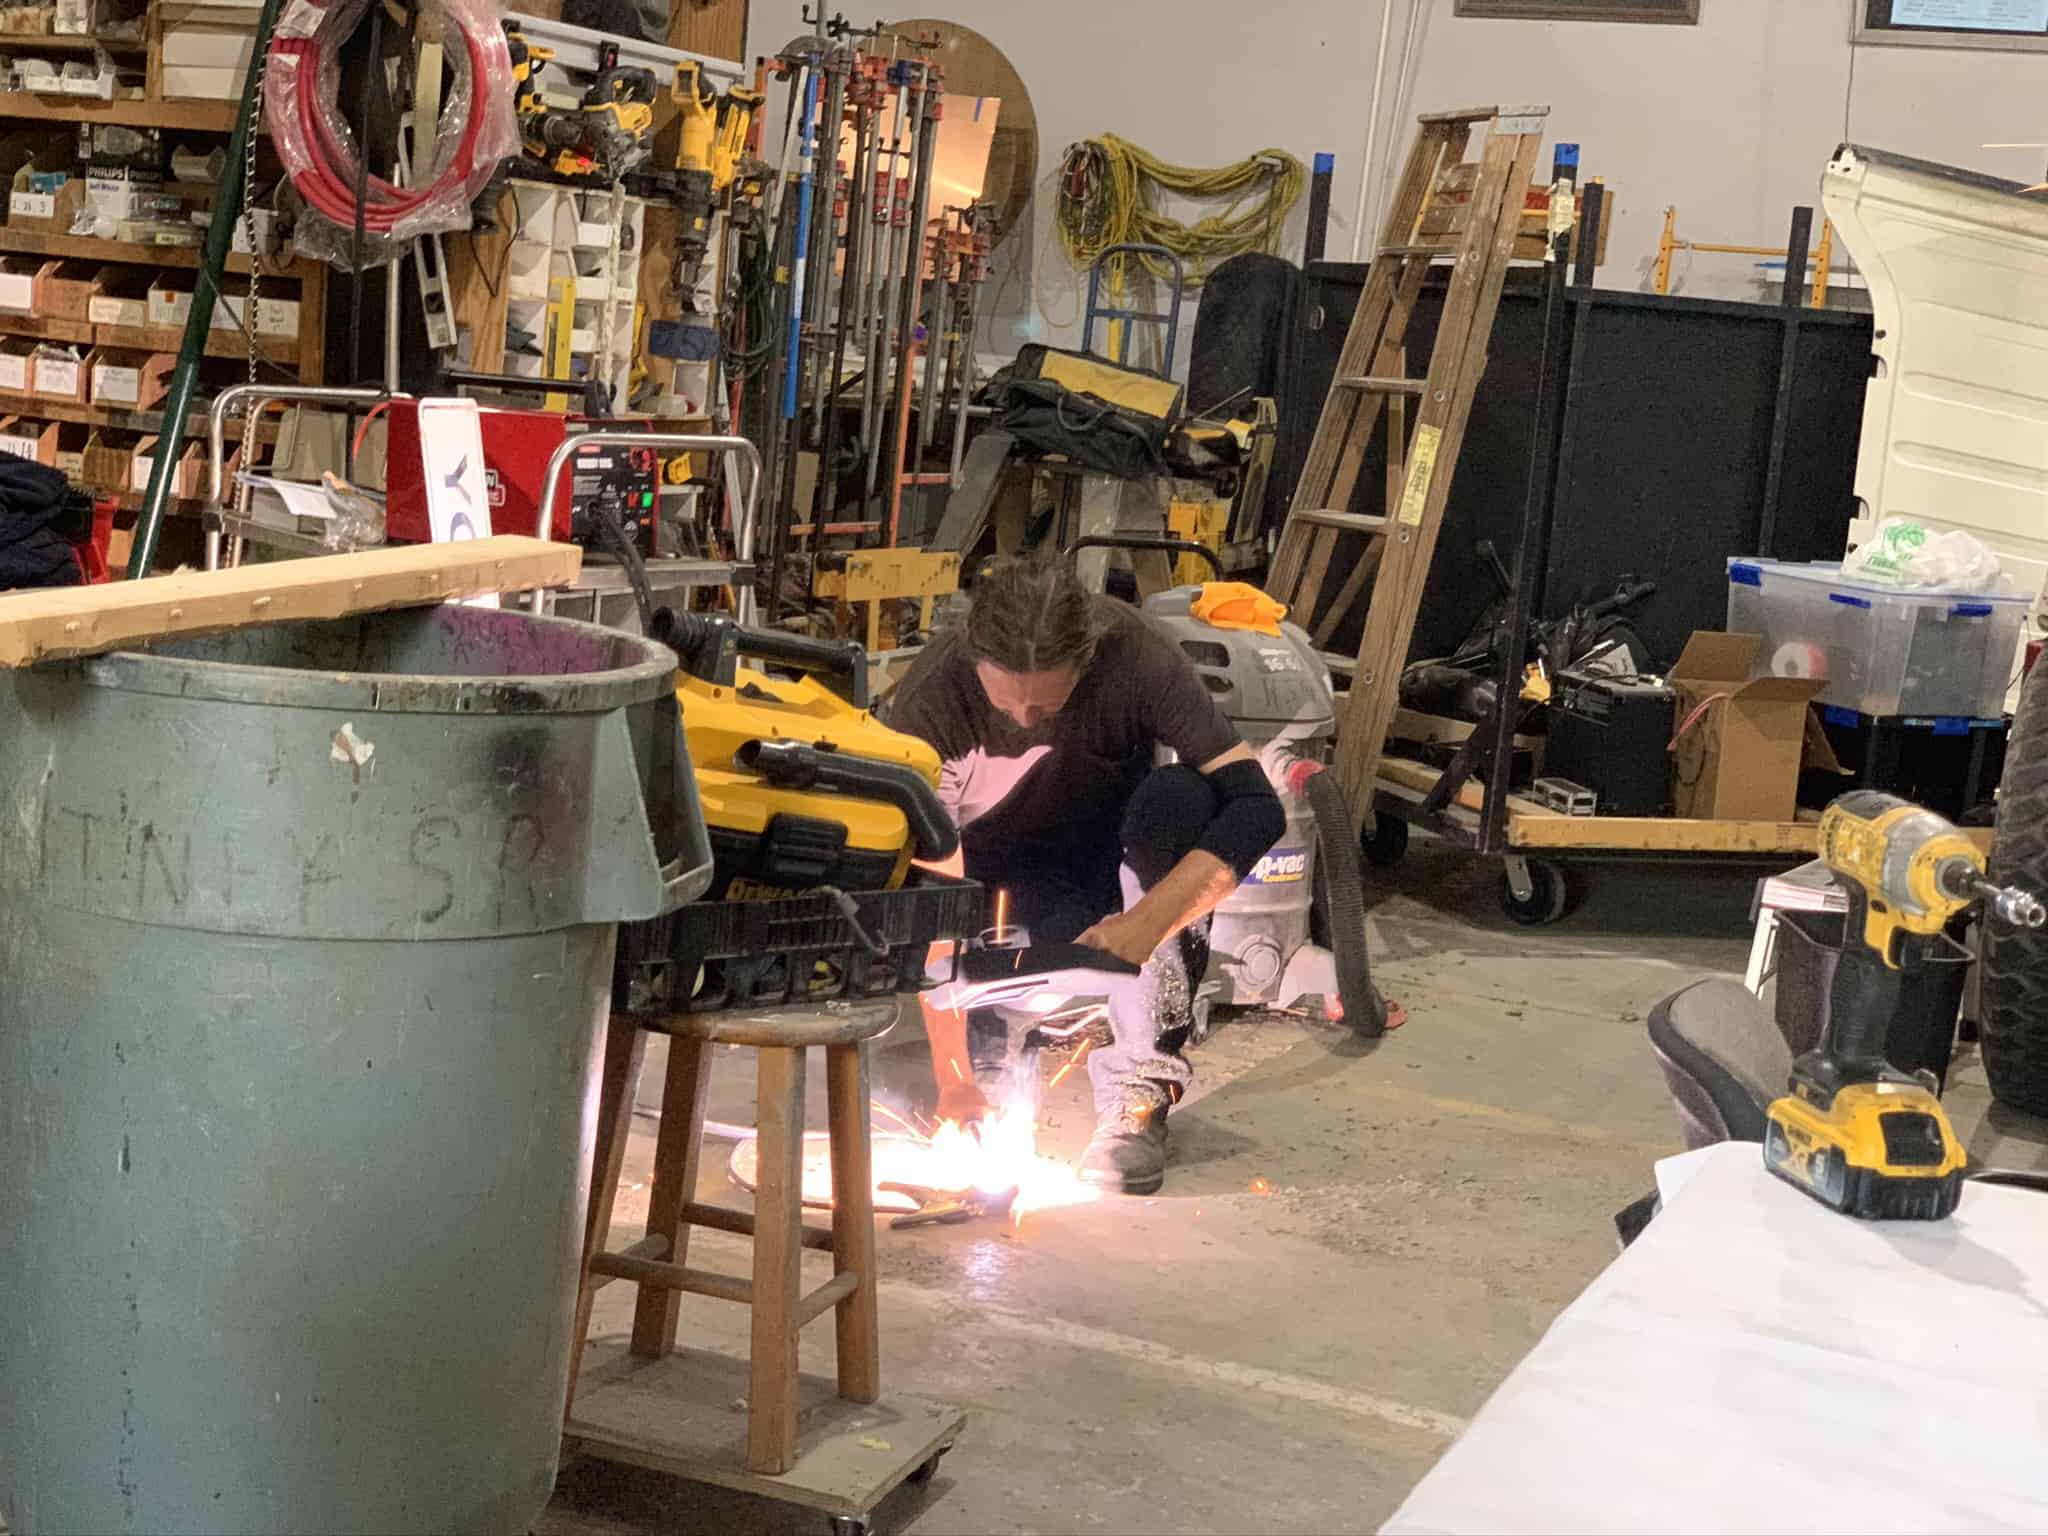
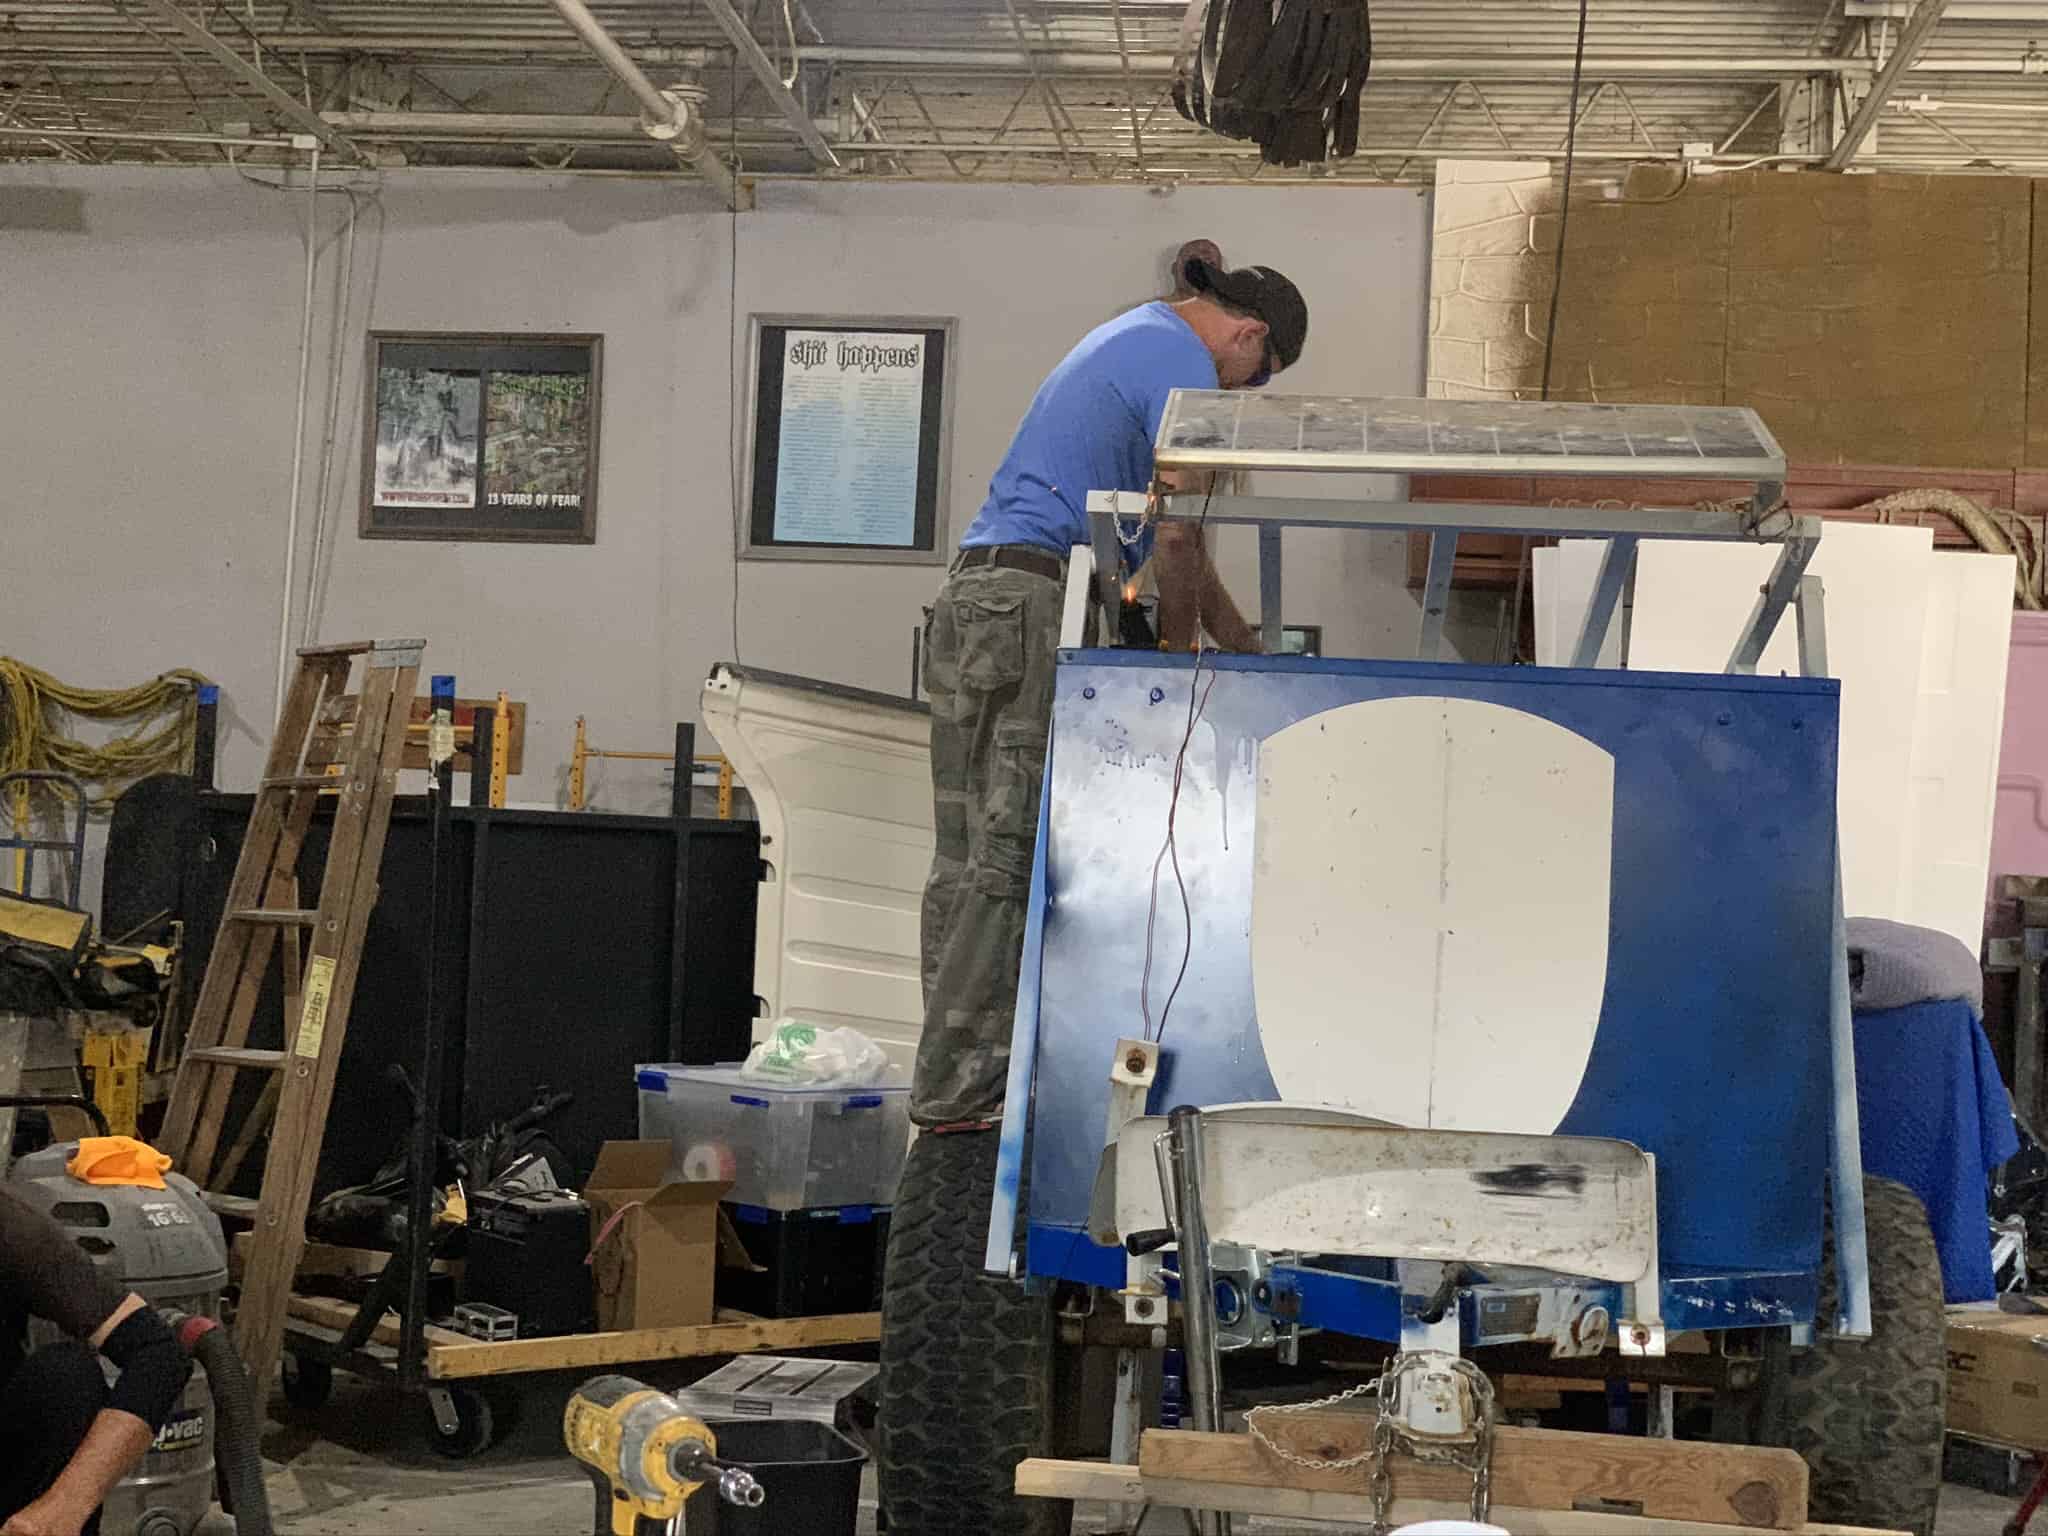
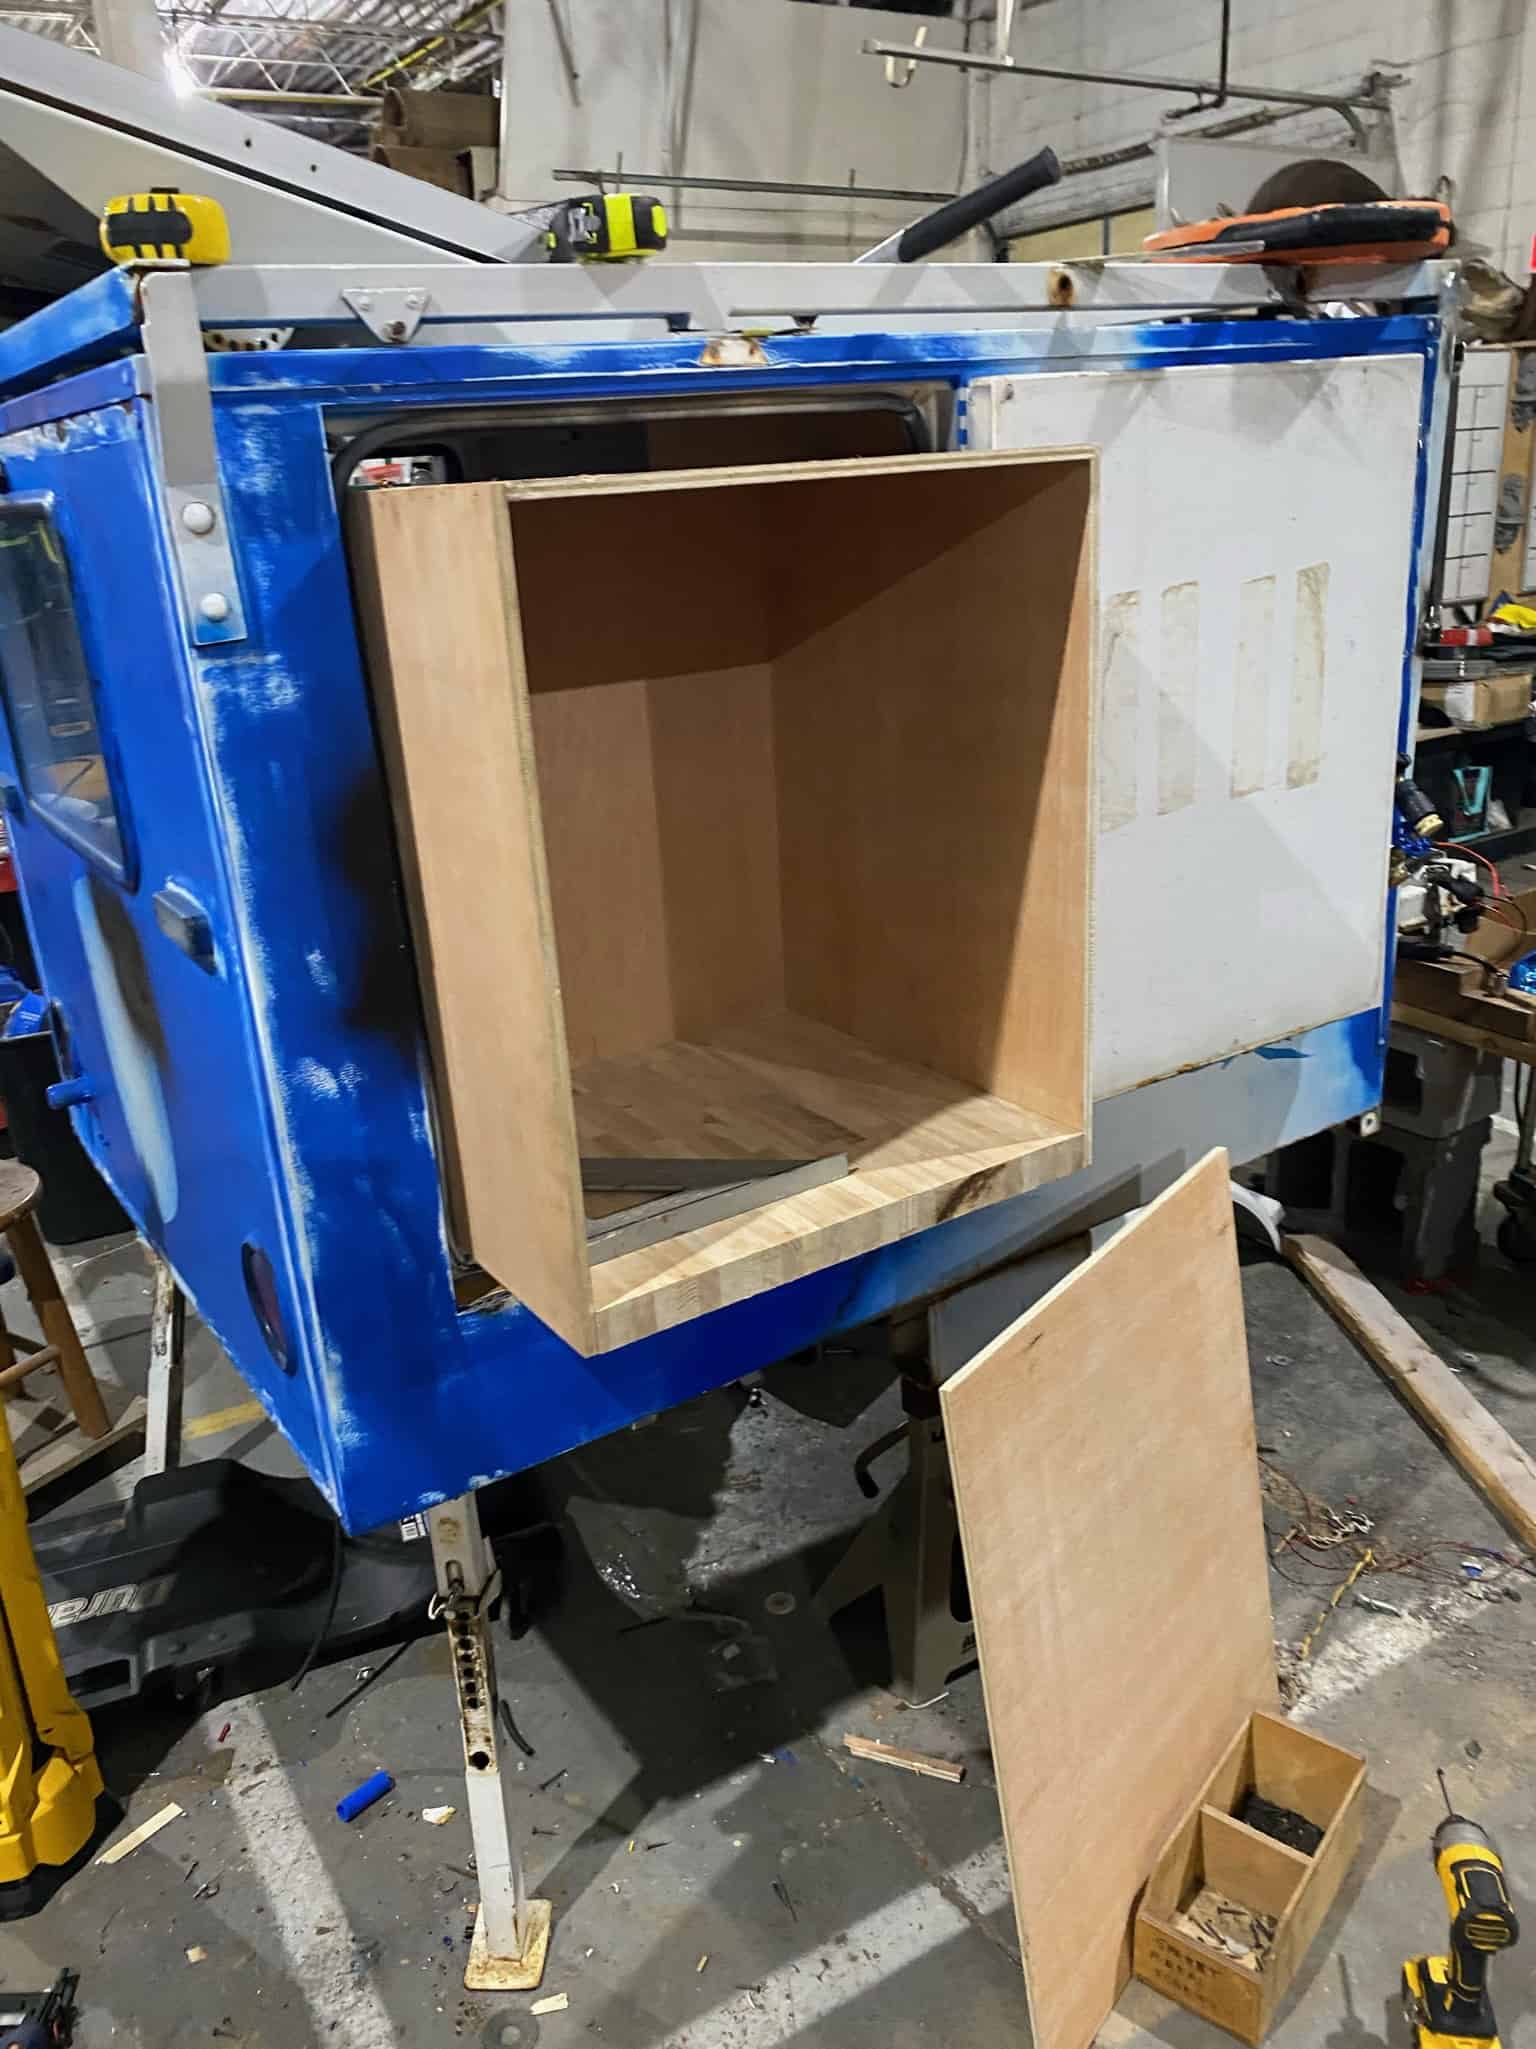
Not only did I have to gut it, I needed to rework the framework.. I envisioned a tent on top.. and stuff on the tongue.. so got to prep all of that. I reworked the old 'flip sign' on top to hold a rooftop tent later, and framed the front tongue rack in.
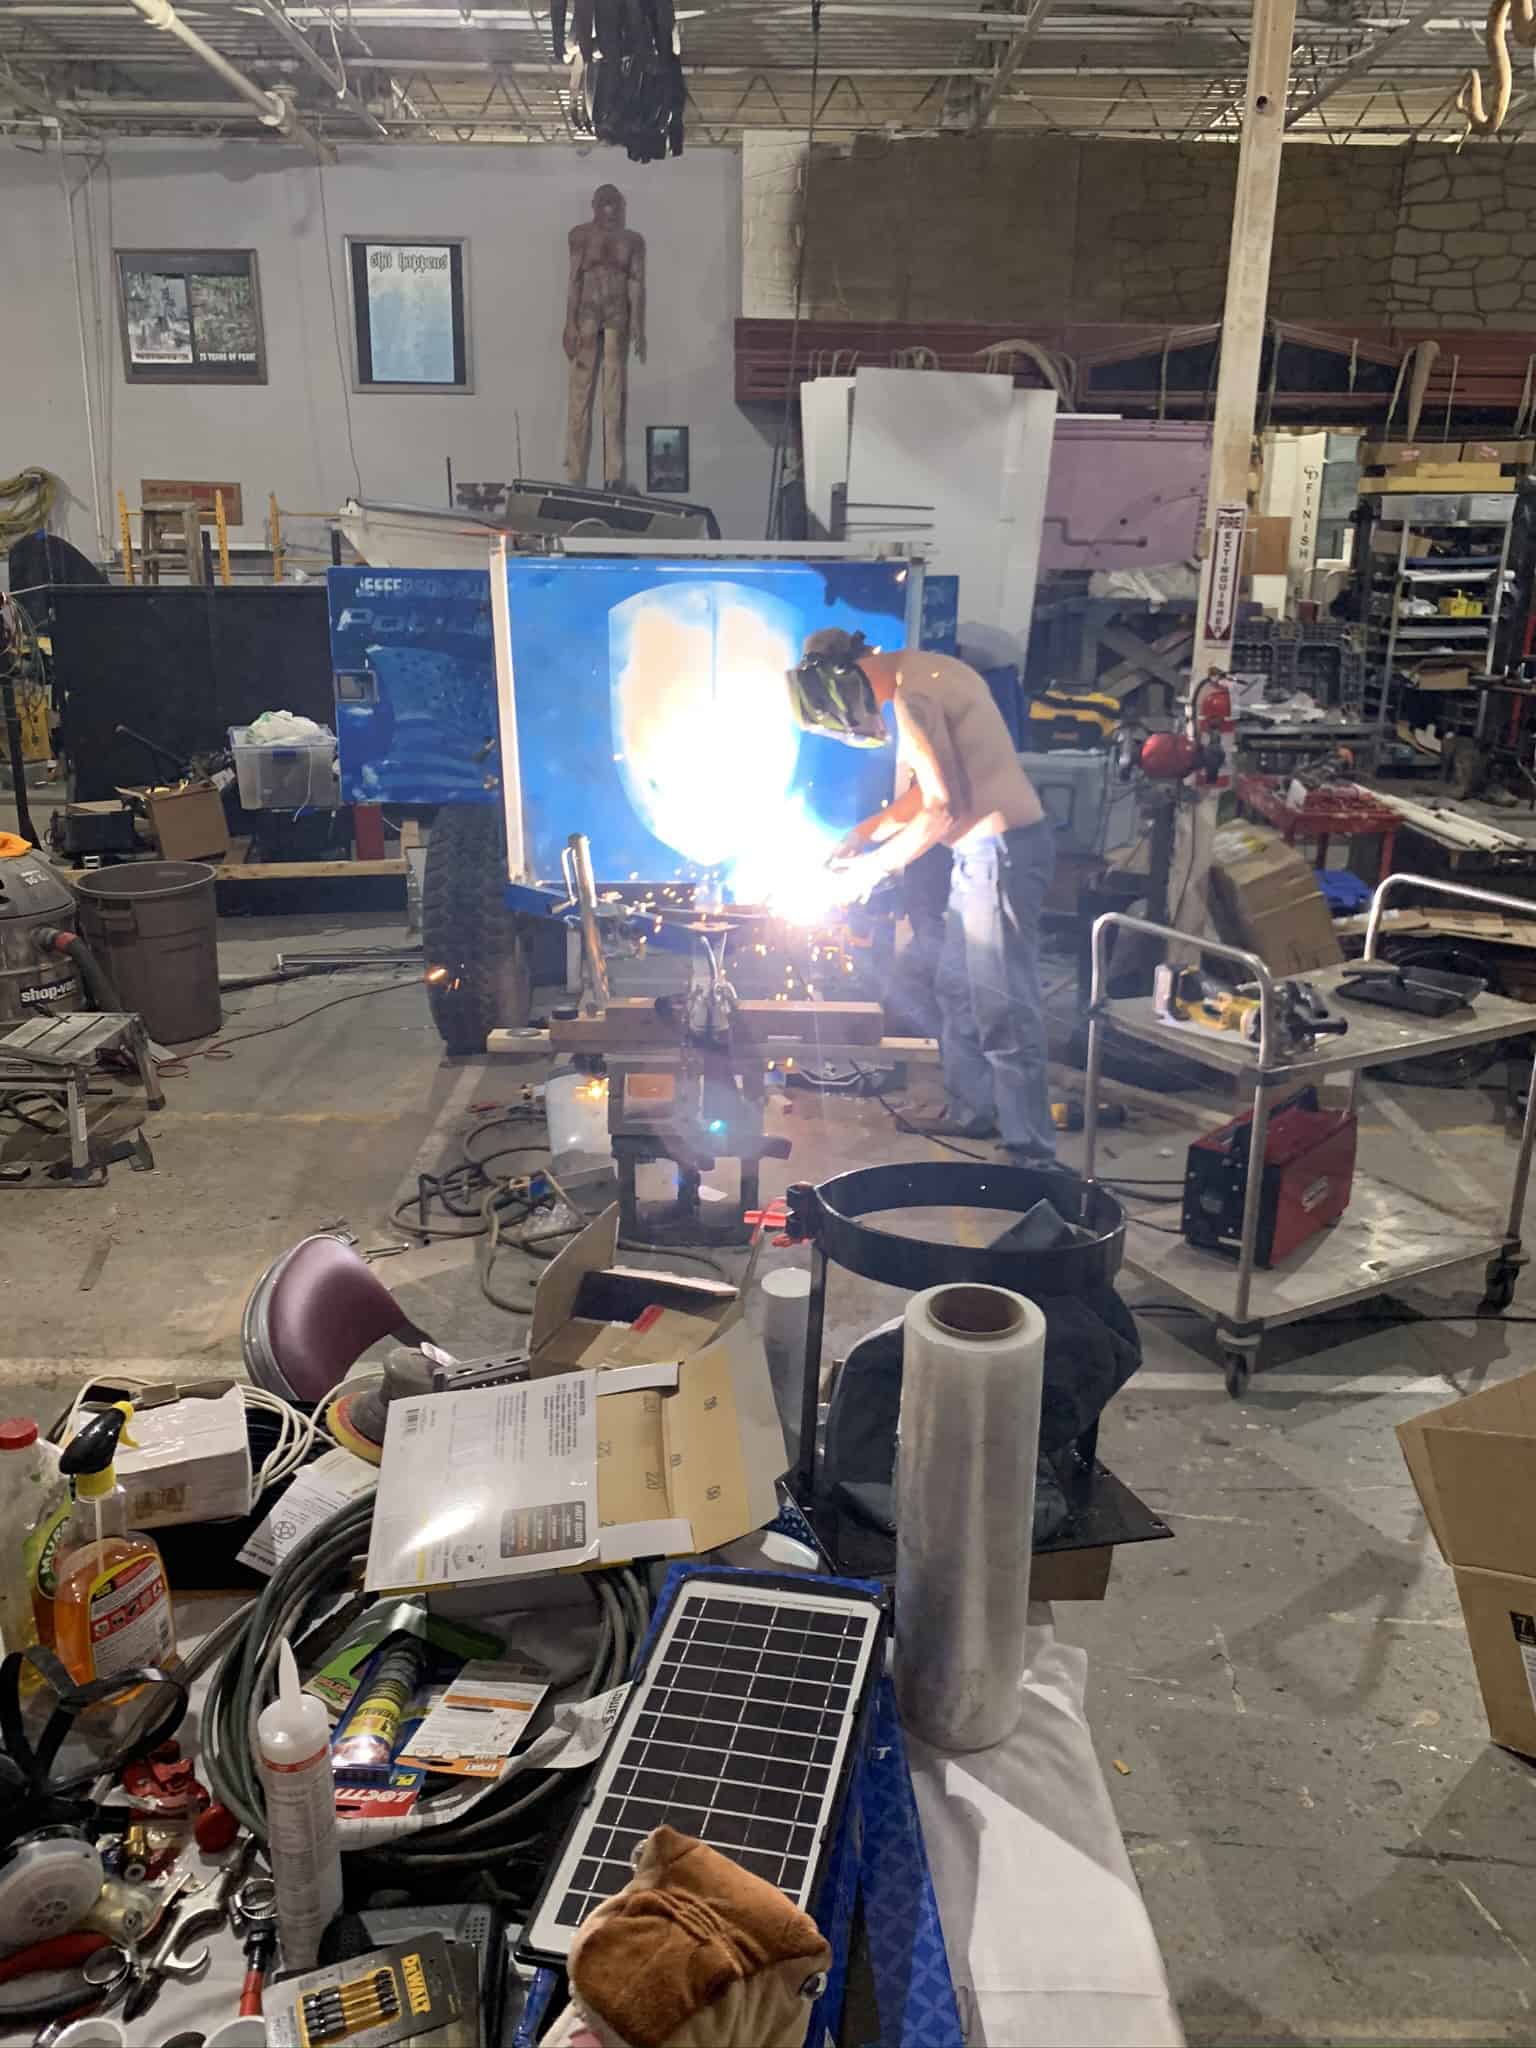
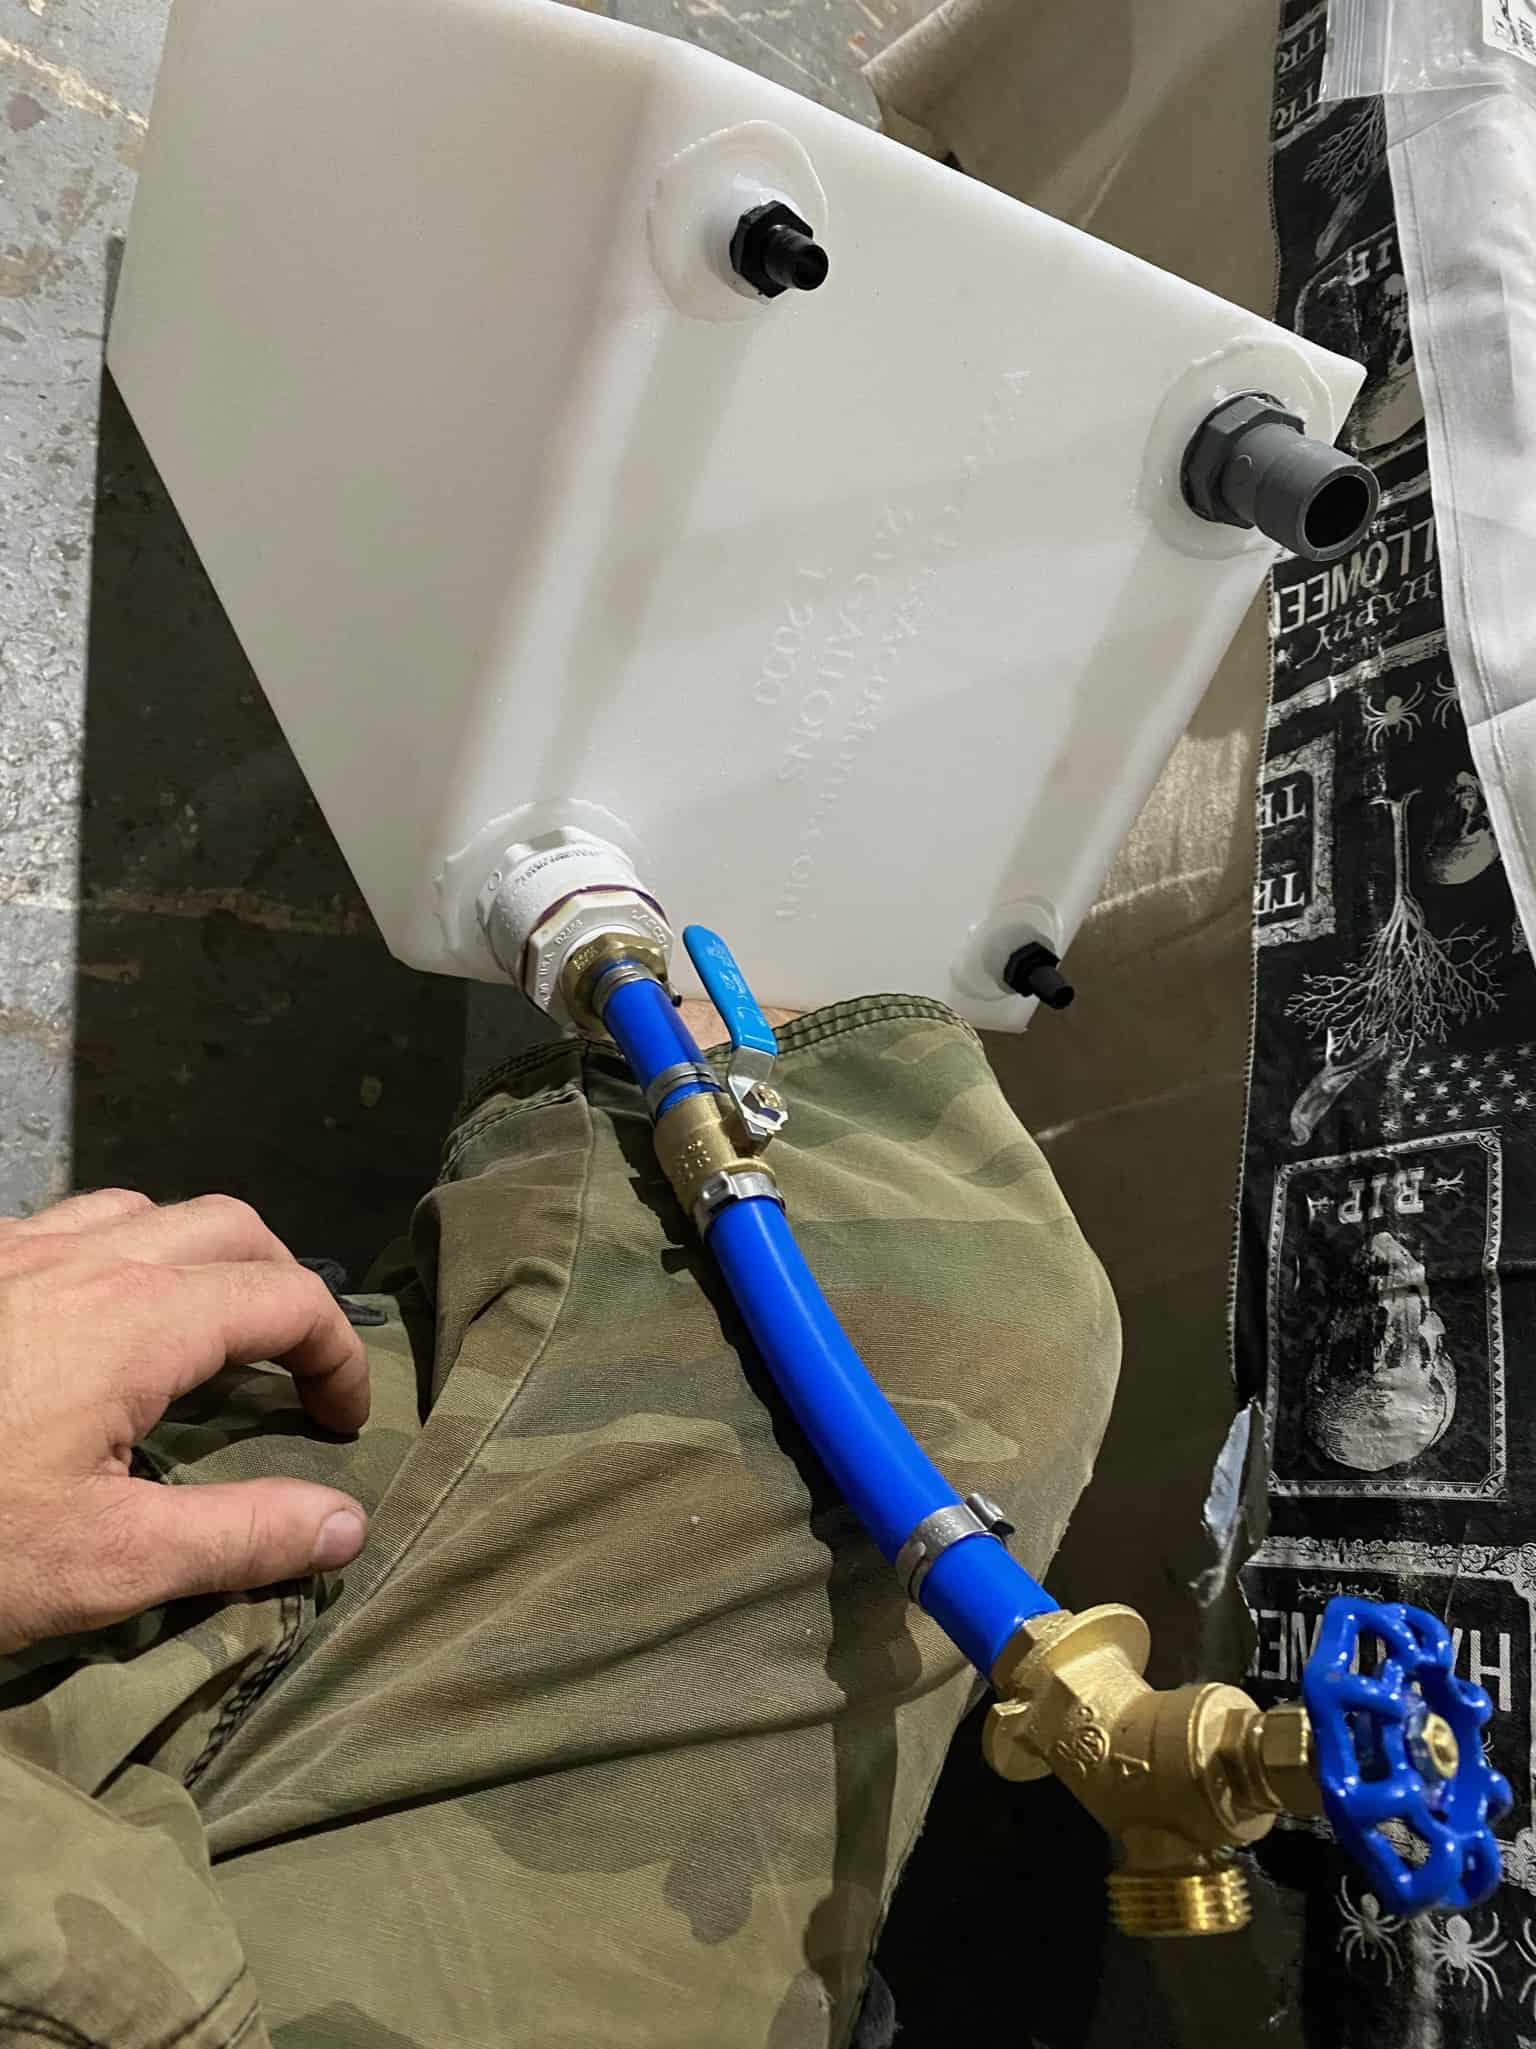
/ Water First
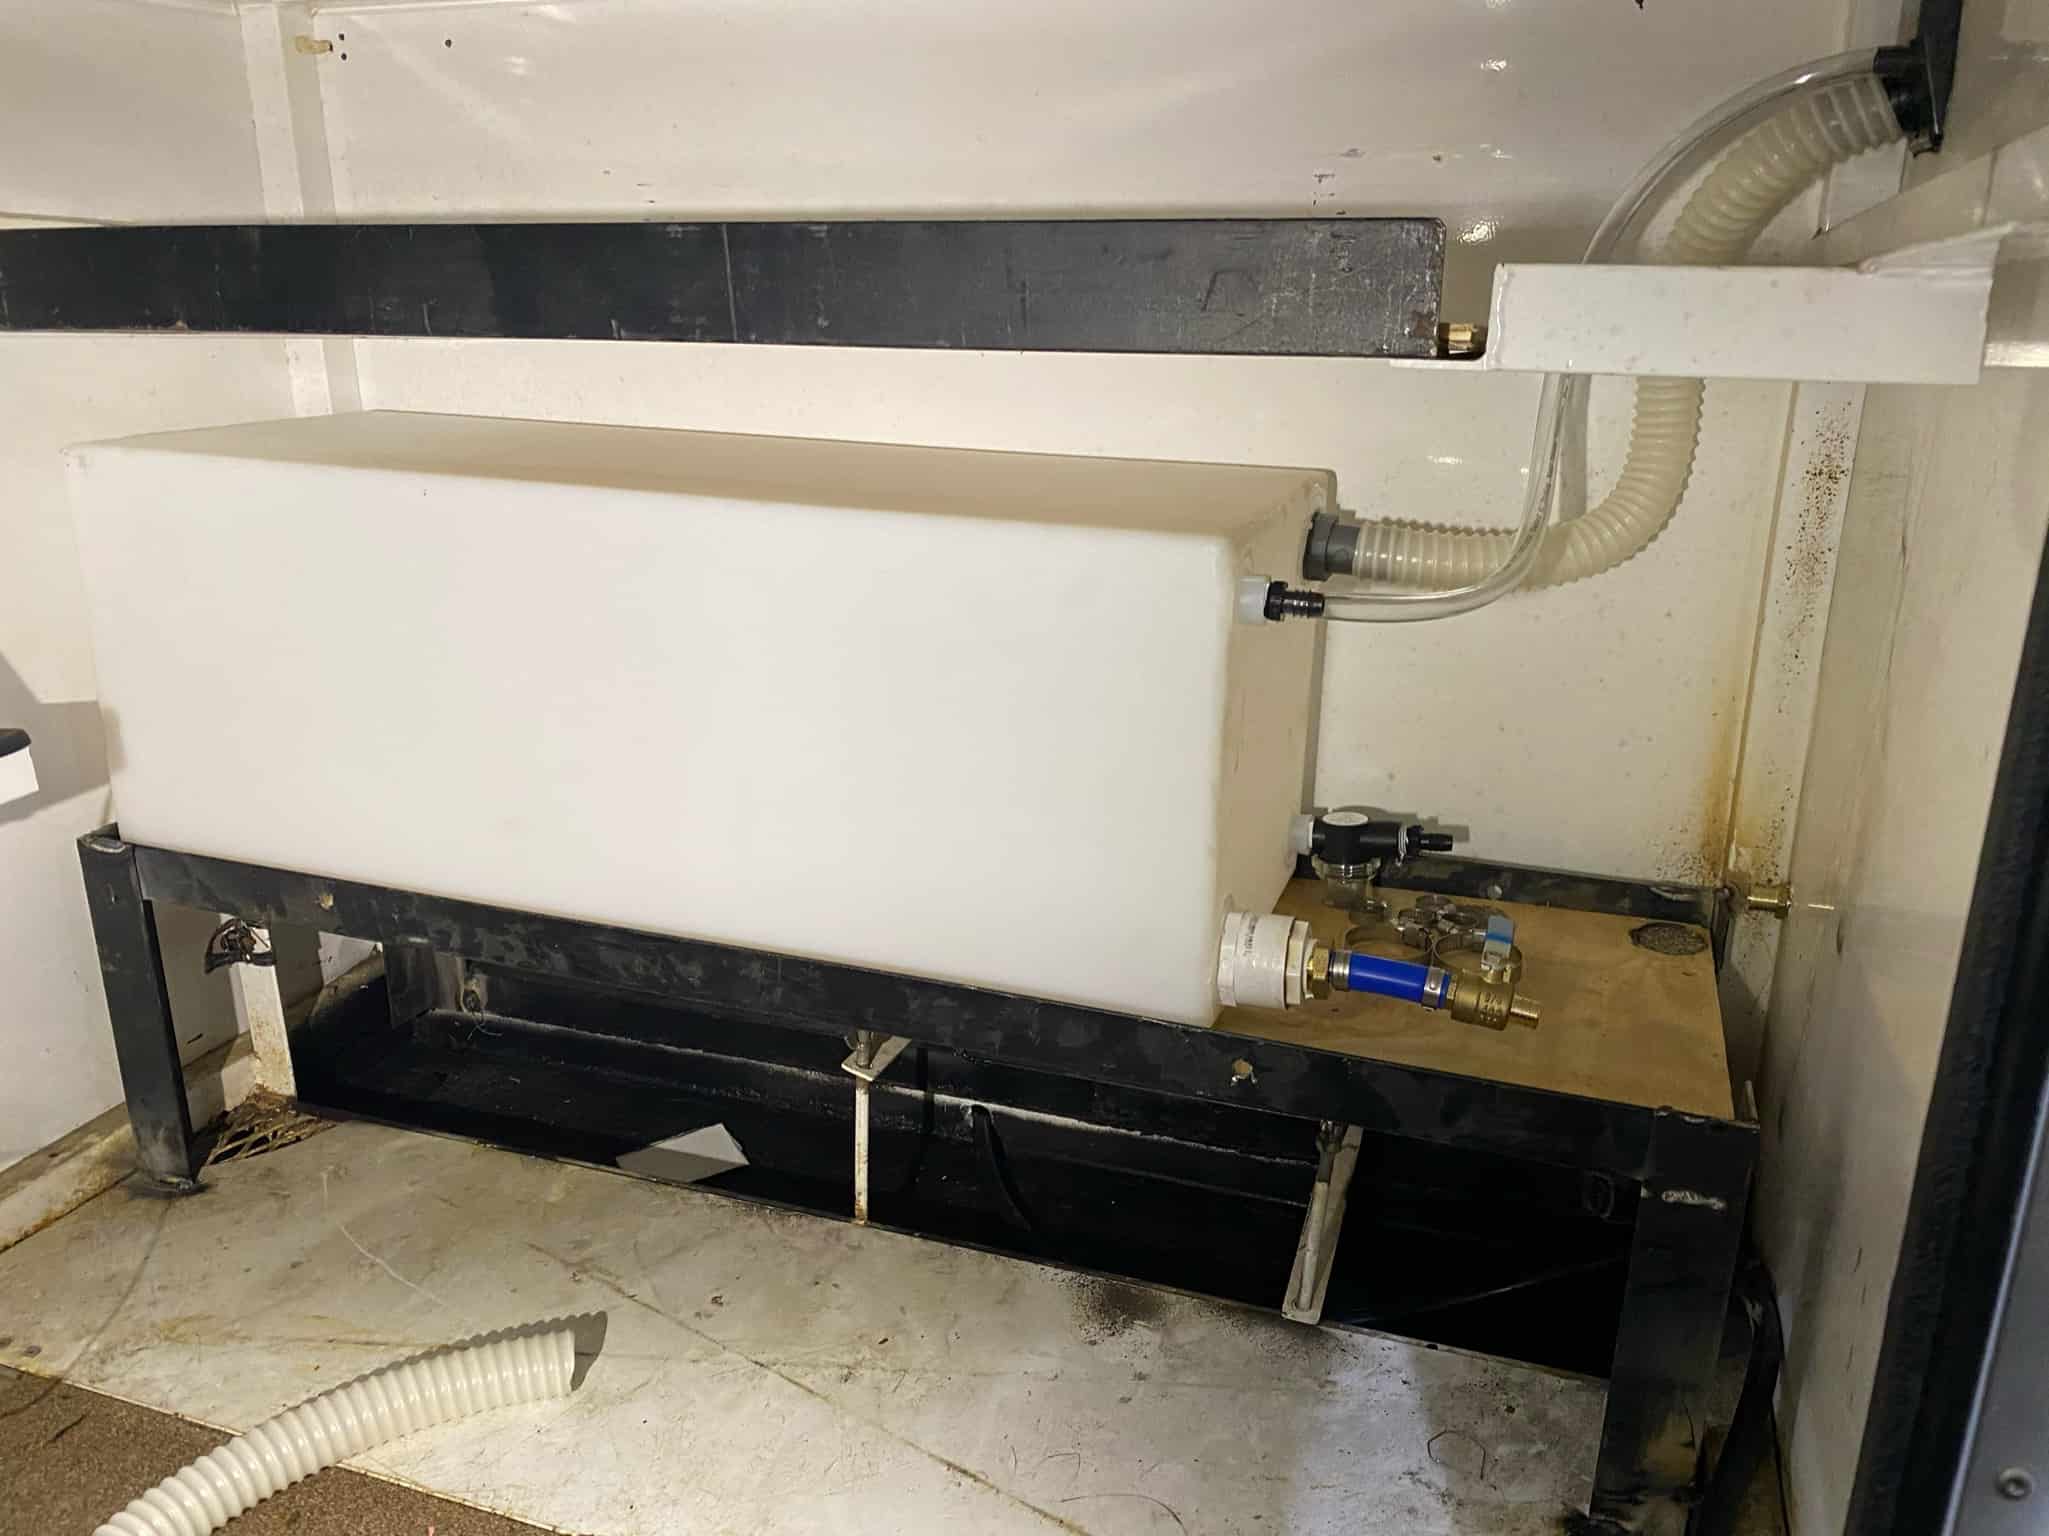
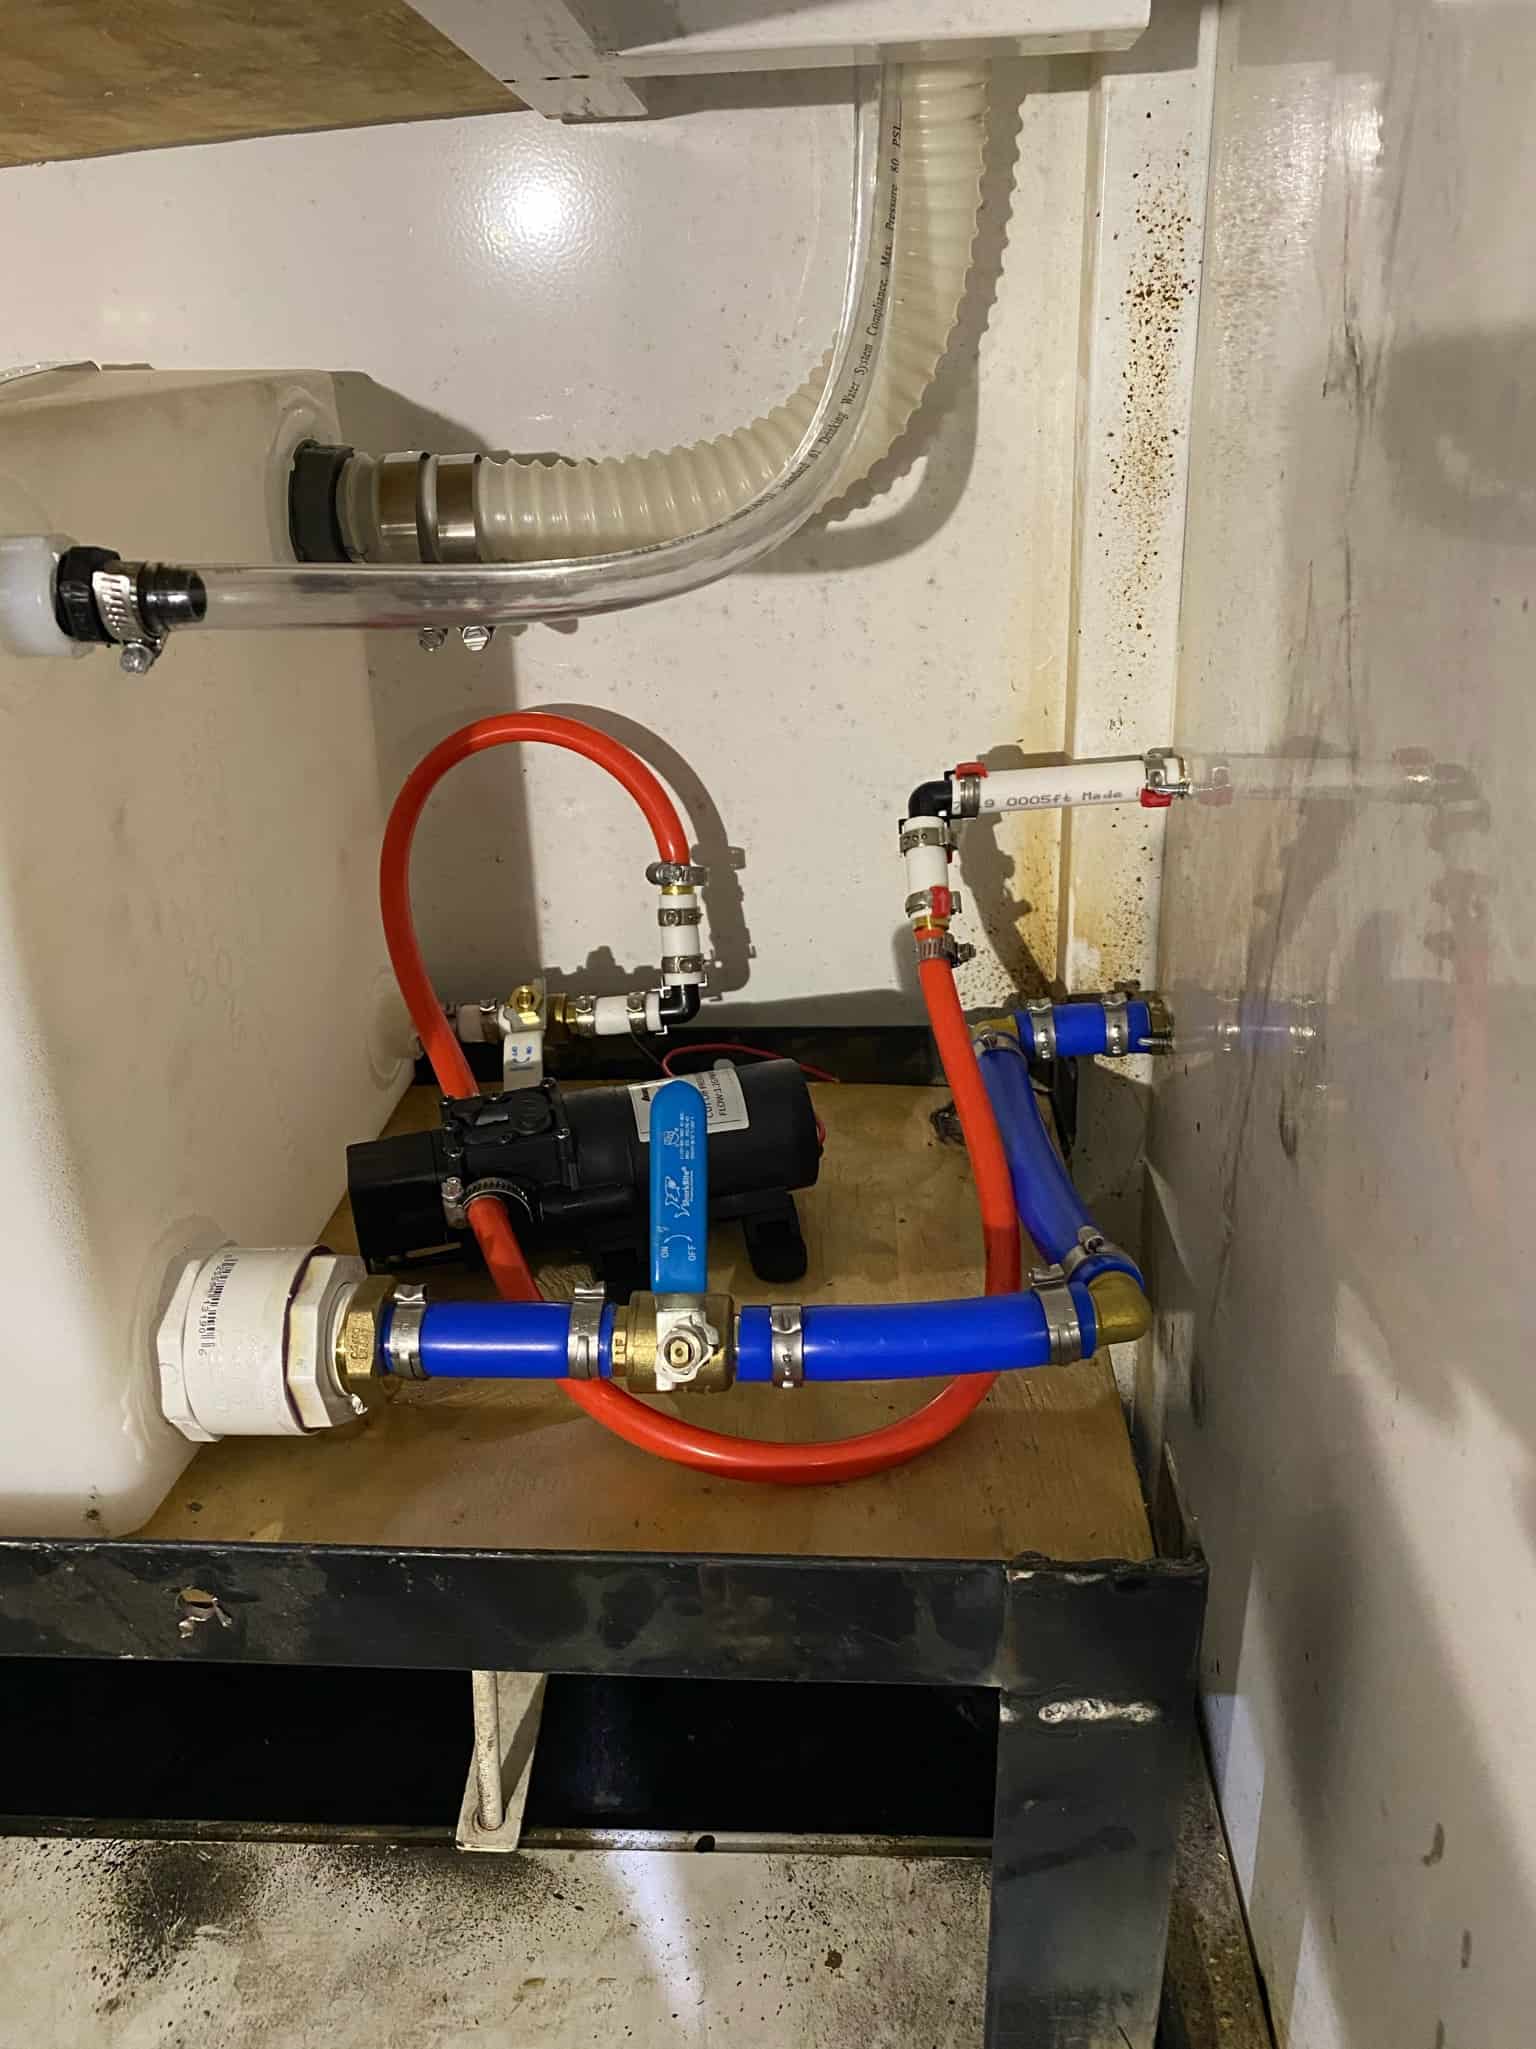
Knowing one of the CORE things needed for overlanding was WATER, I decided it was going to get the safest place.. and needed to go in first. Although I reminded myself to leave space under it for batteries etc.
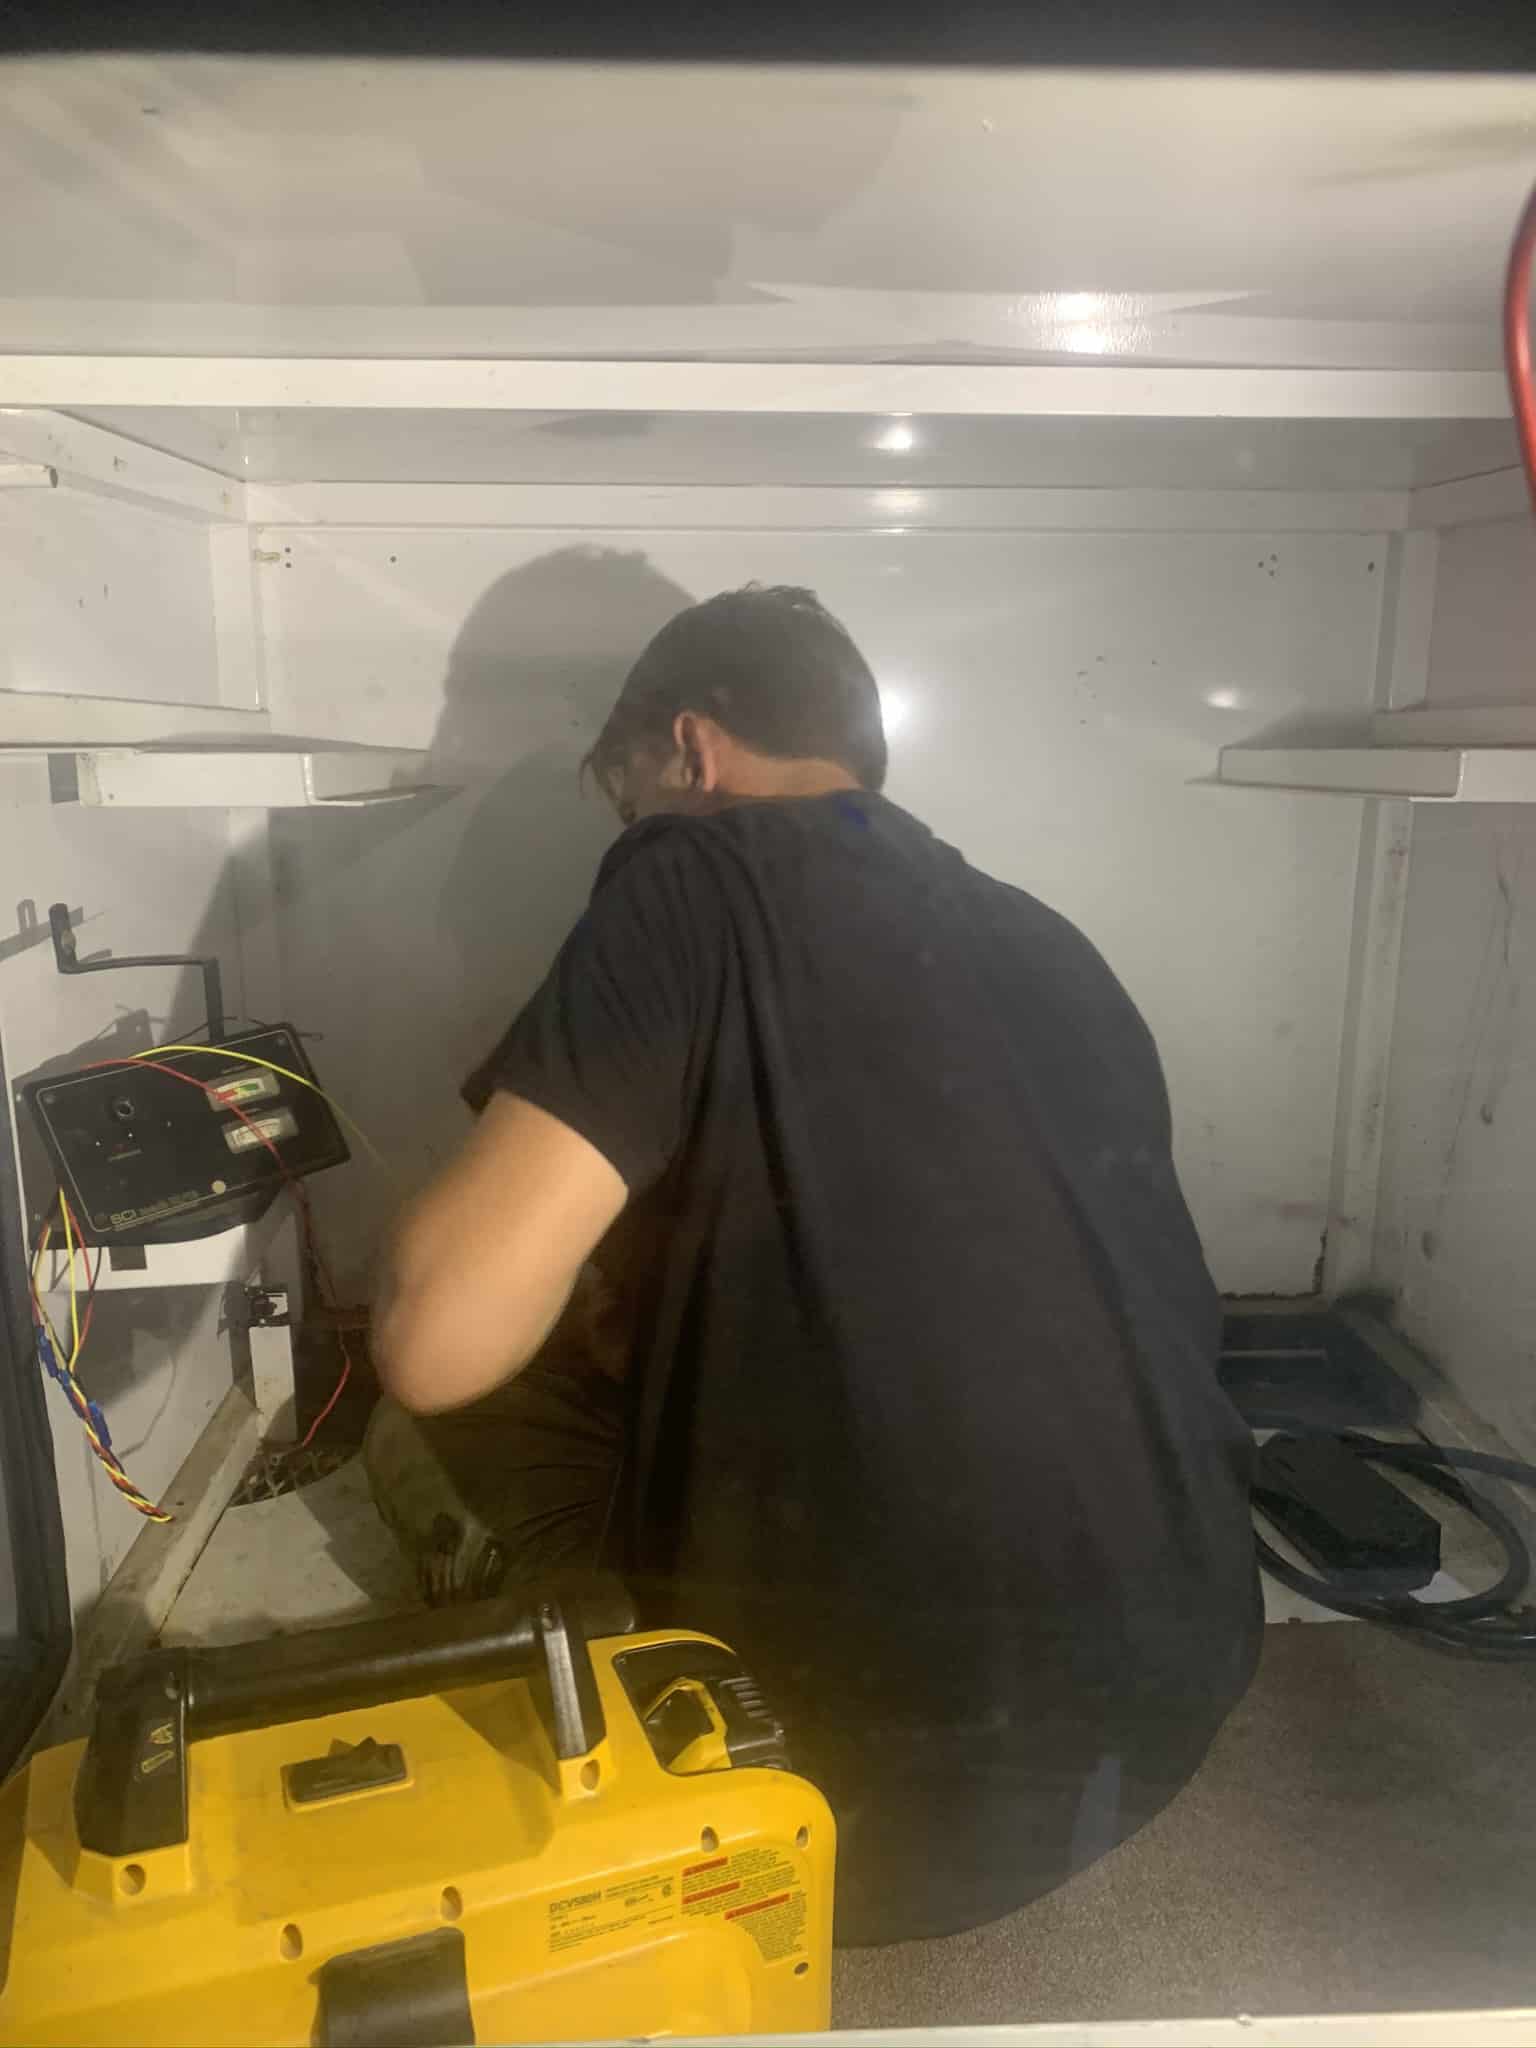
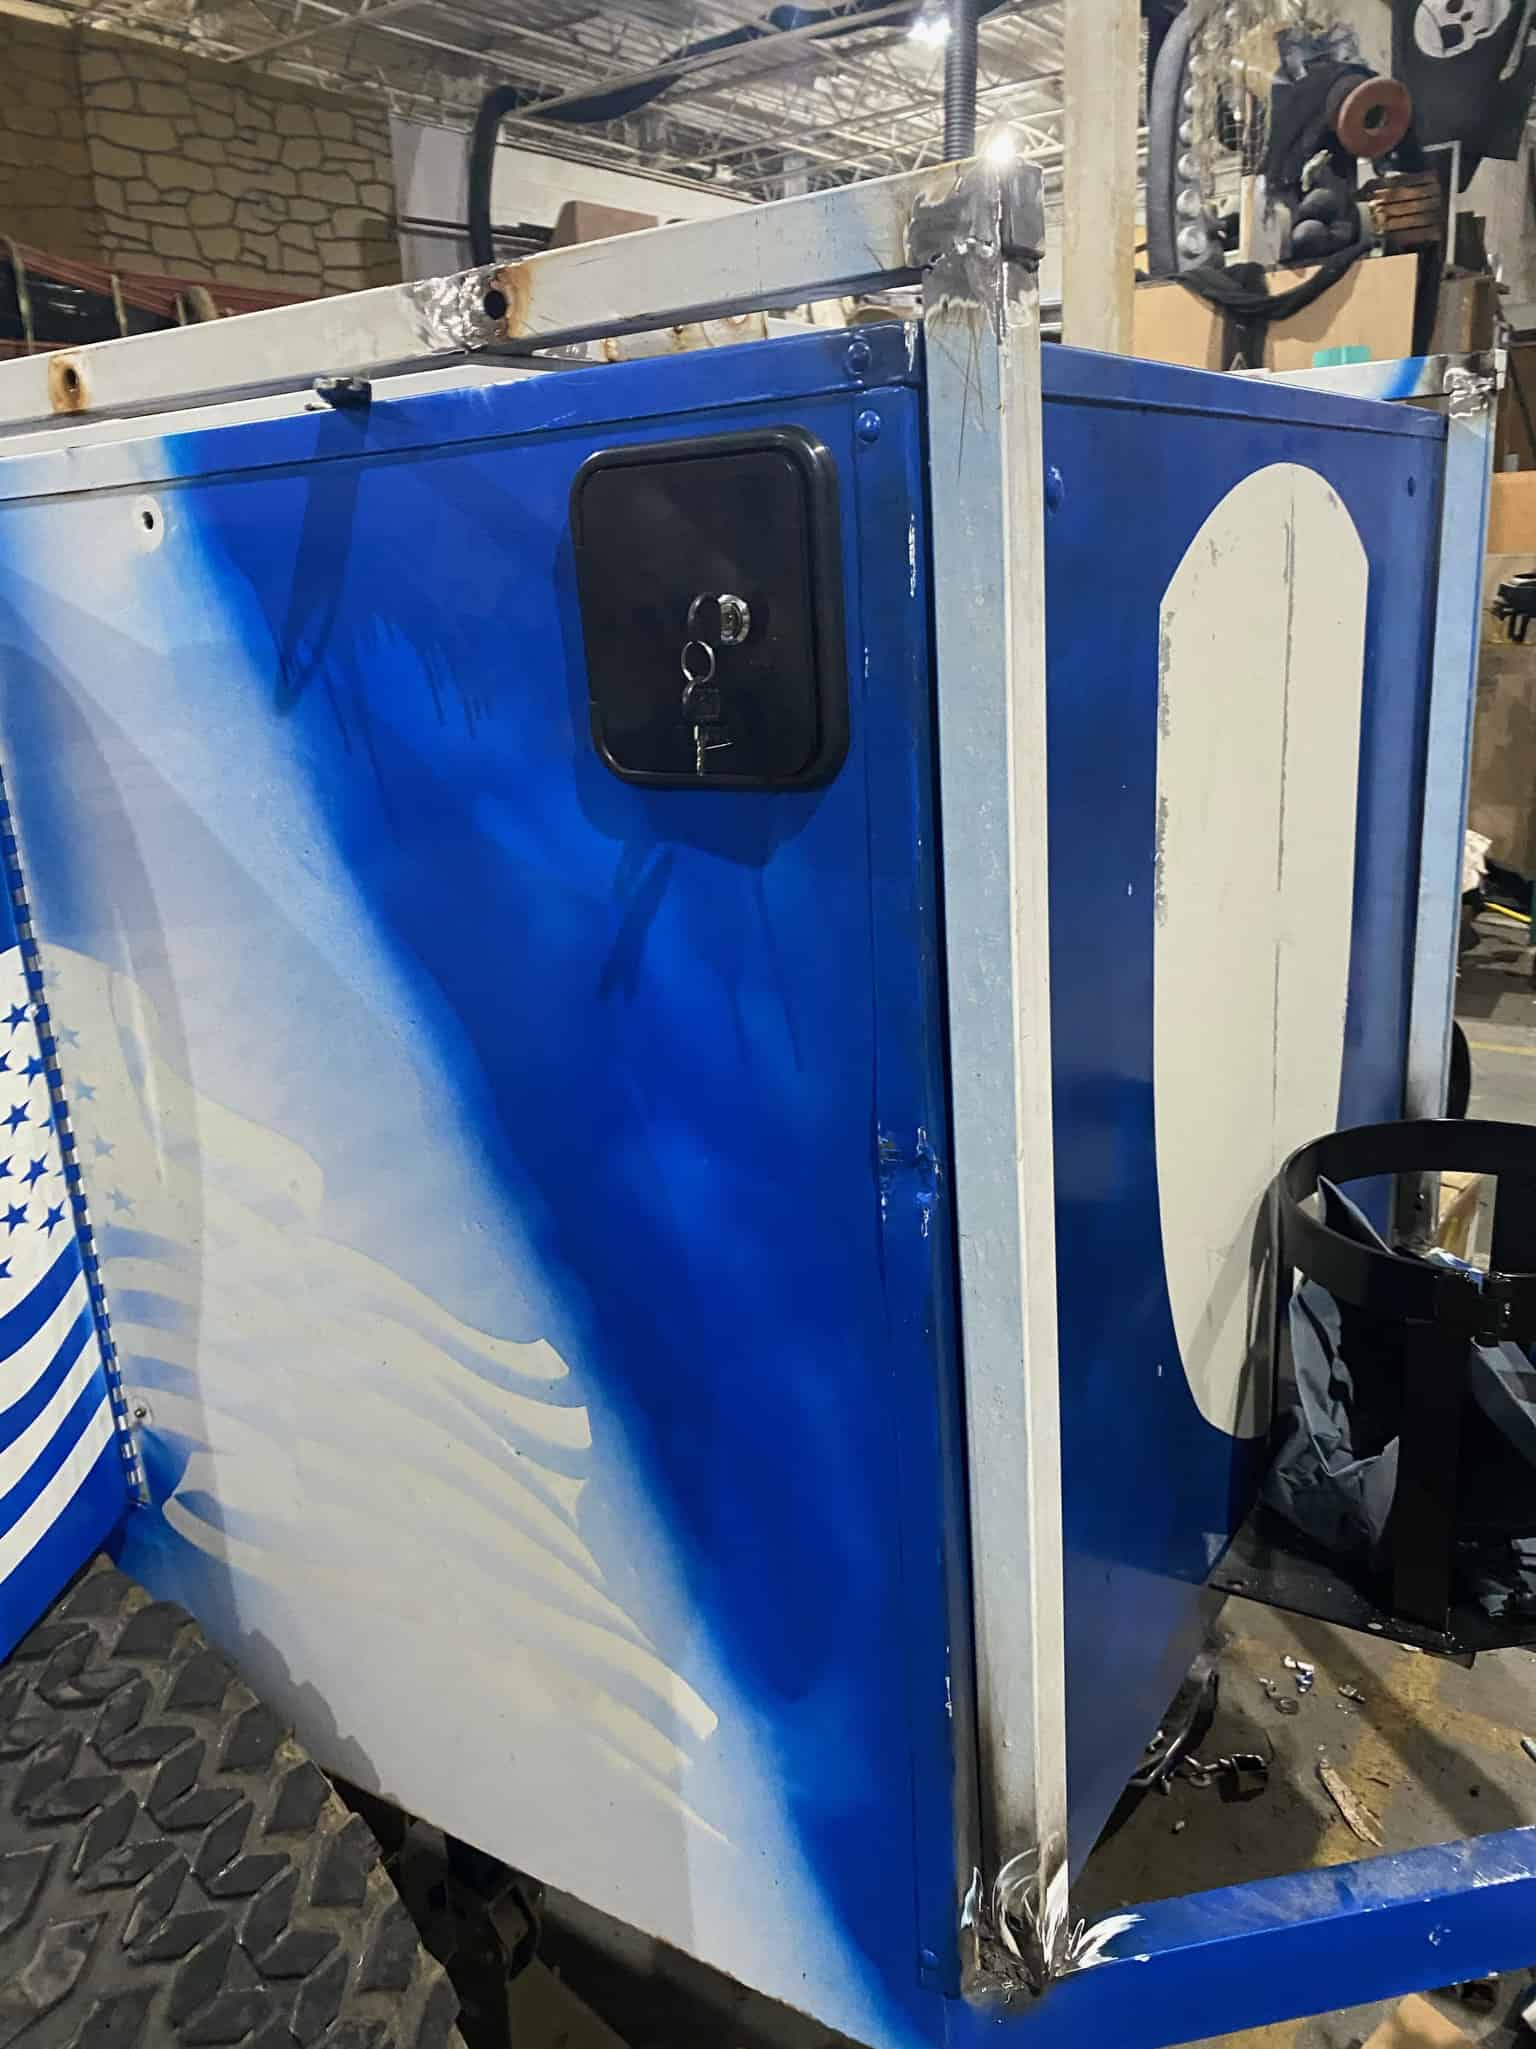
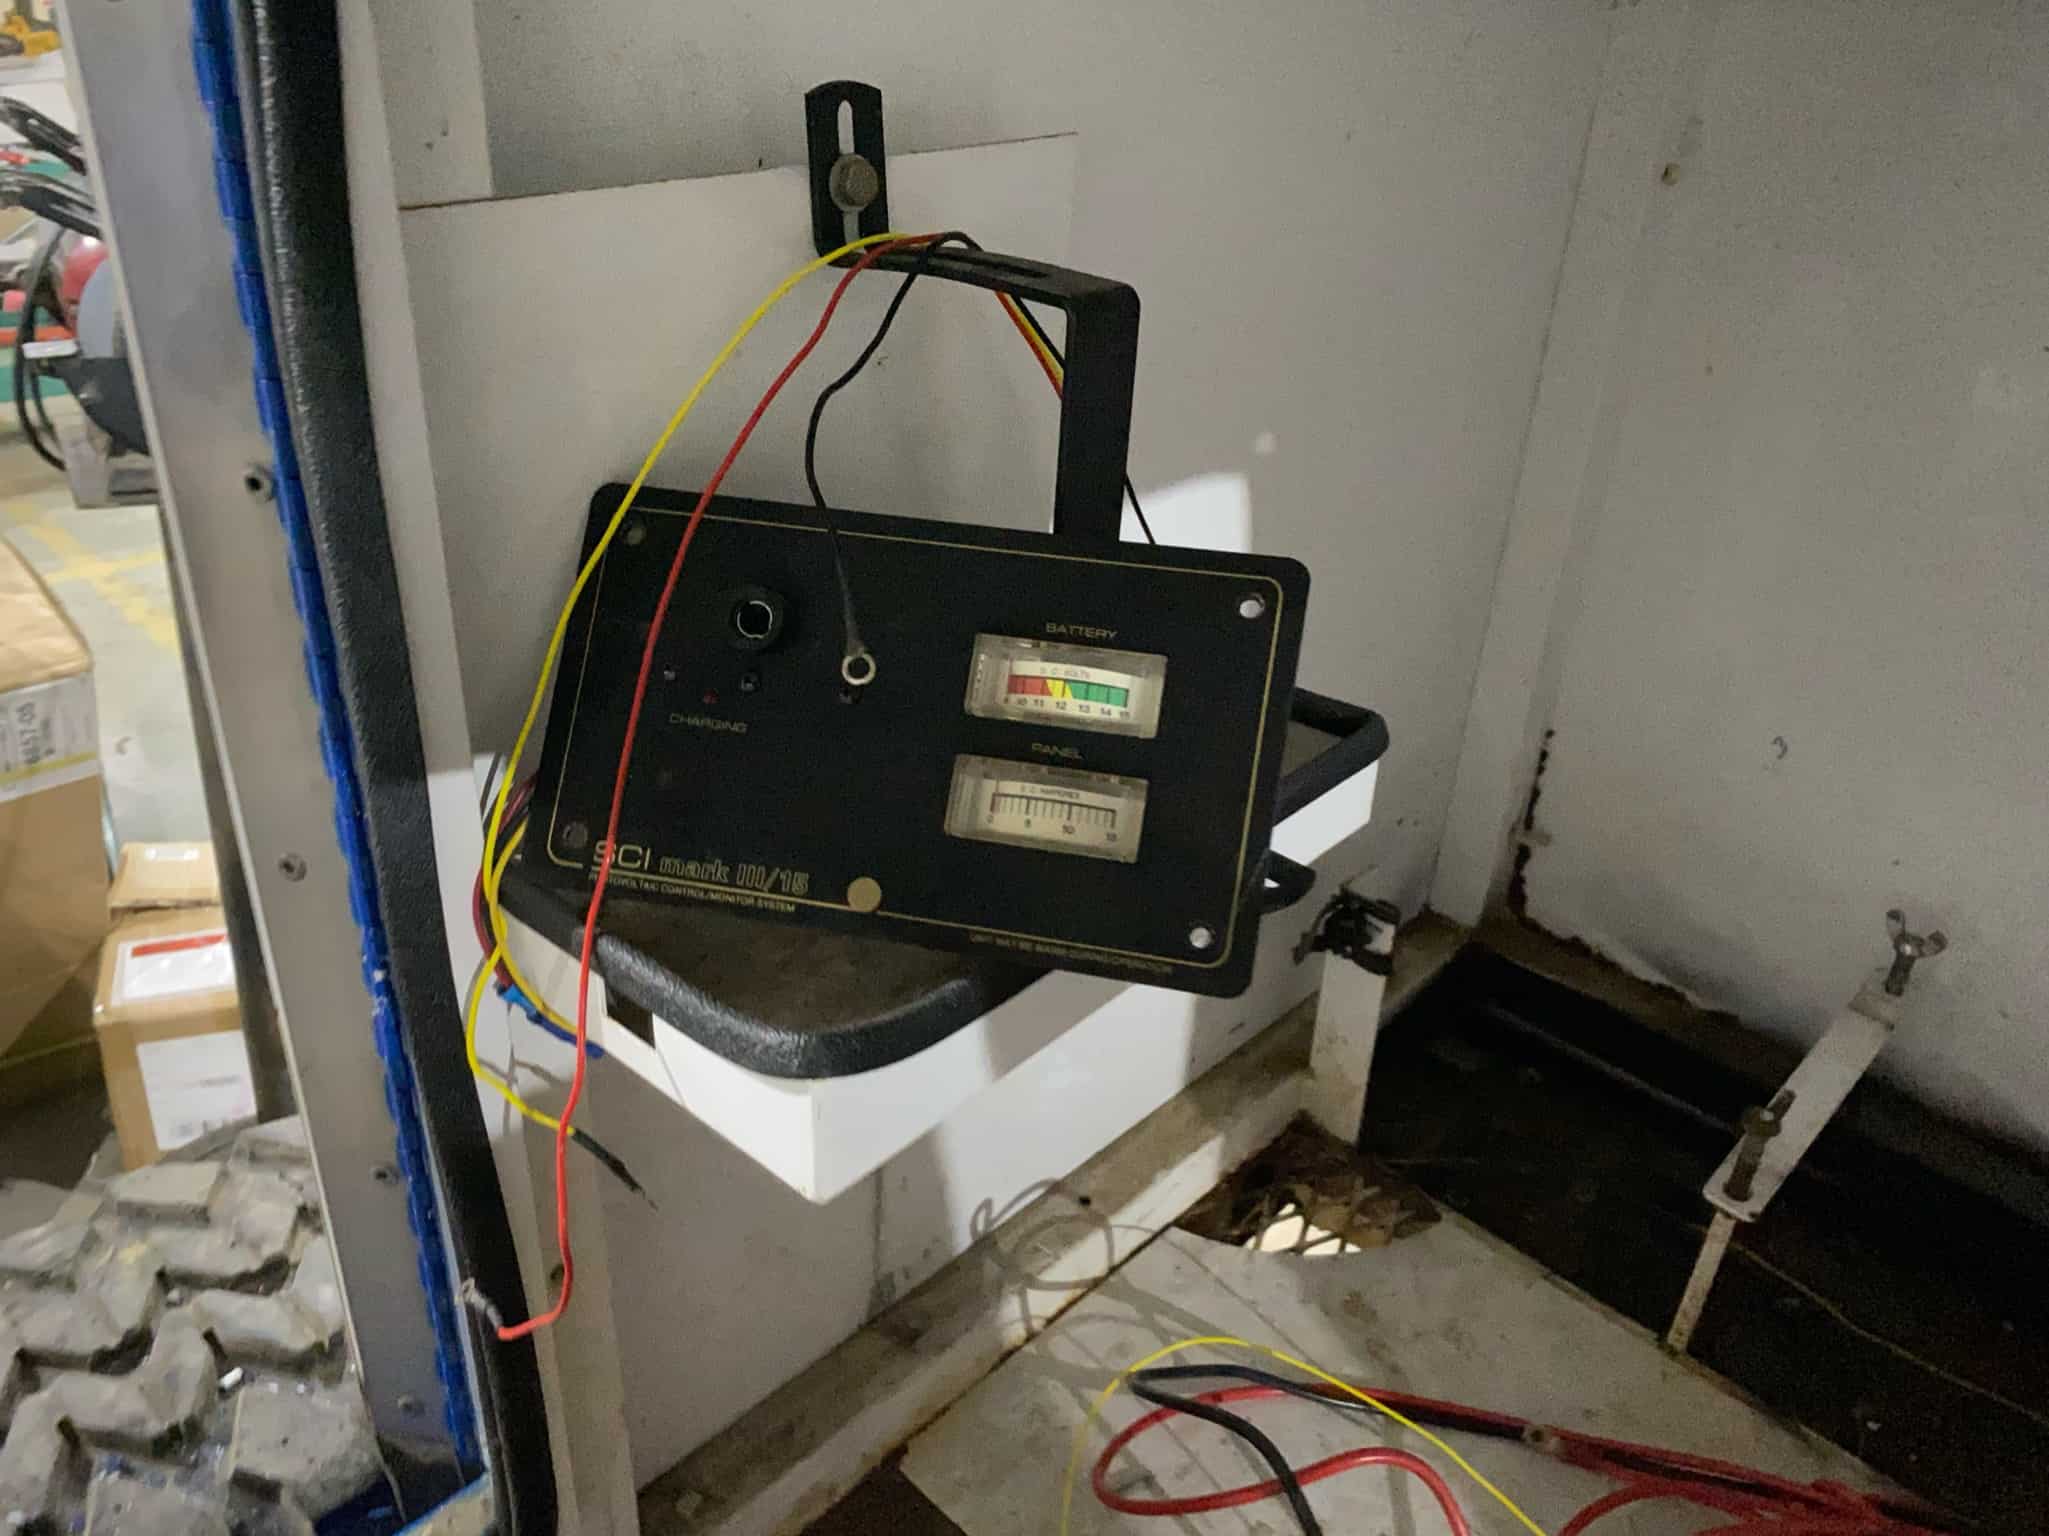
/ Solar Battery and the 12v Panel
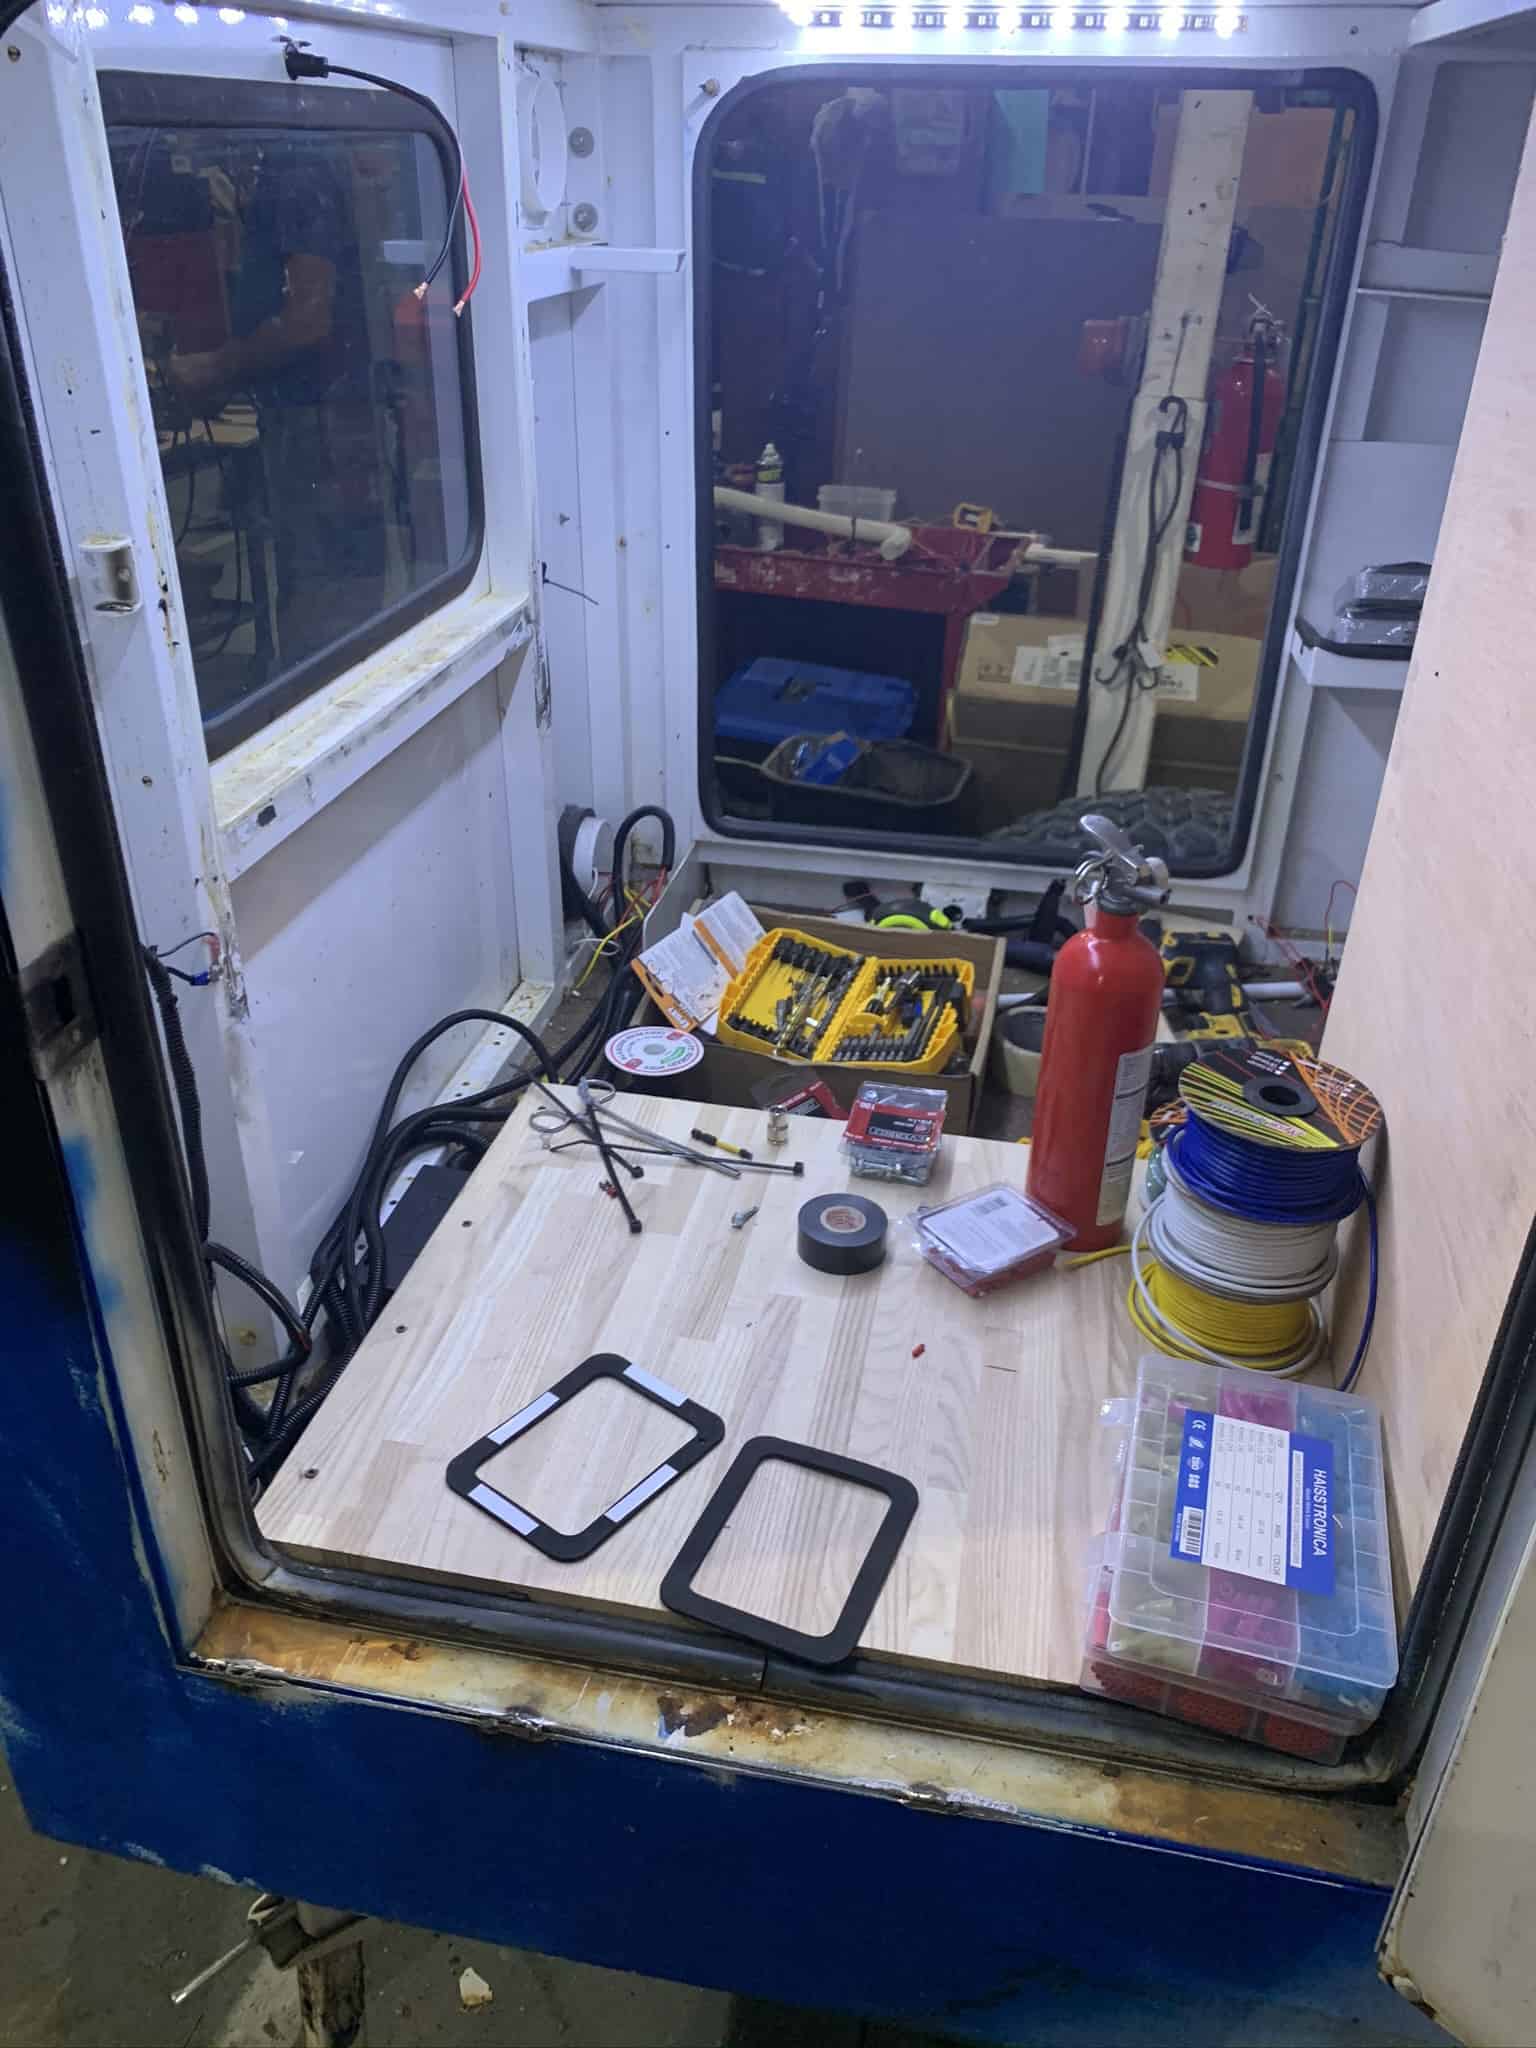
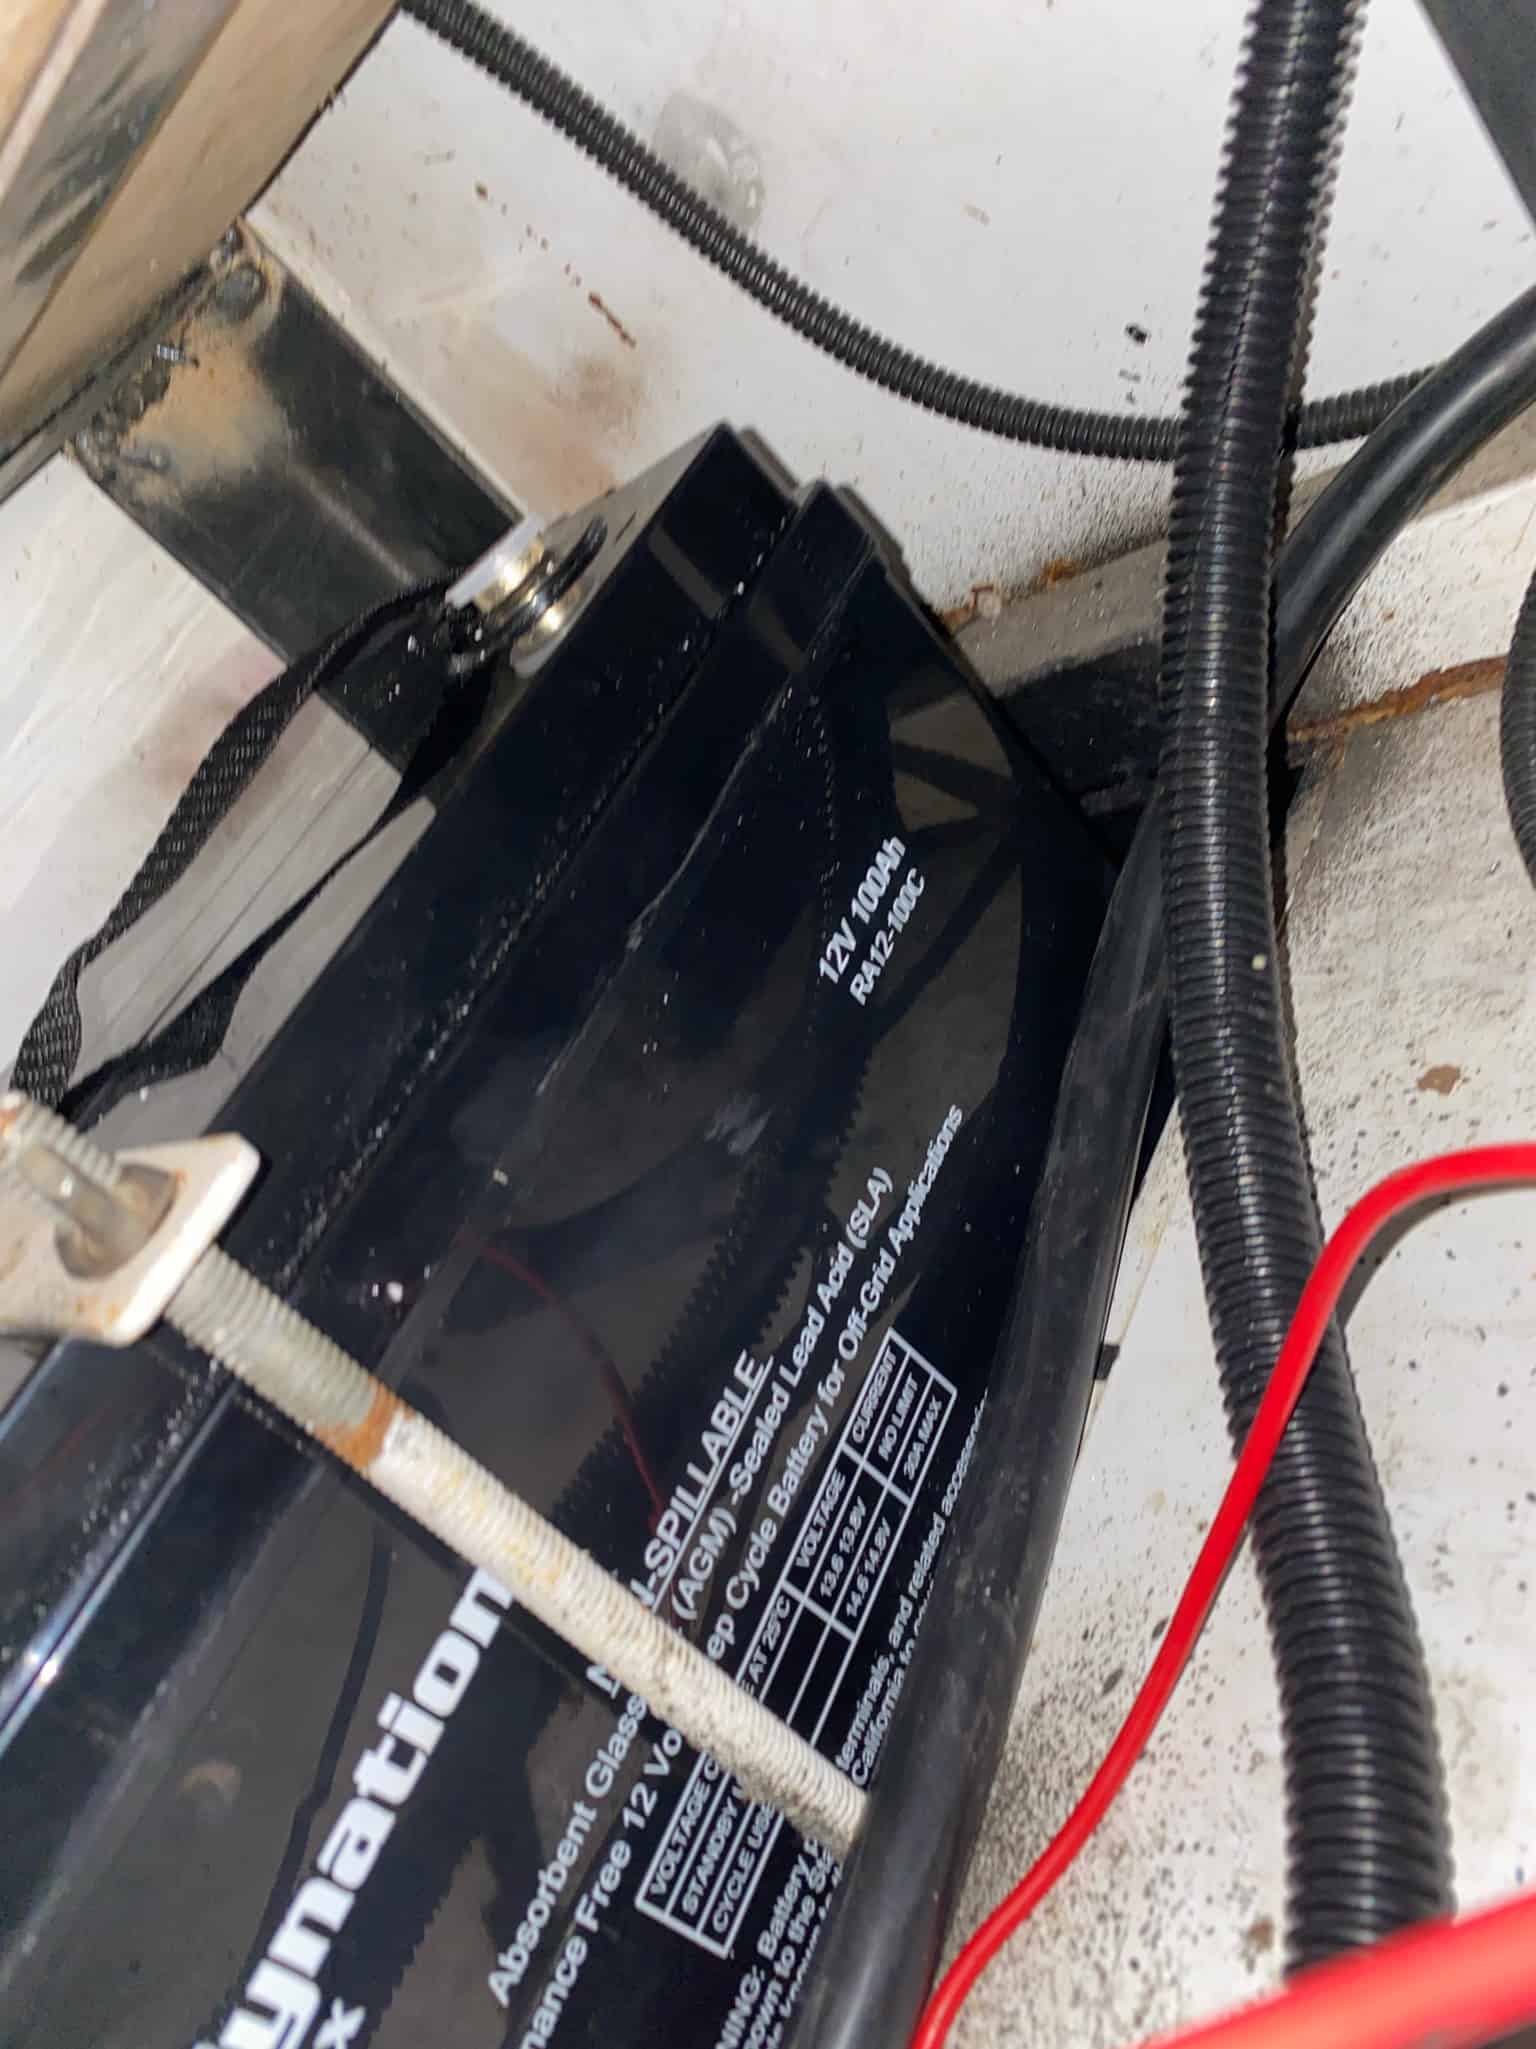
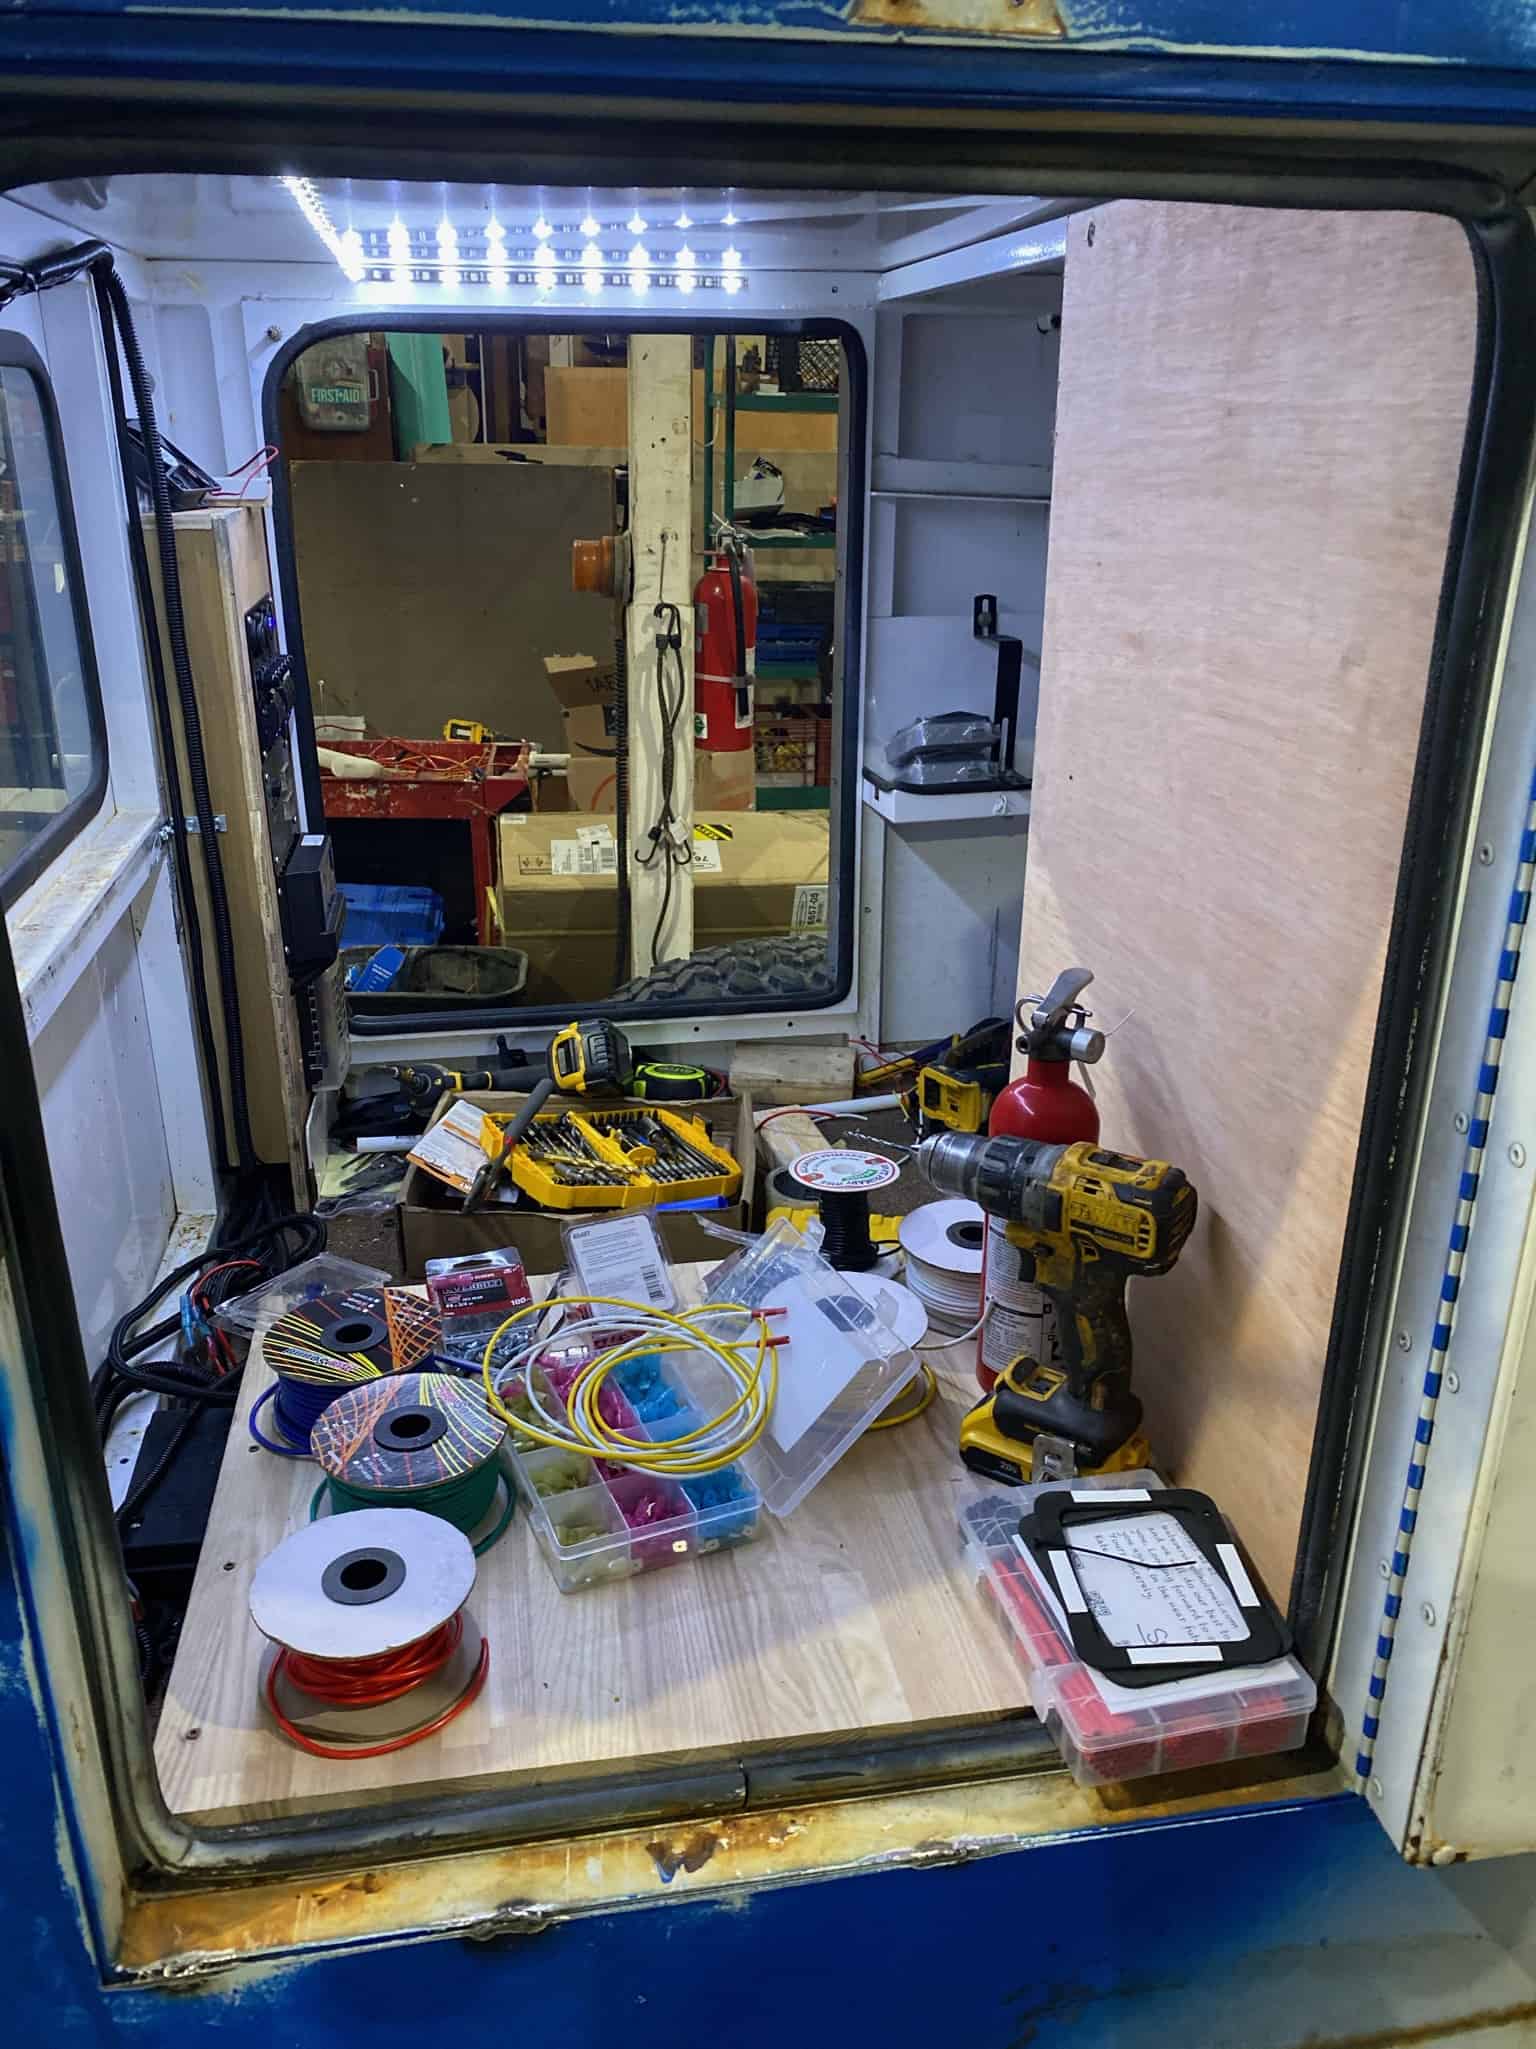
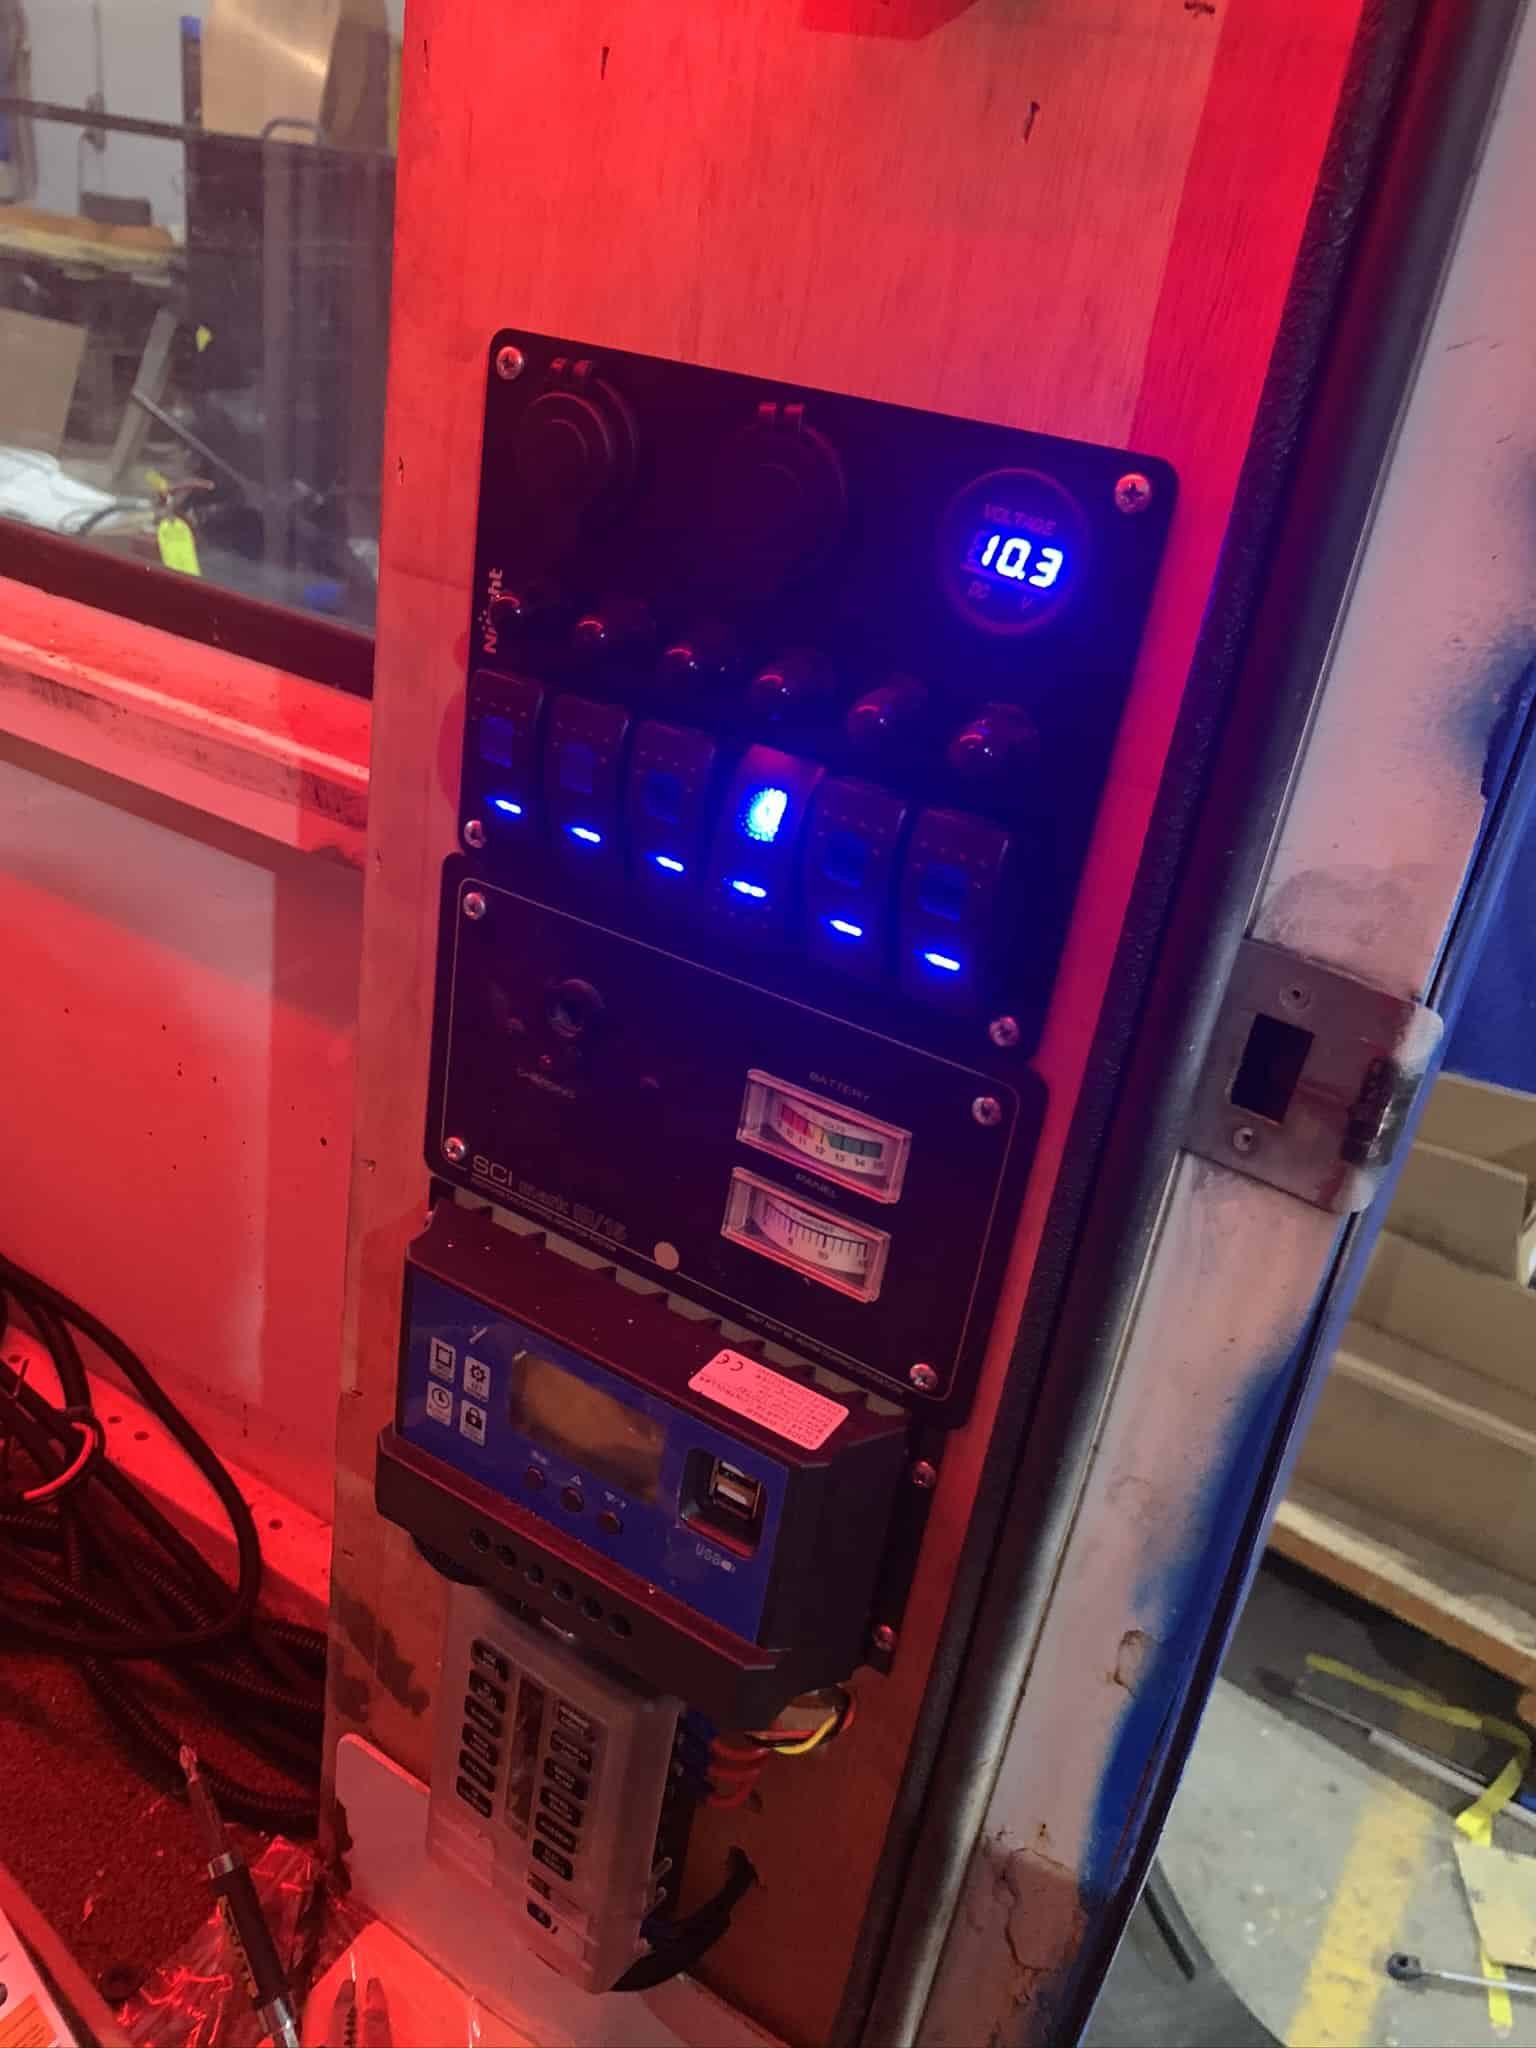
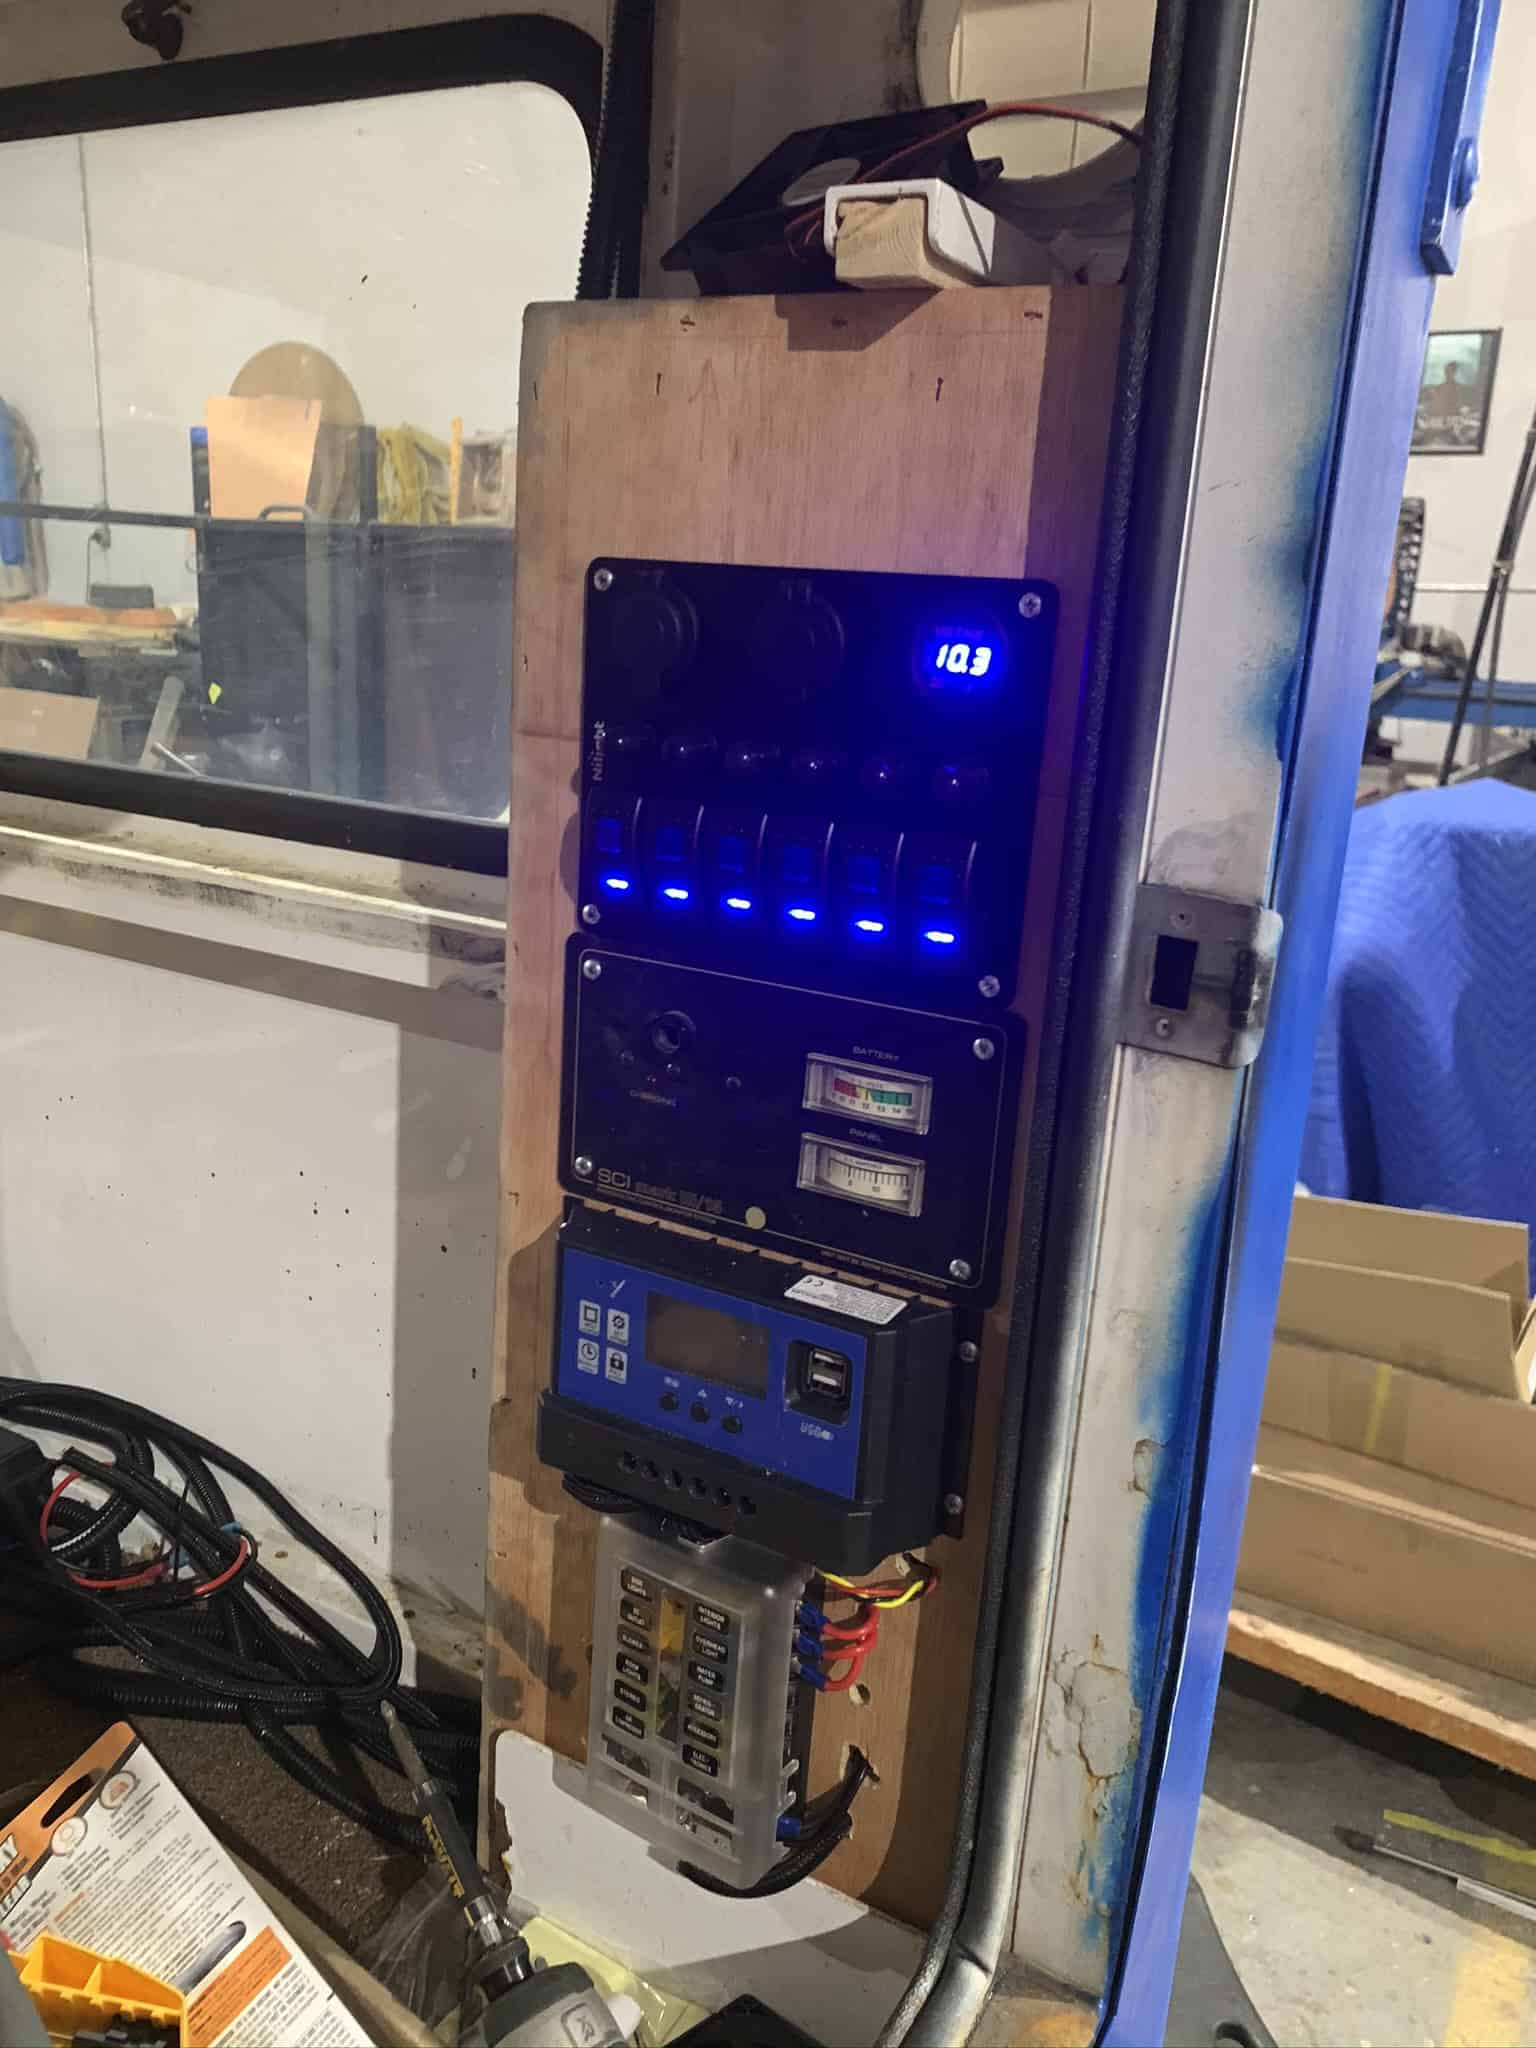
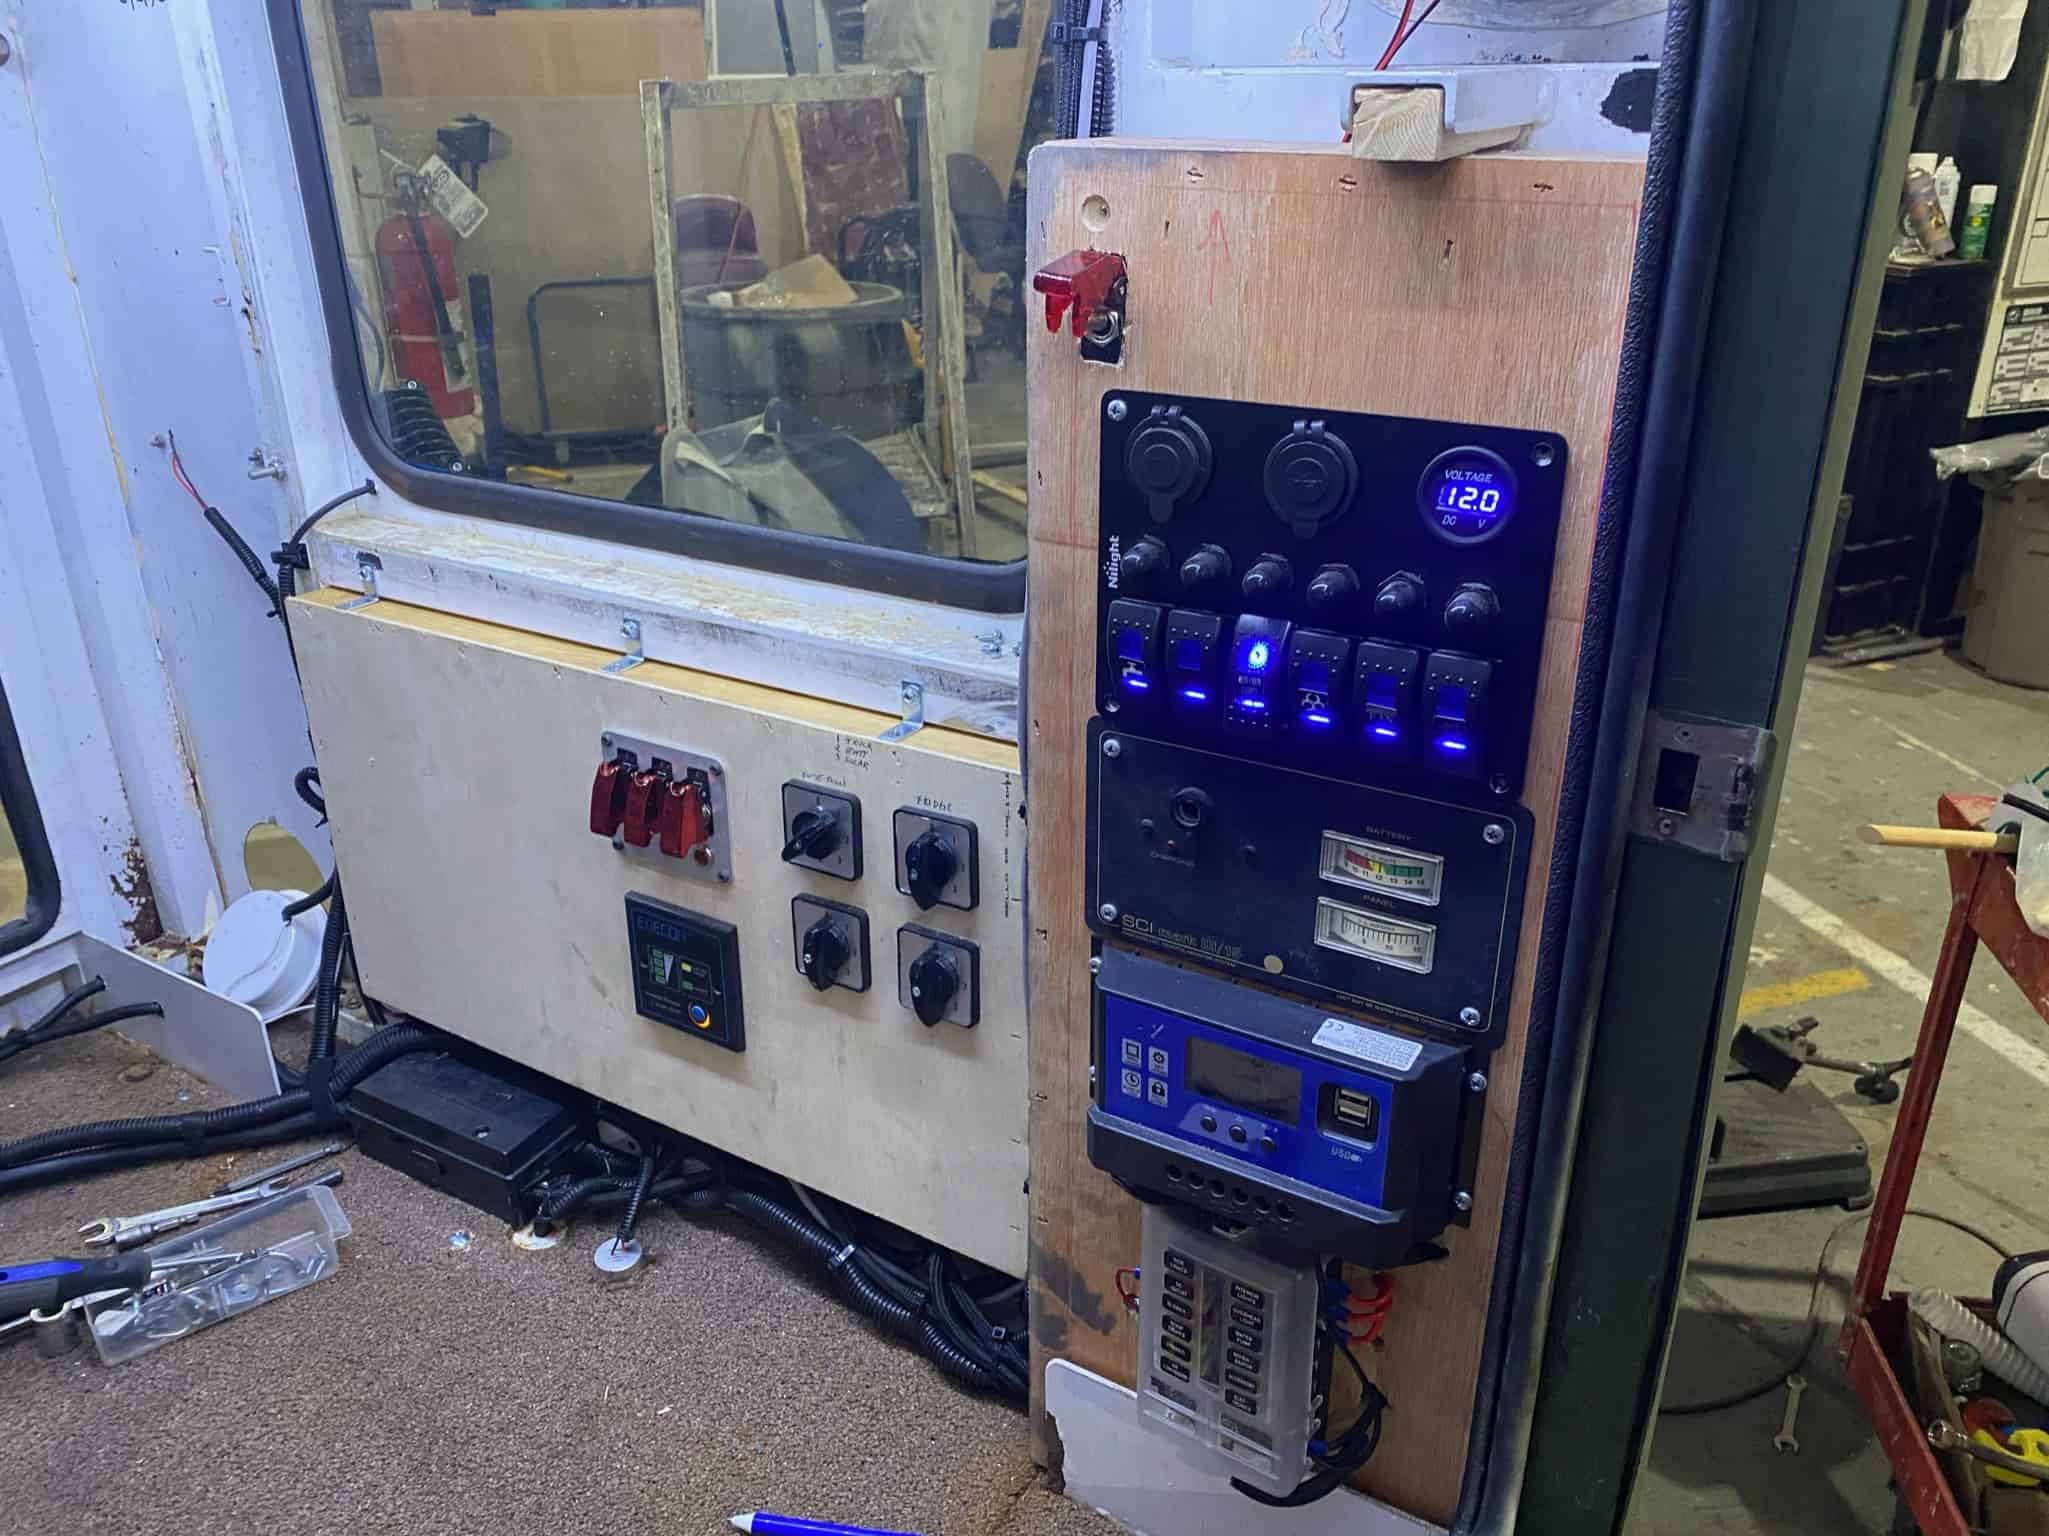
Getting the solar battery installed and starting on the 12v electrical panel.
/ Round 1 of Paint
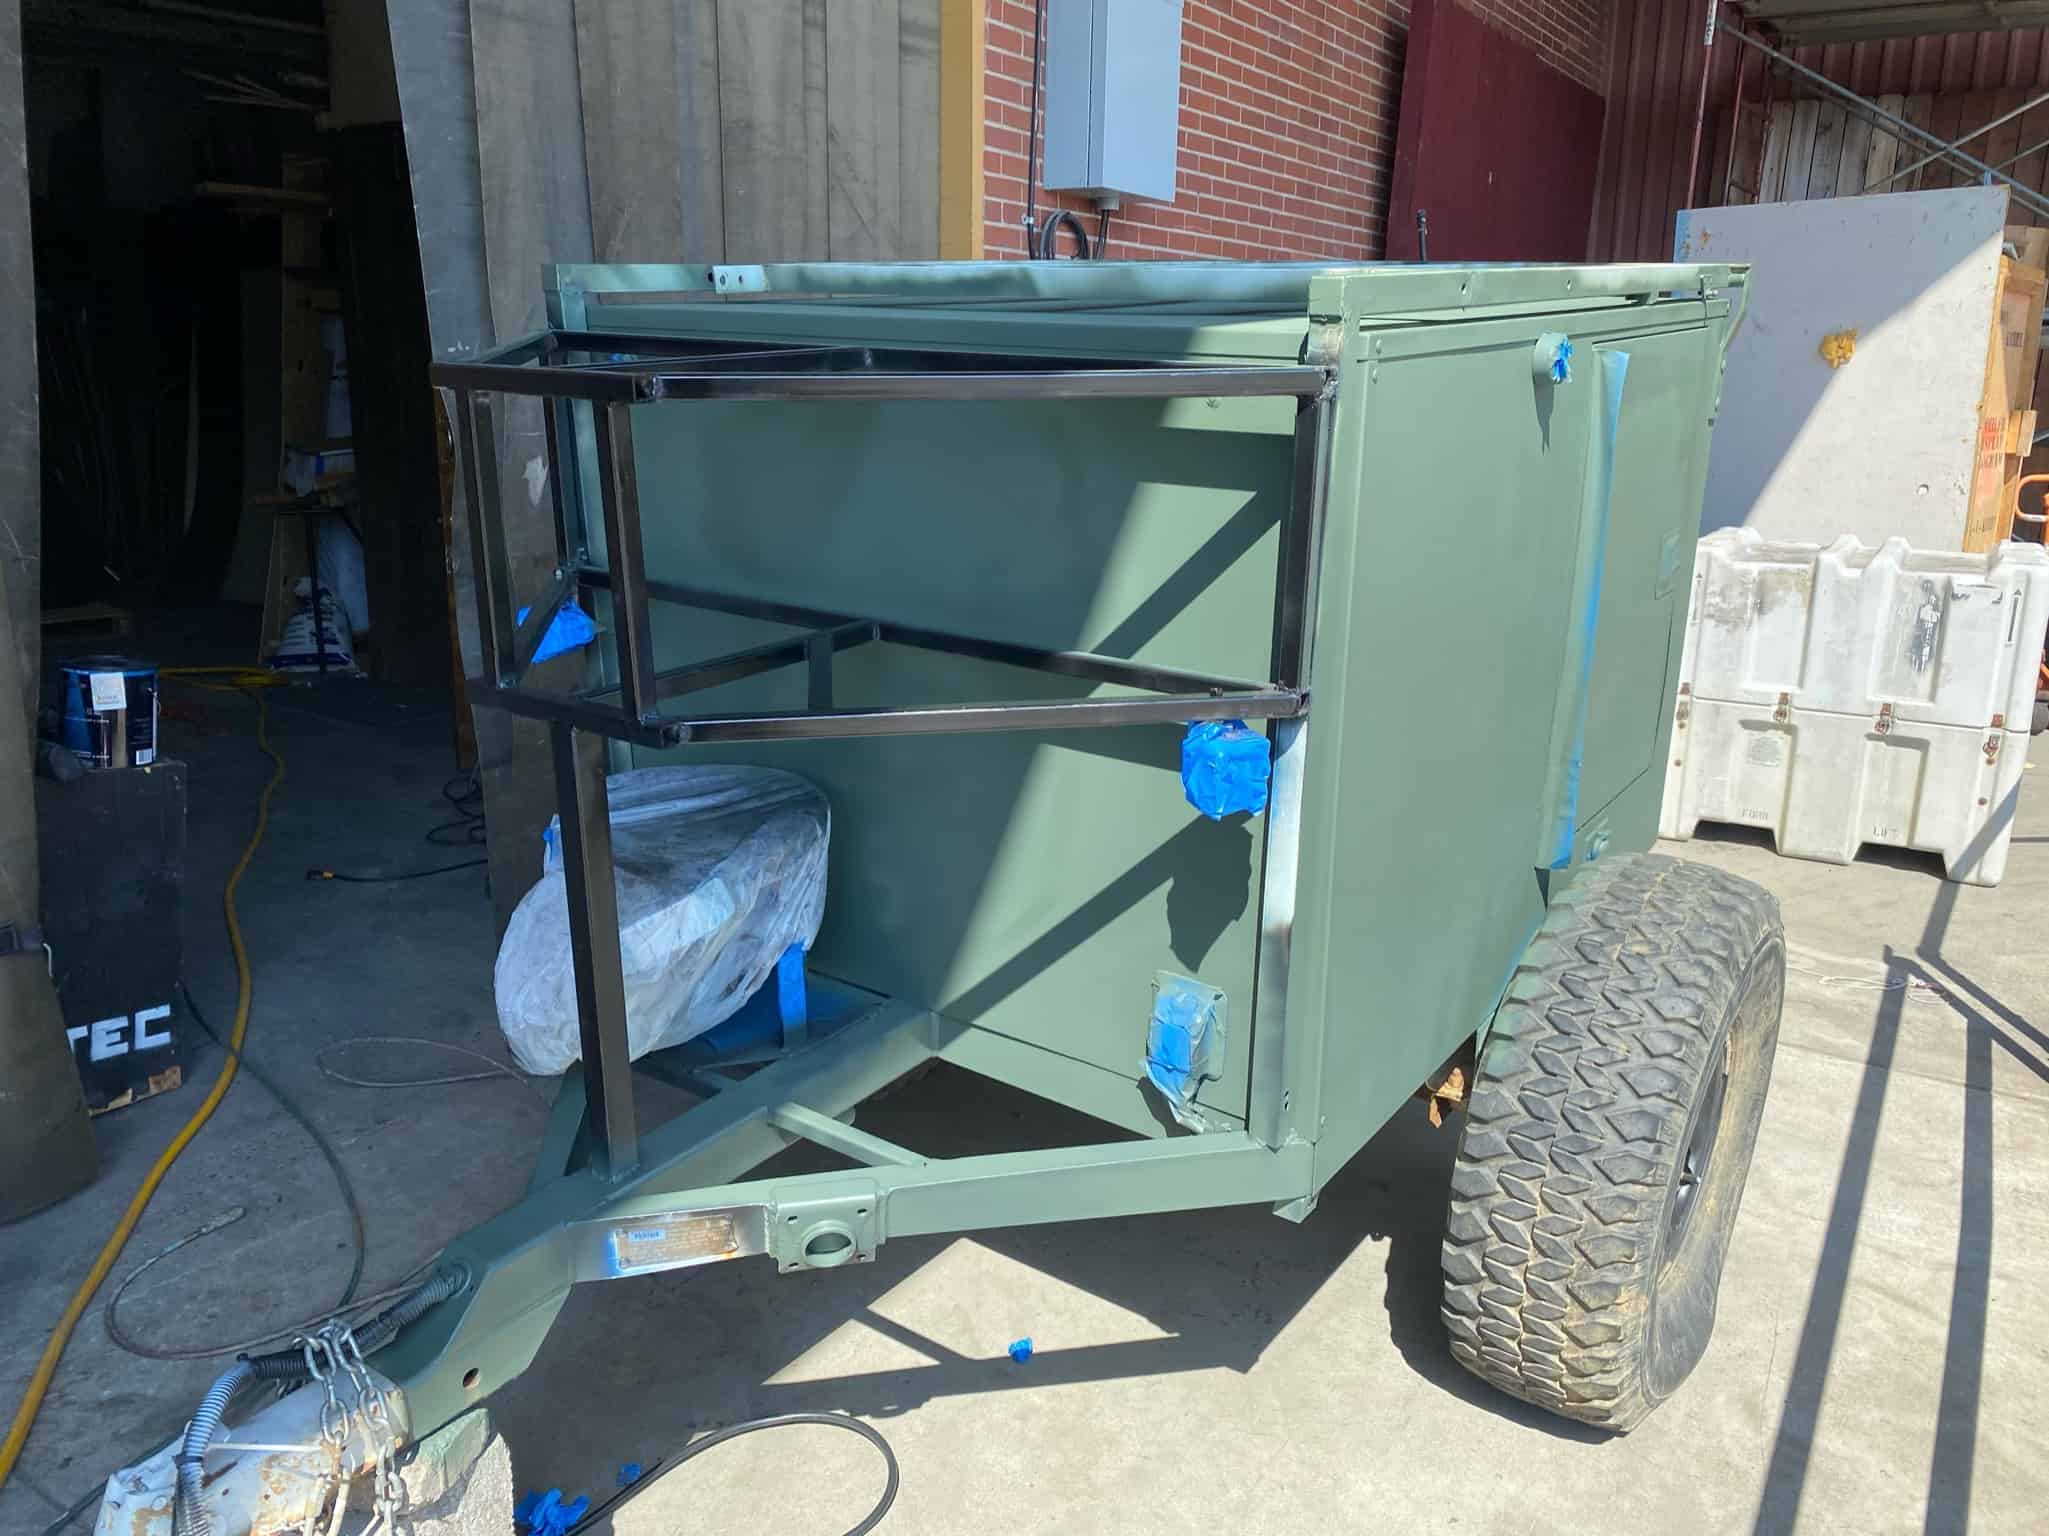
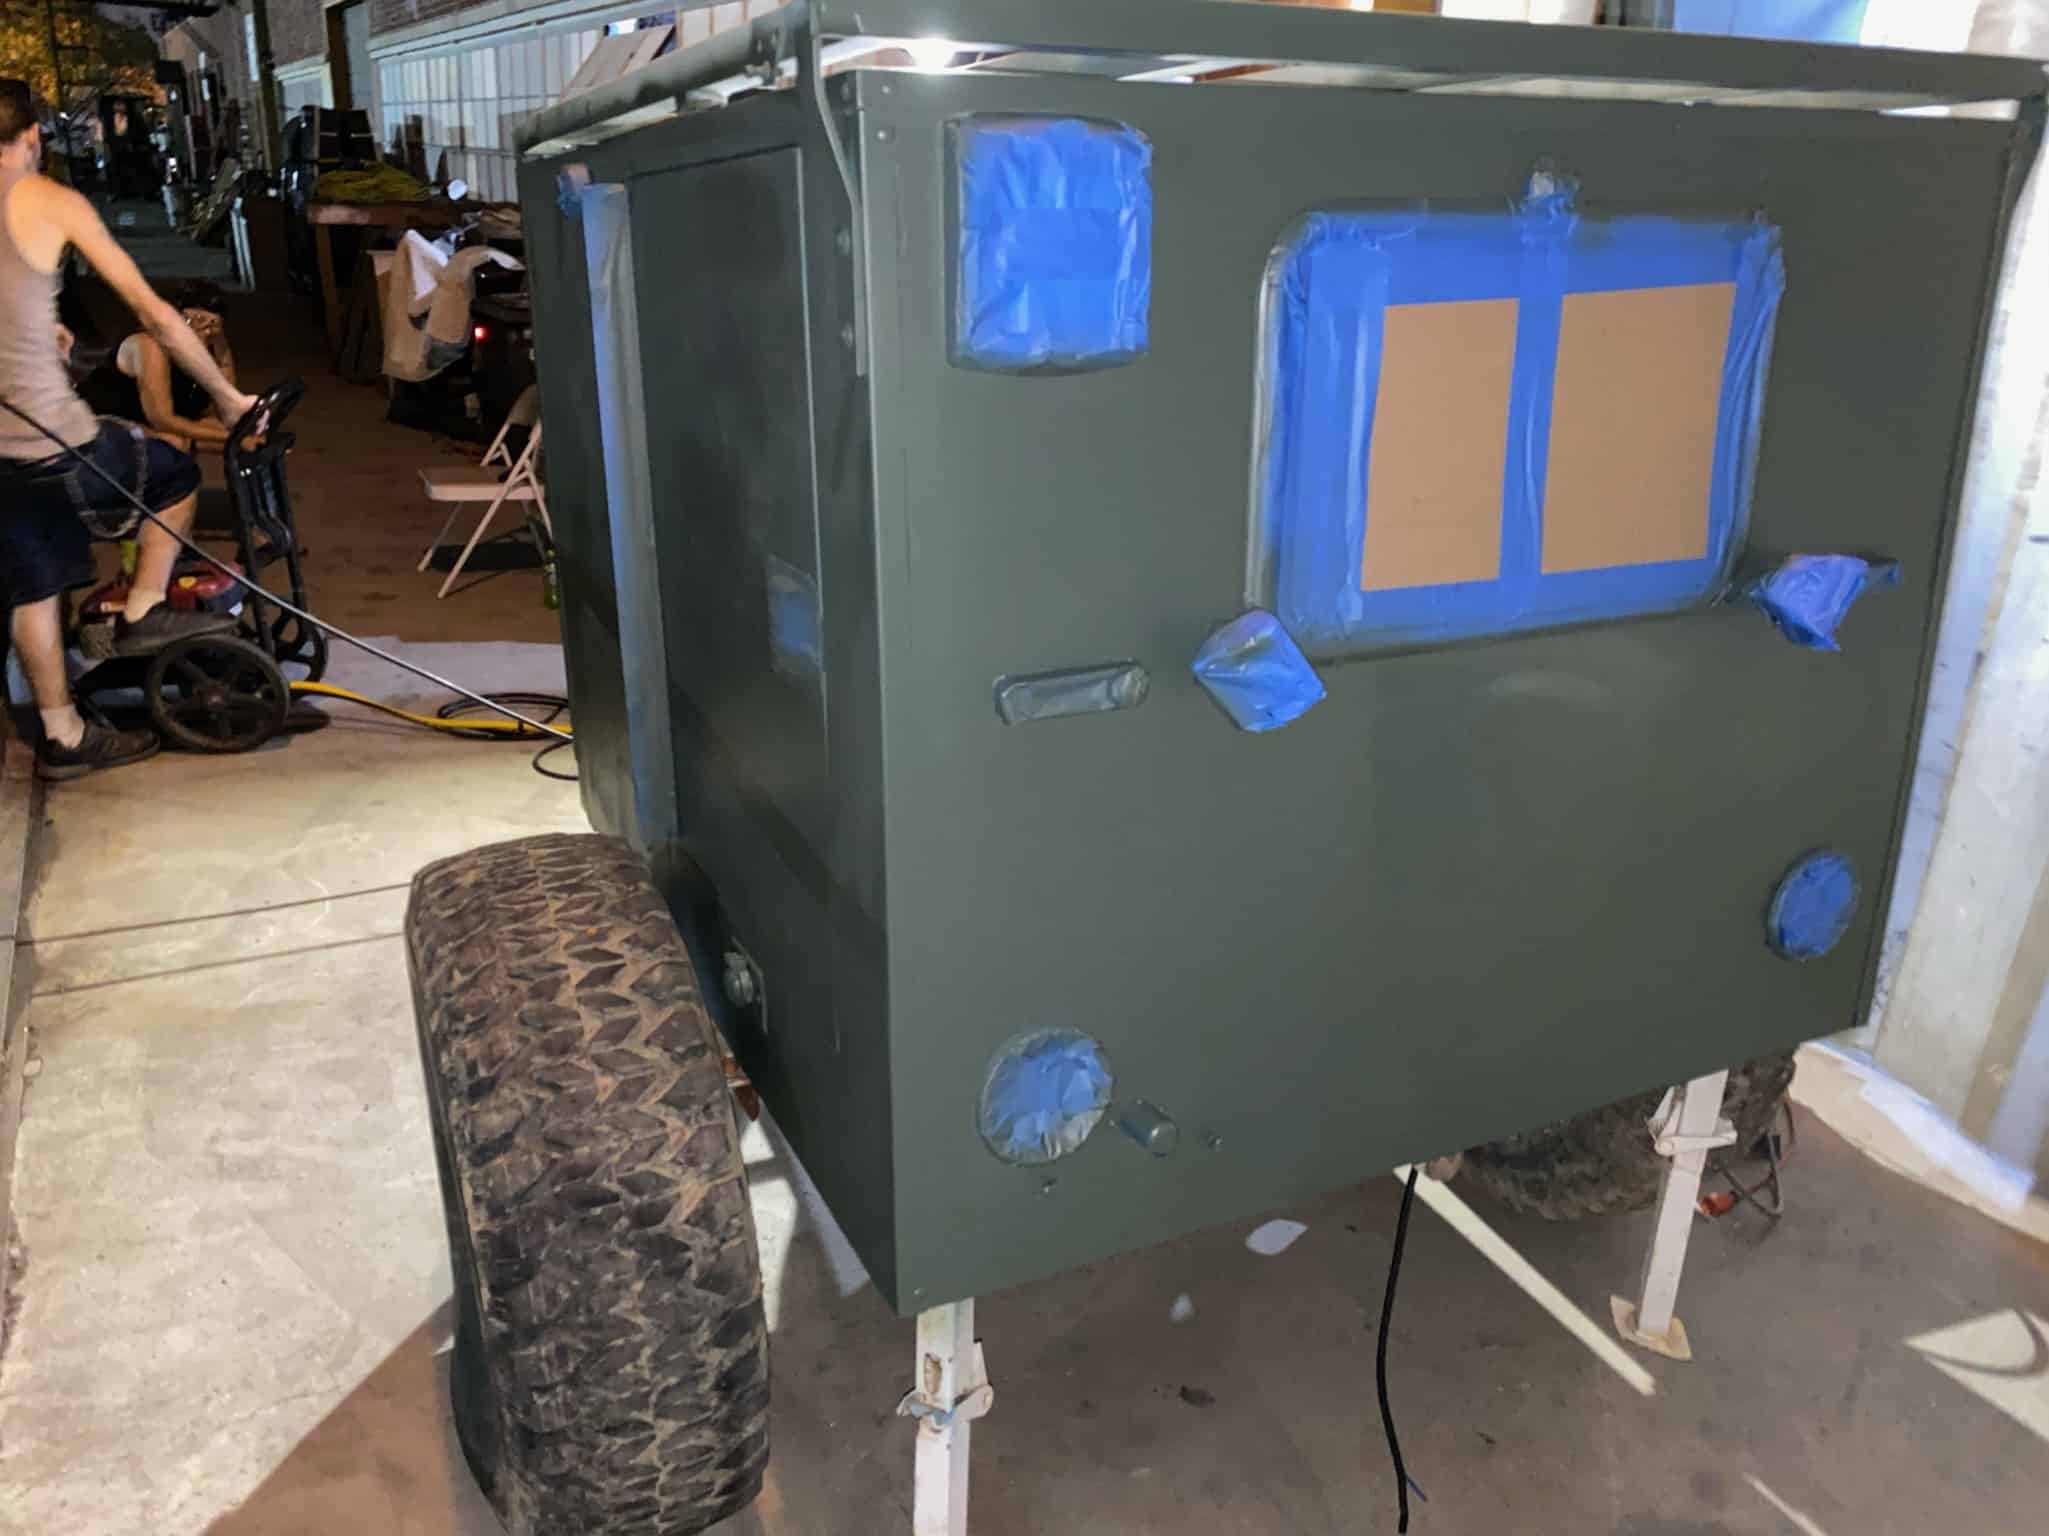
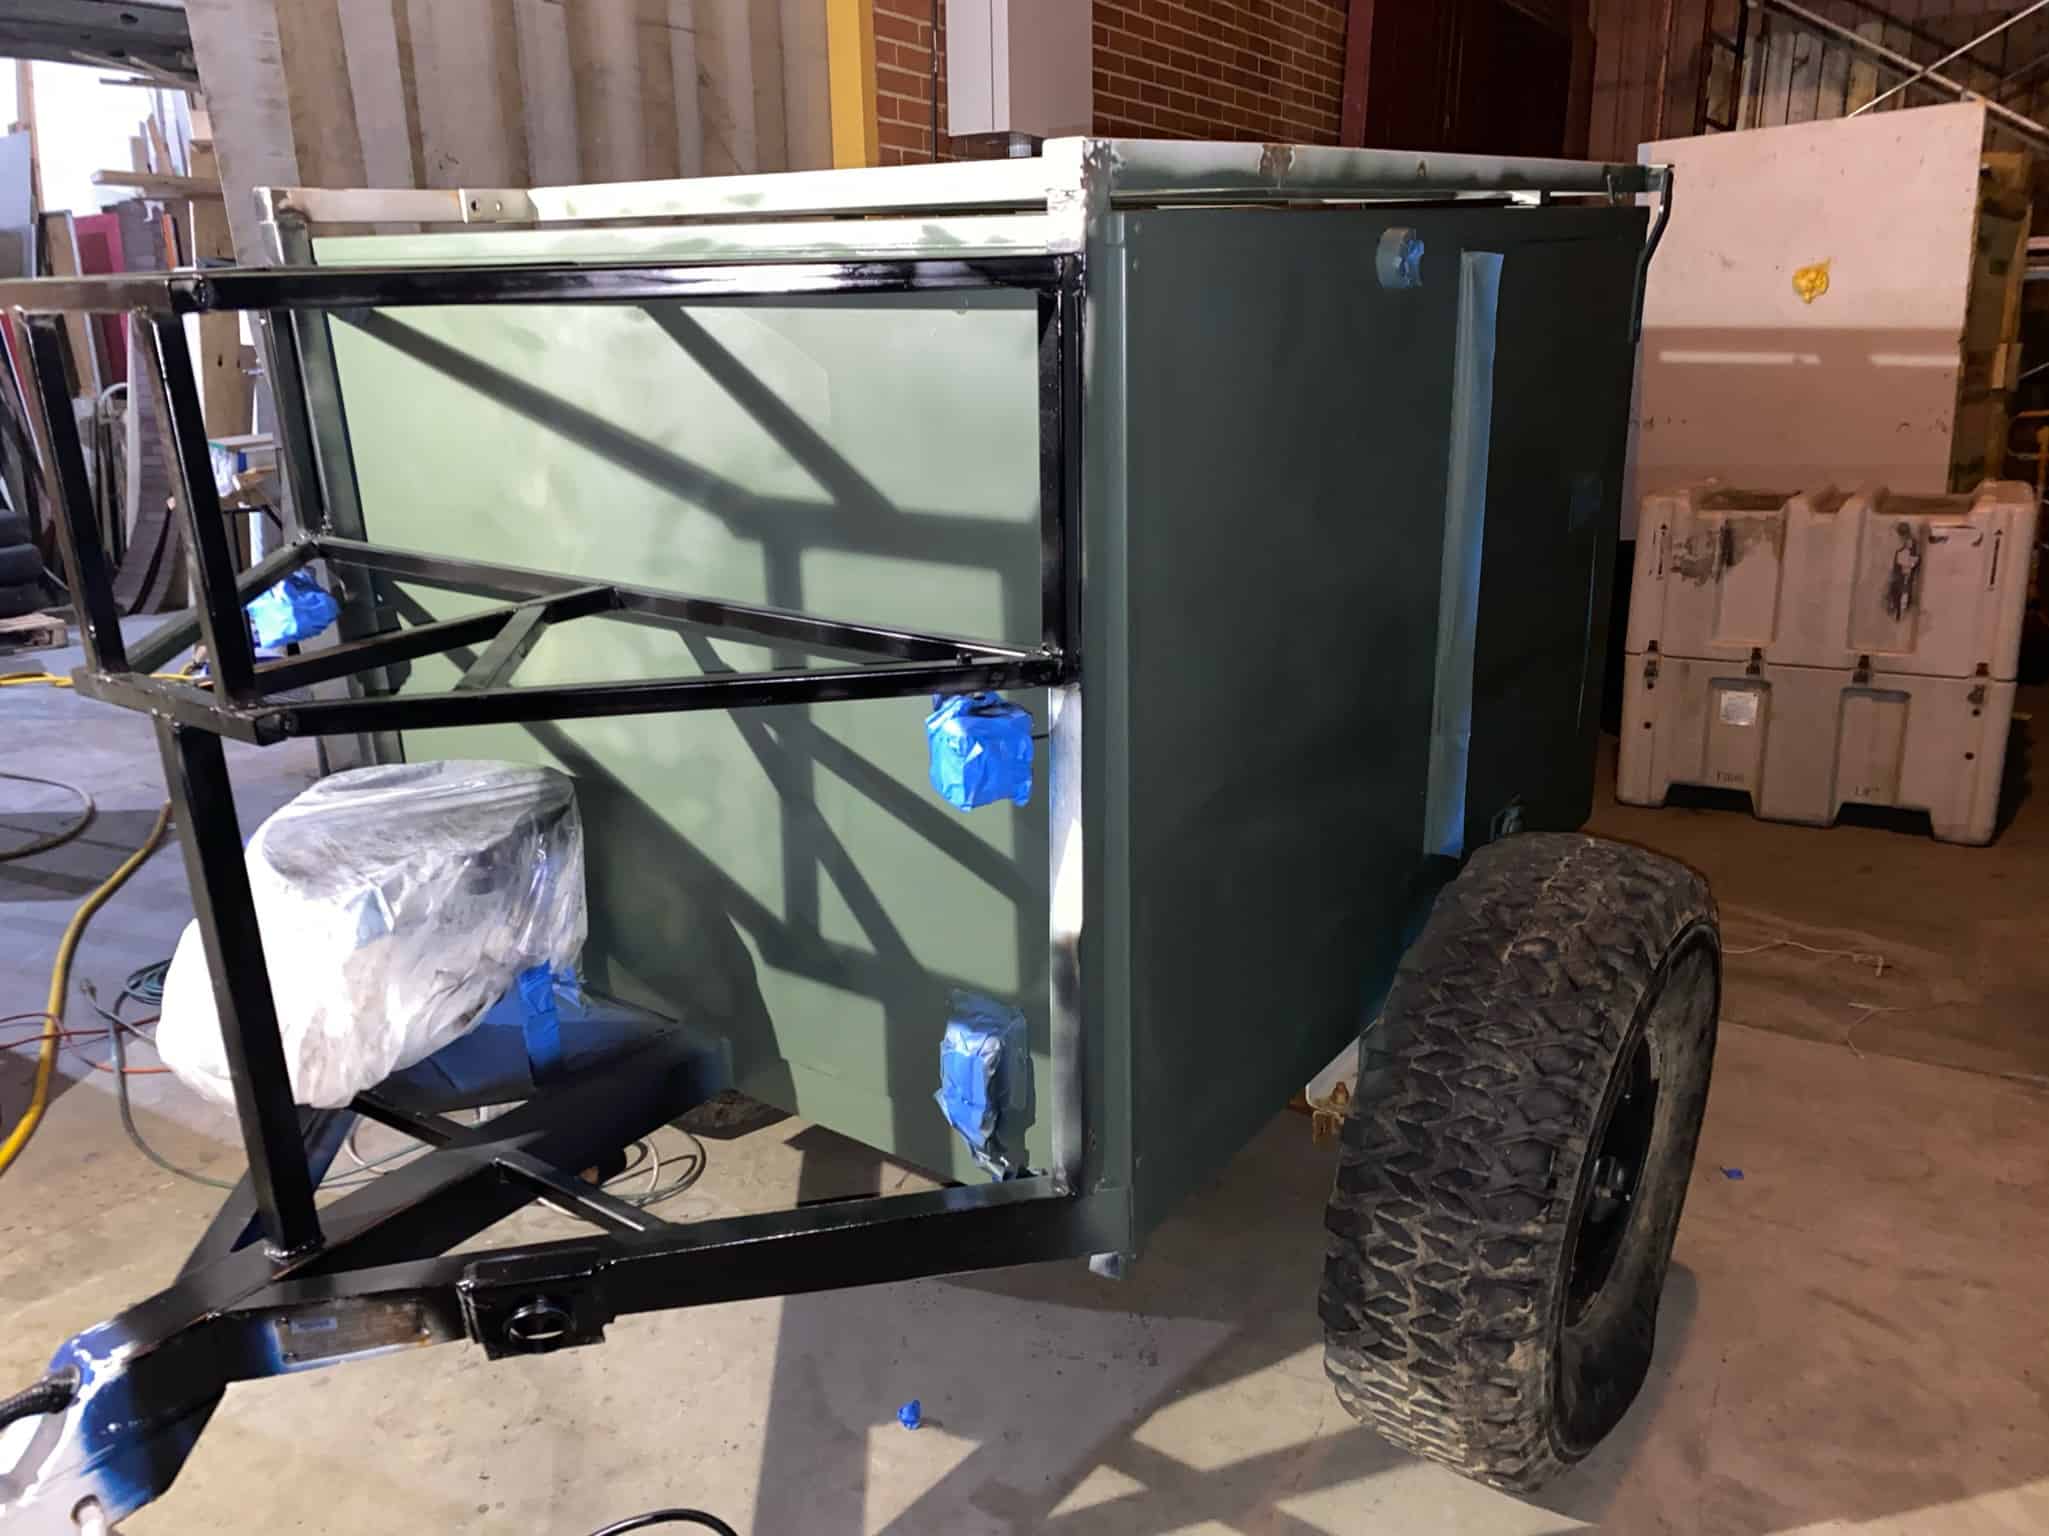
/ New Axle and Trailer Brakes
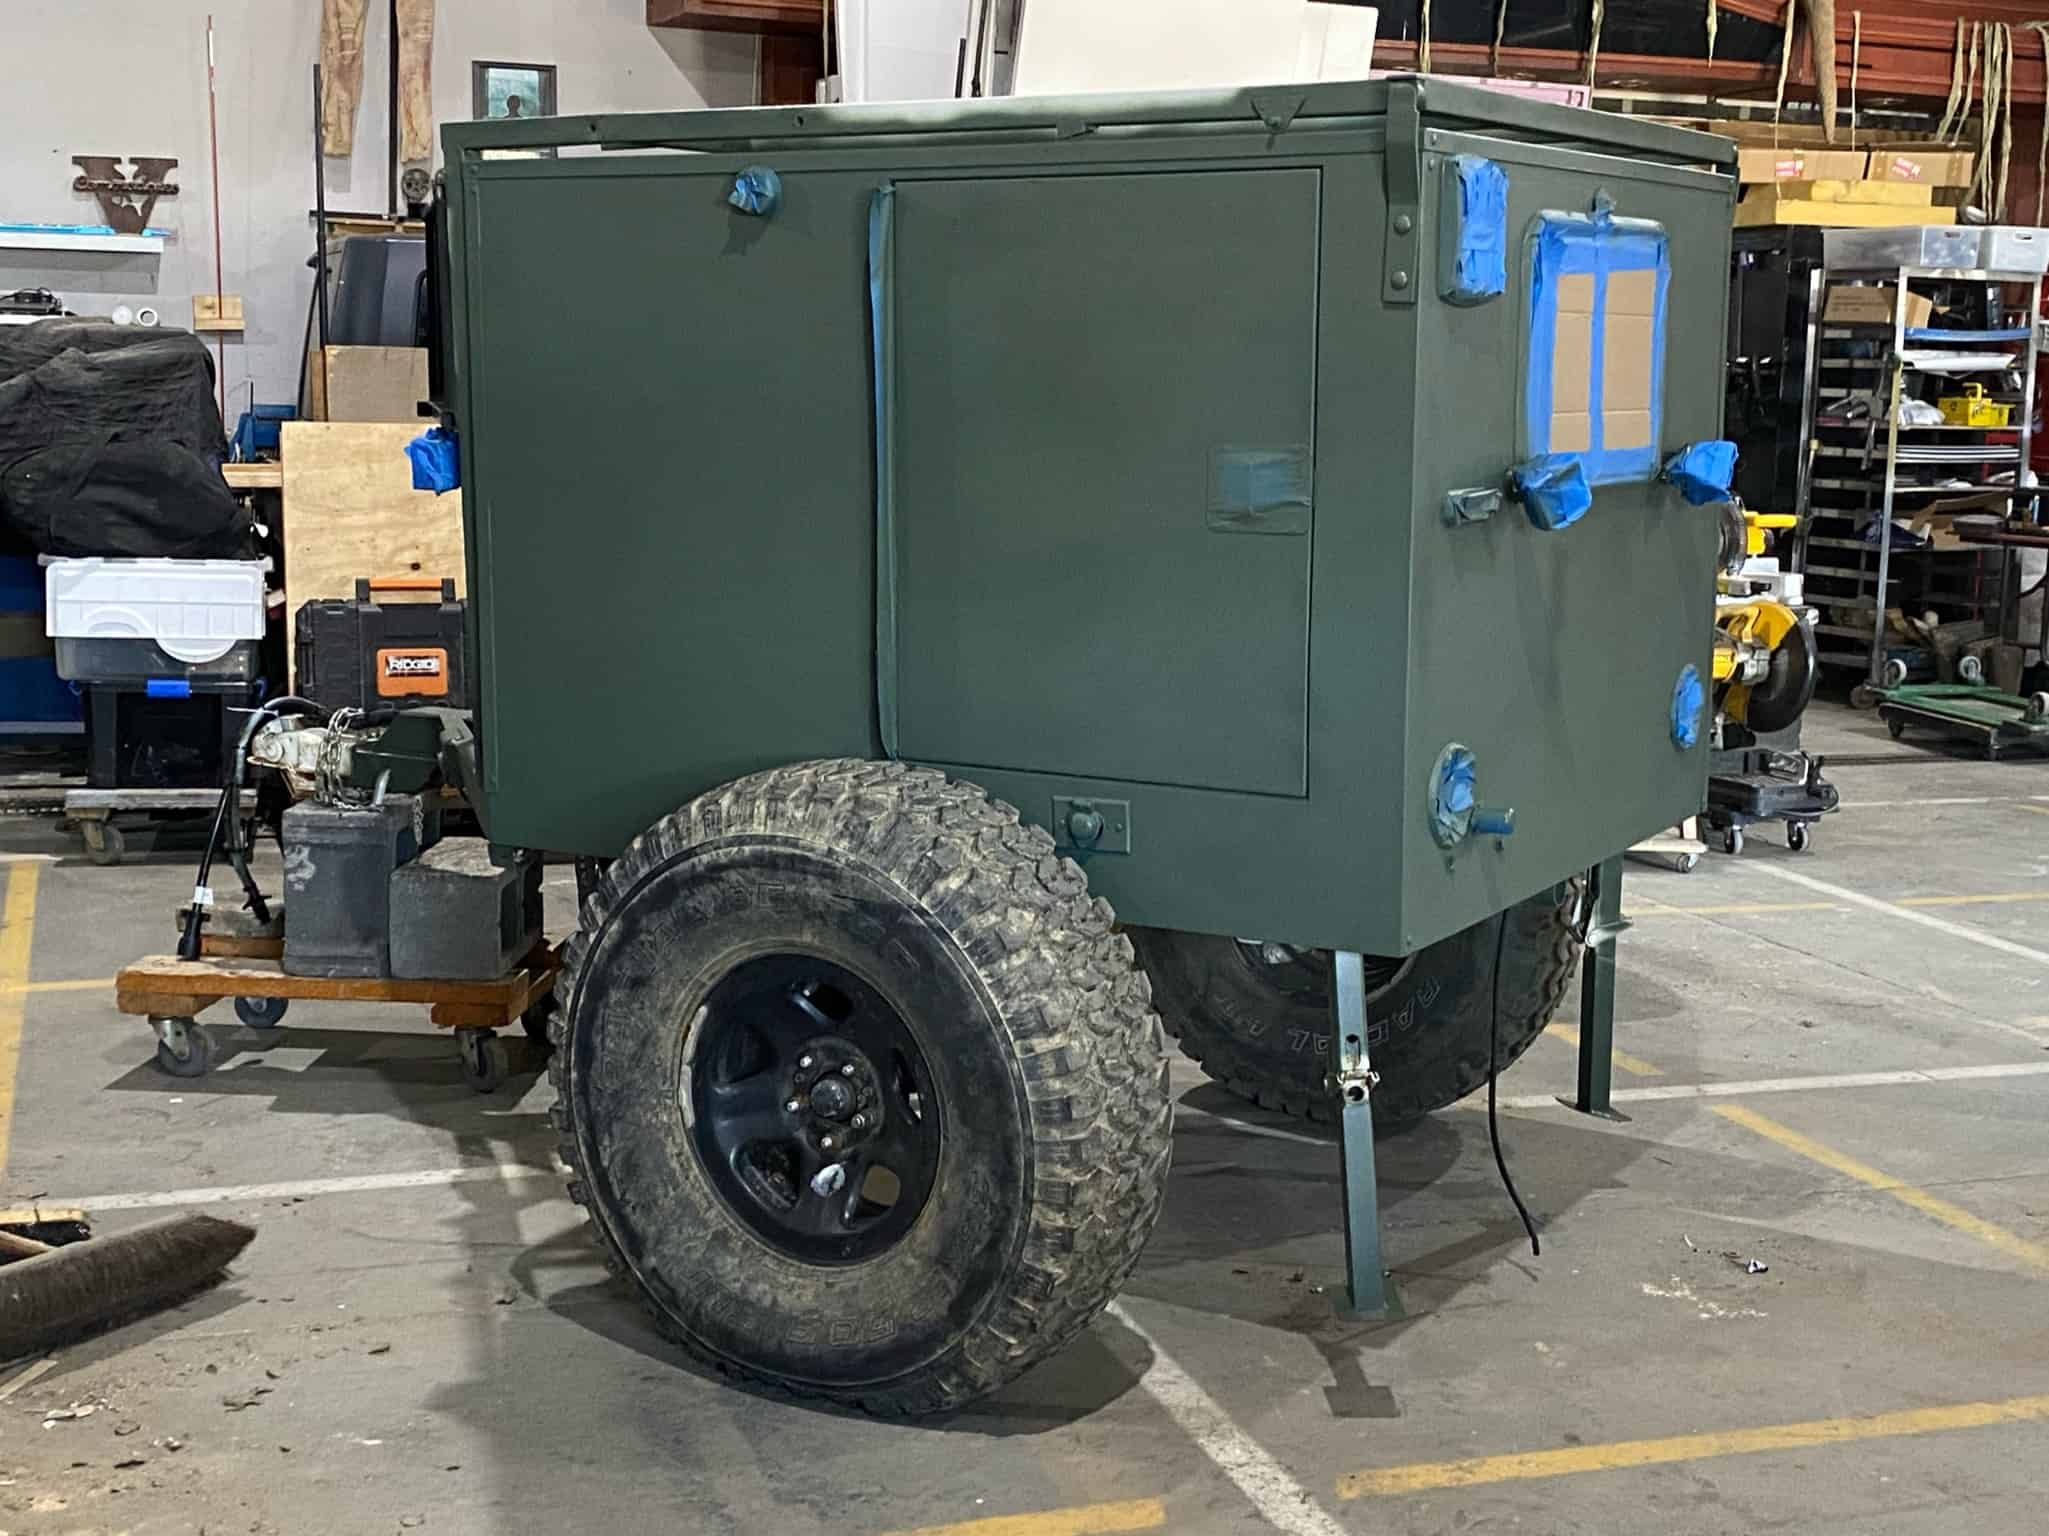
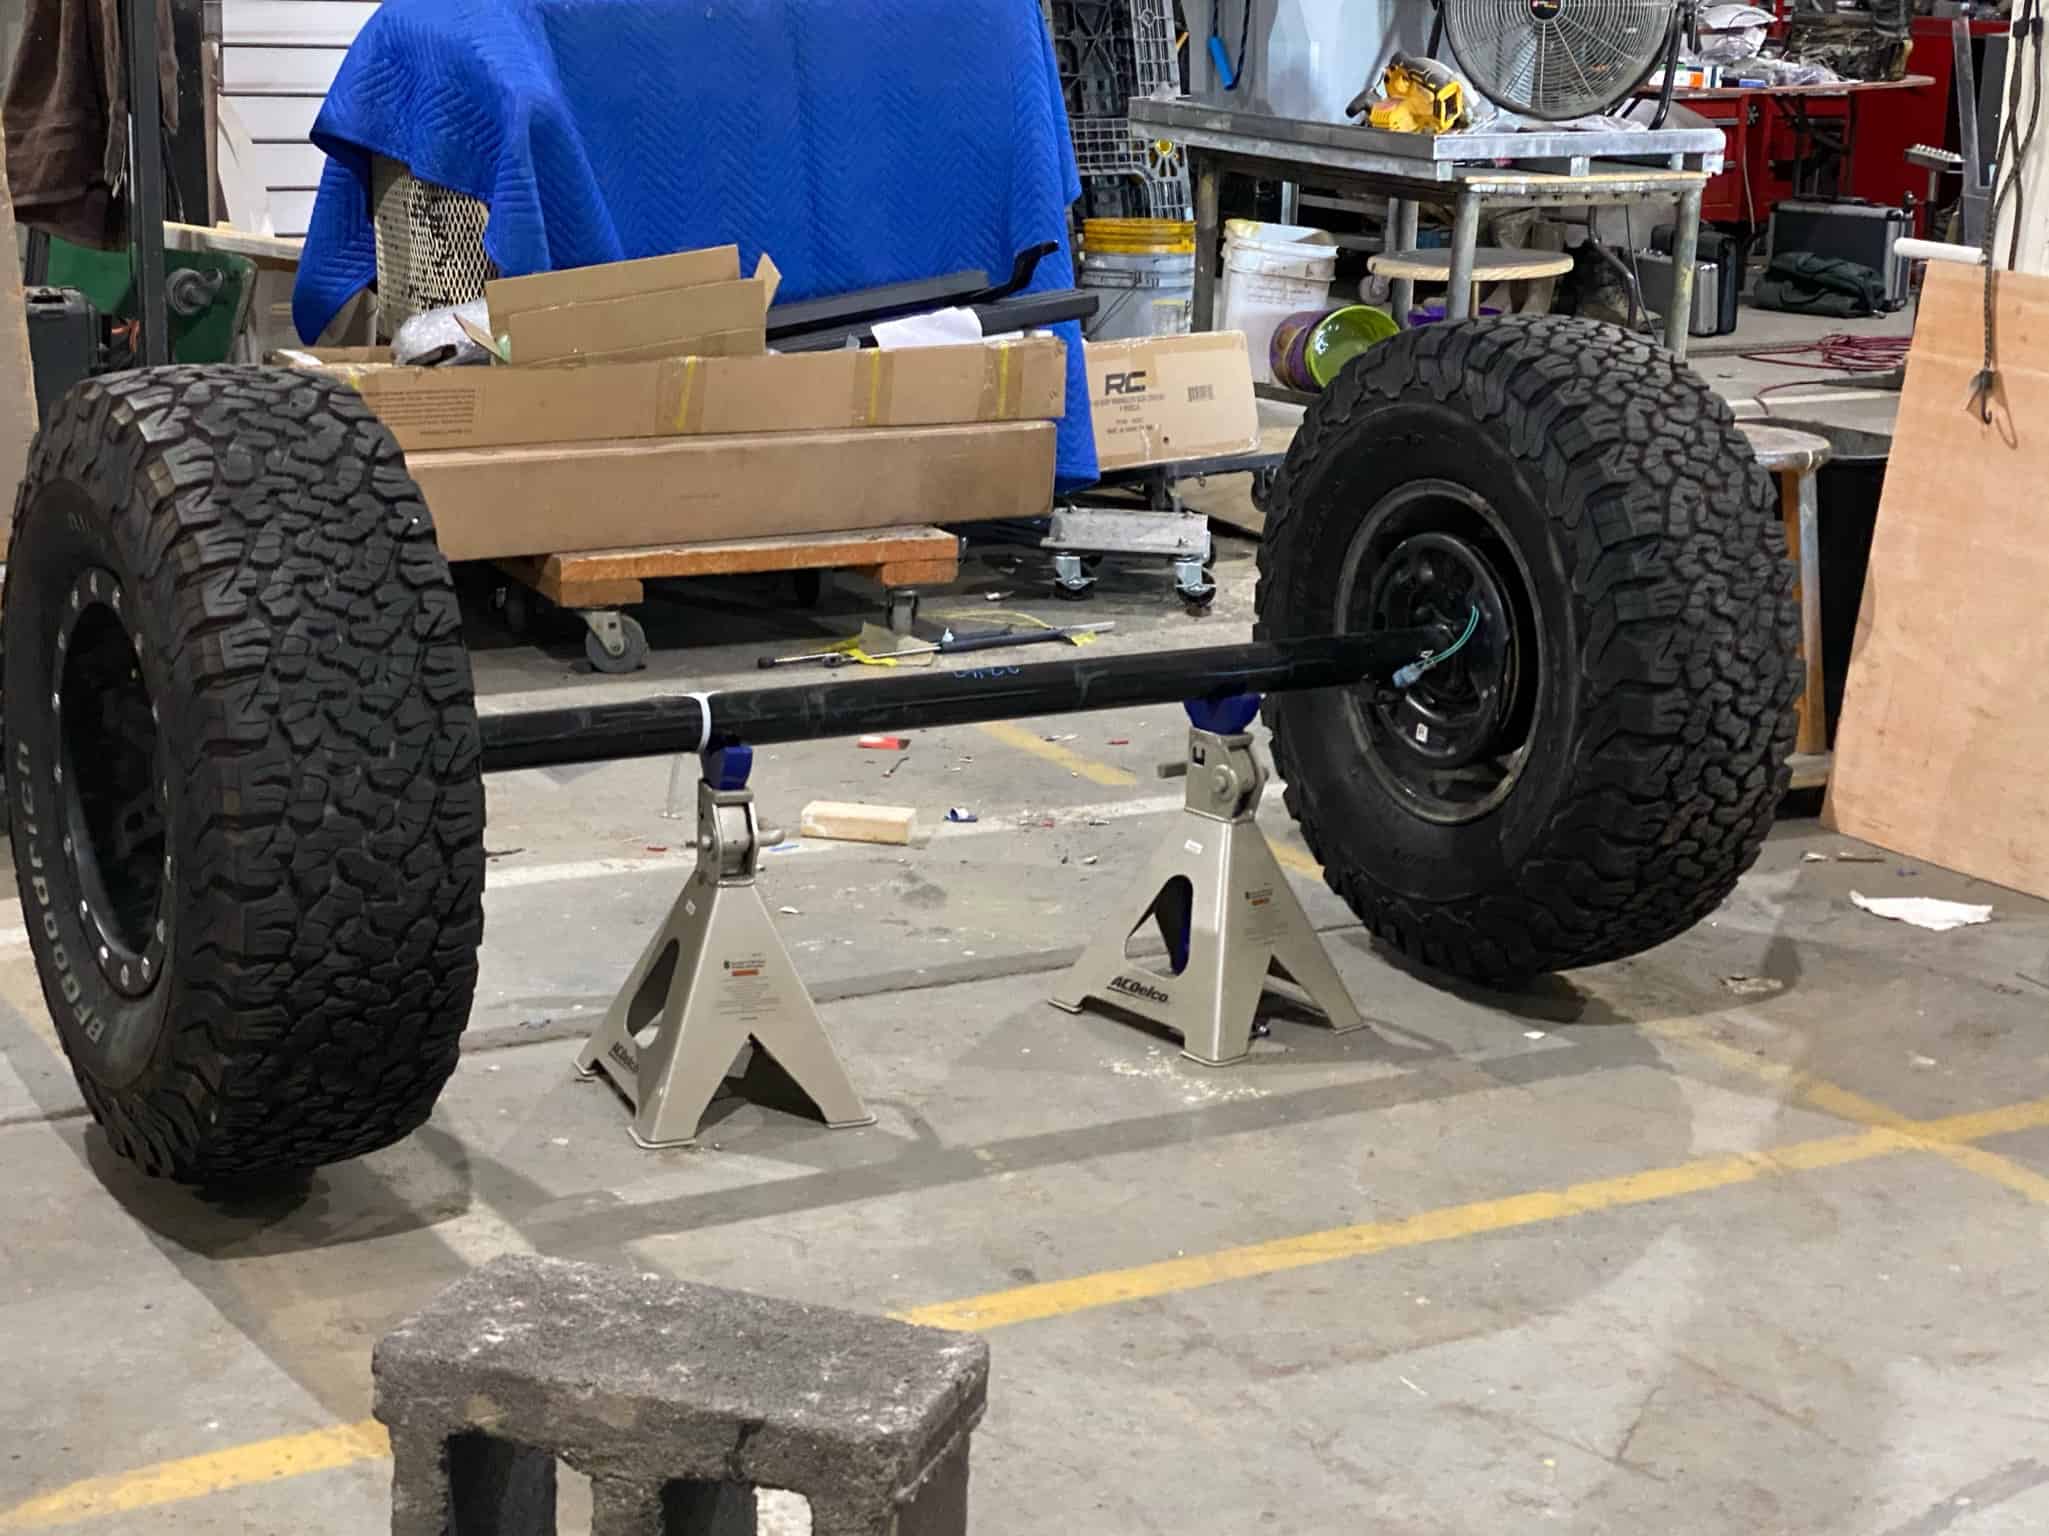
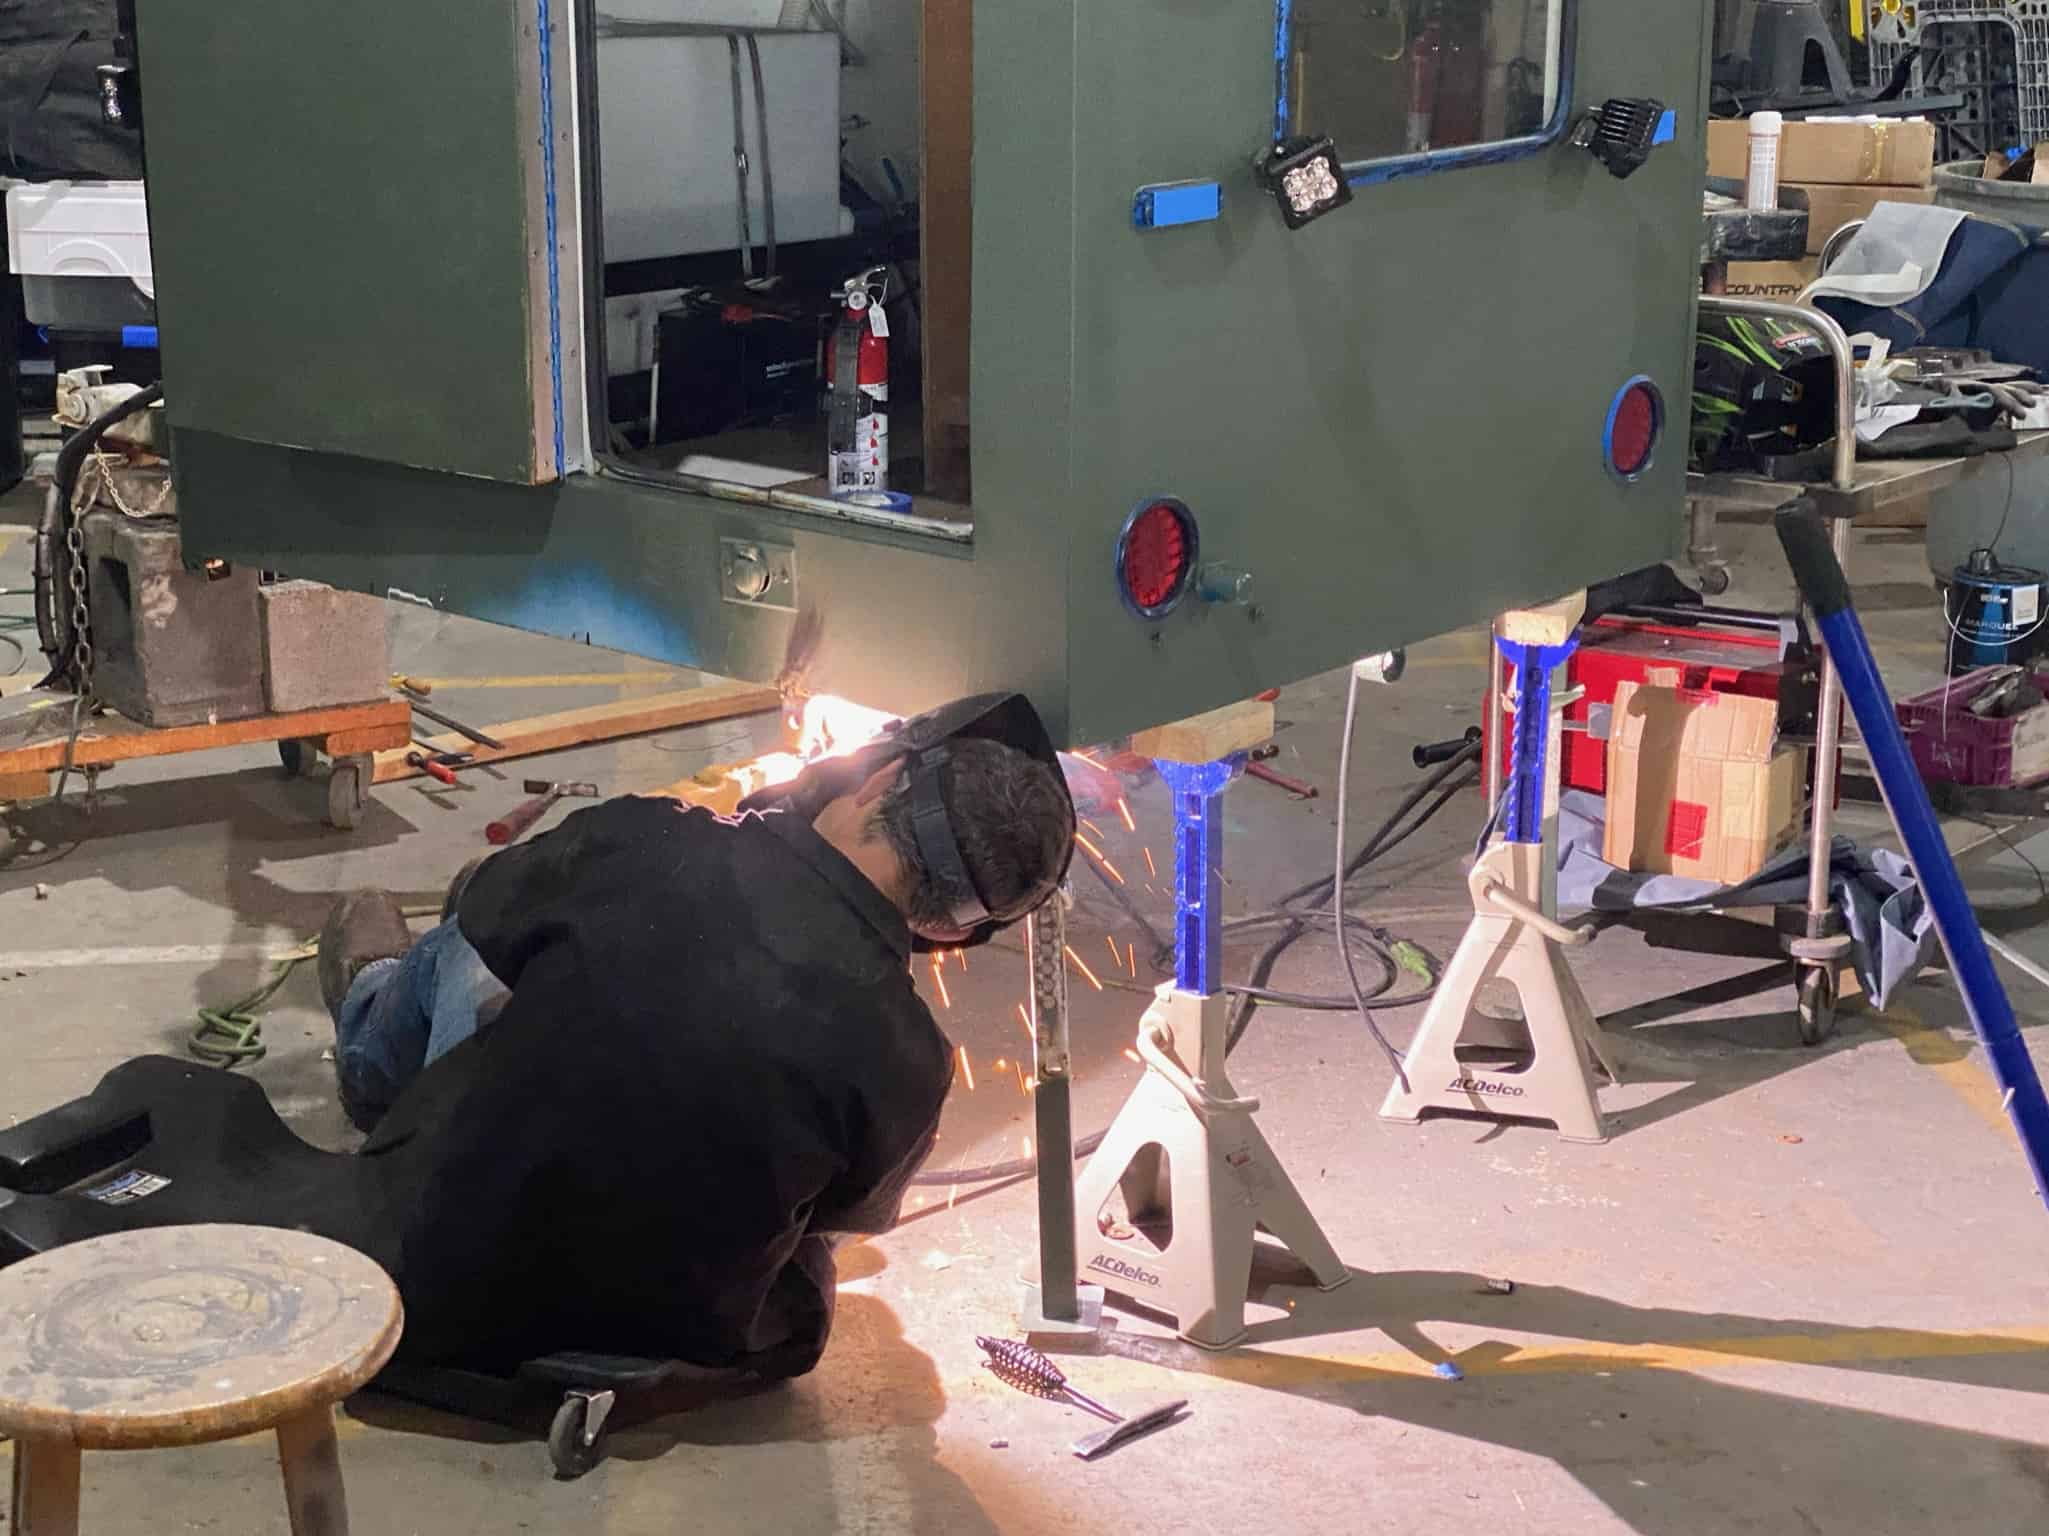
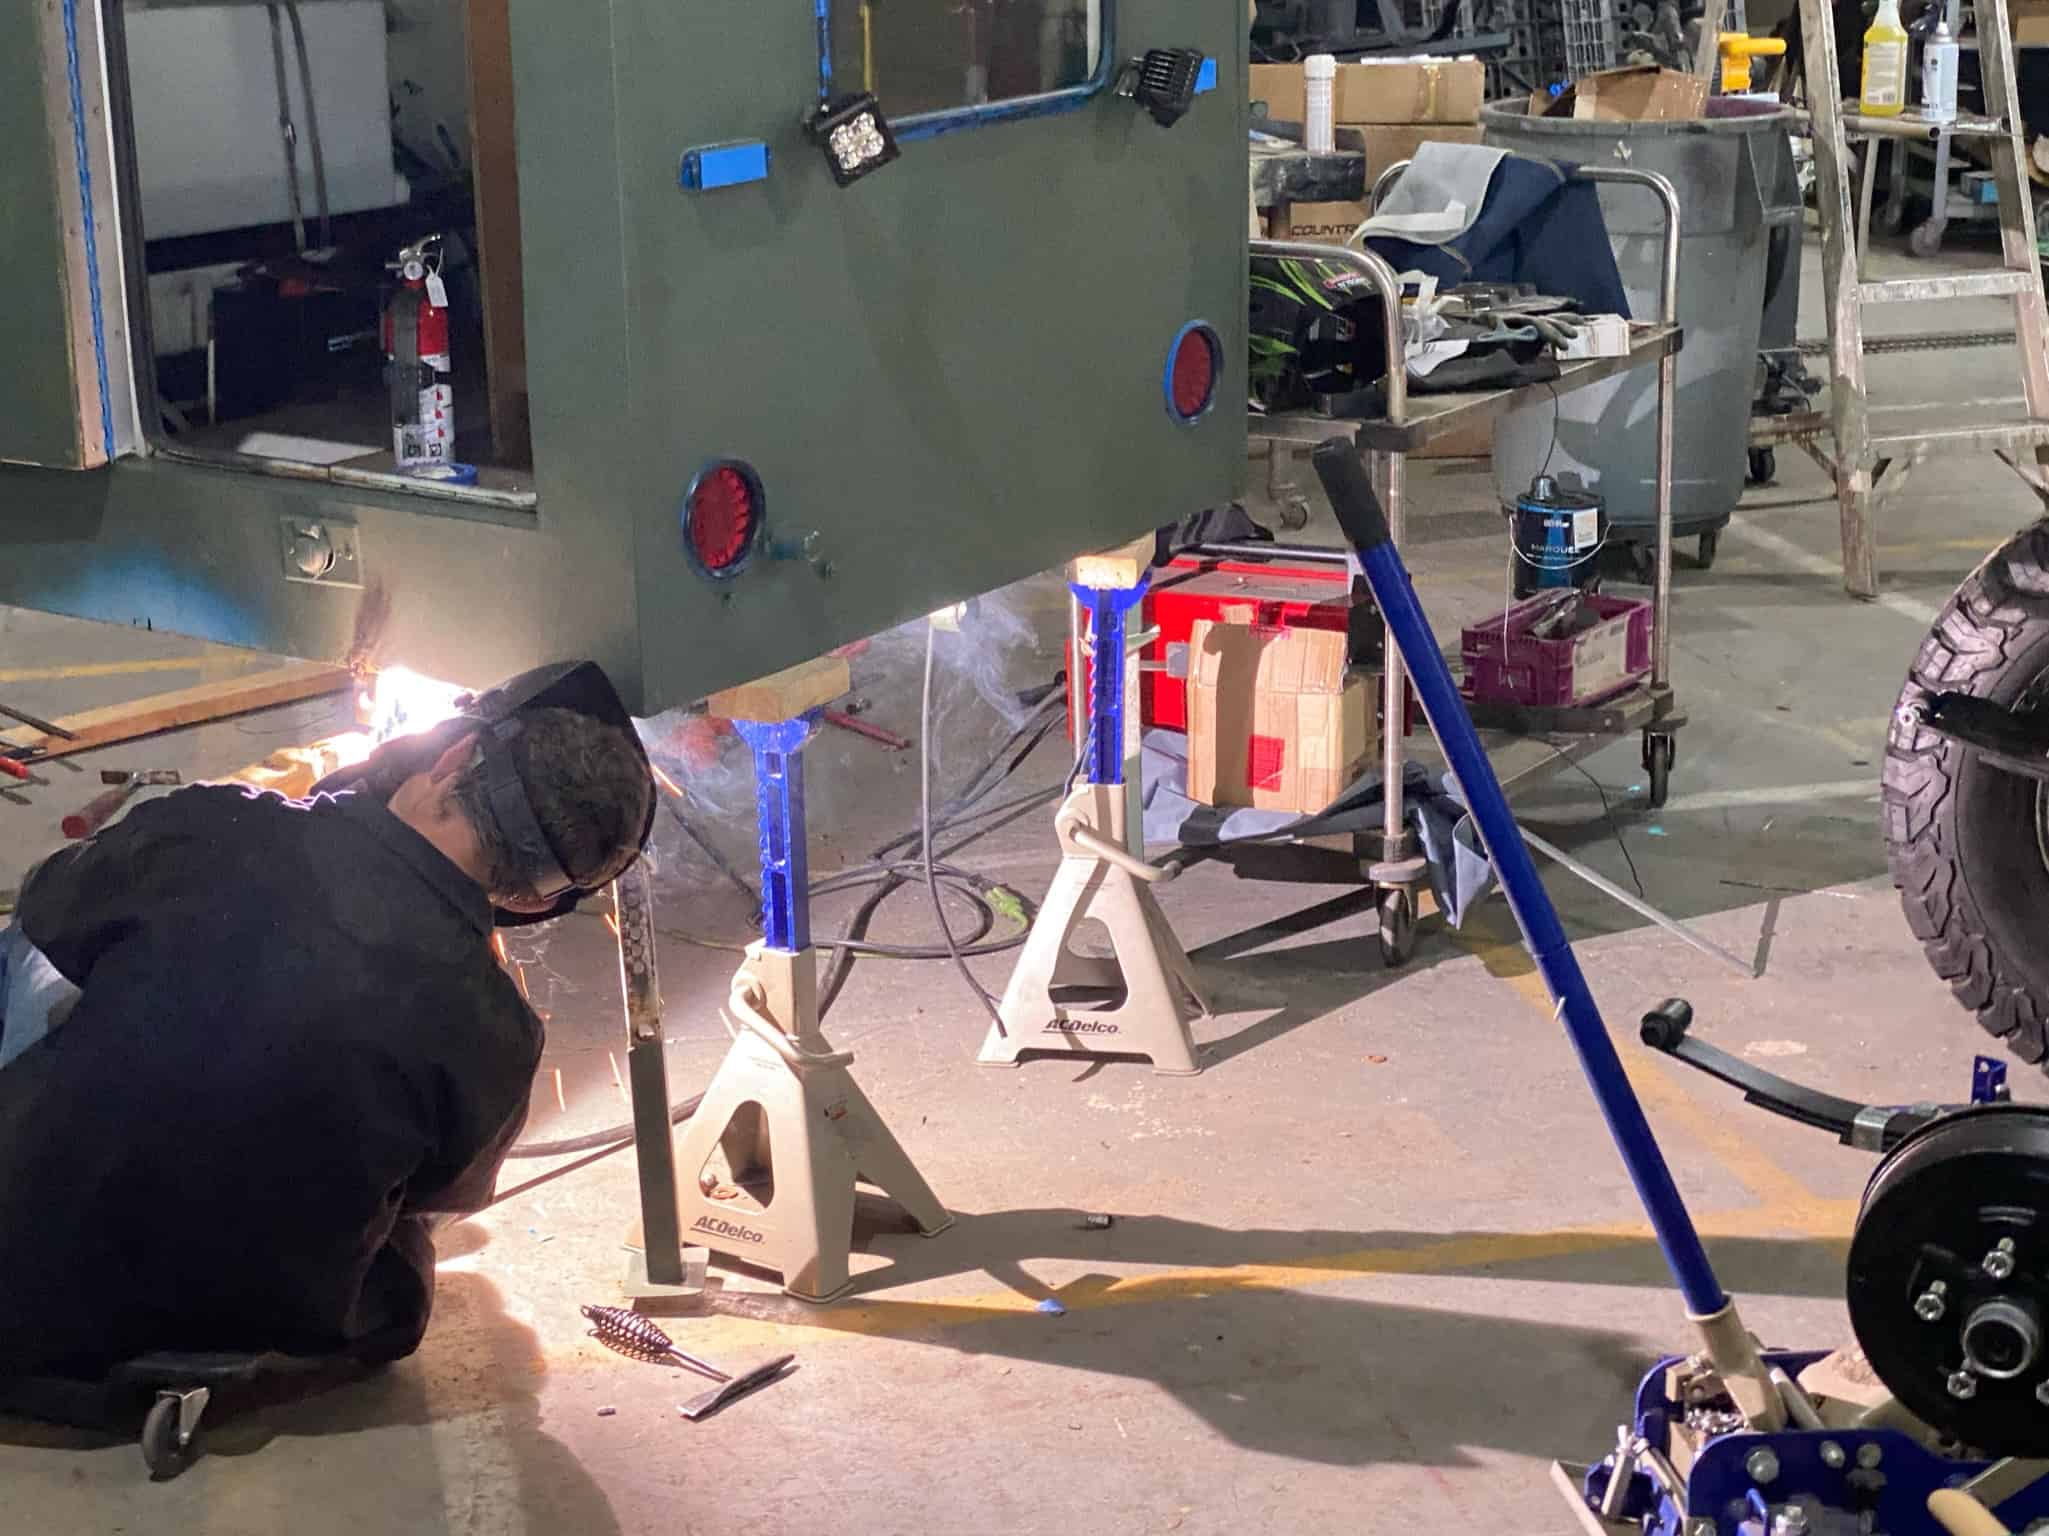
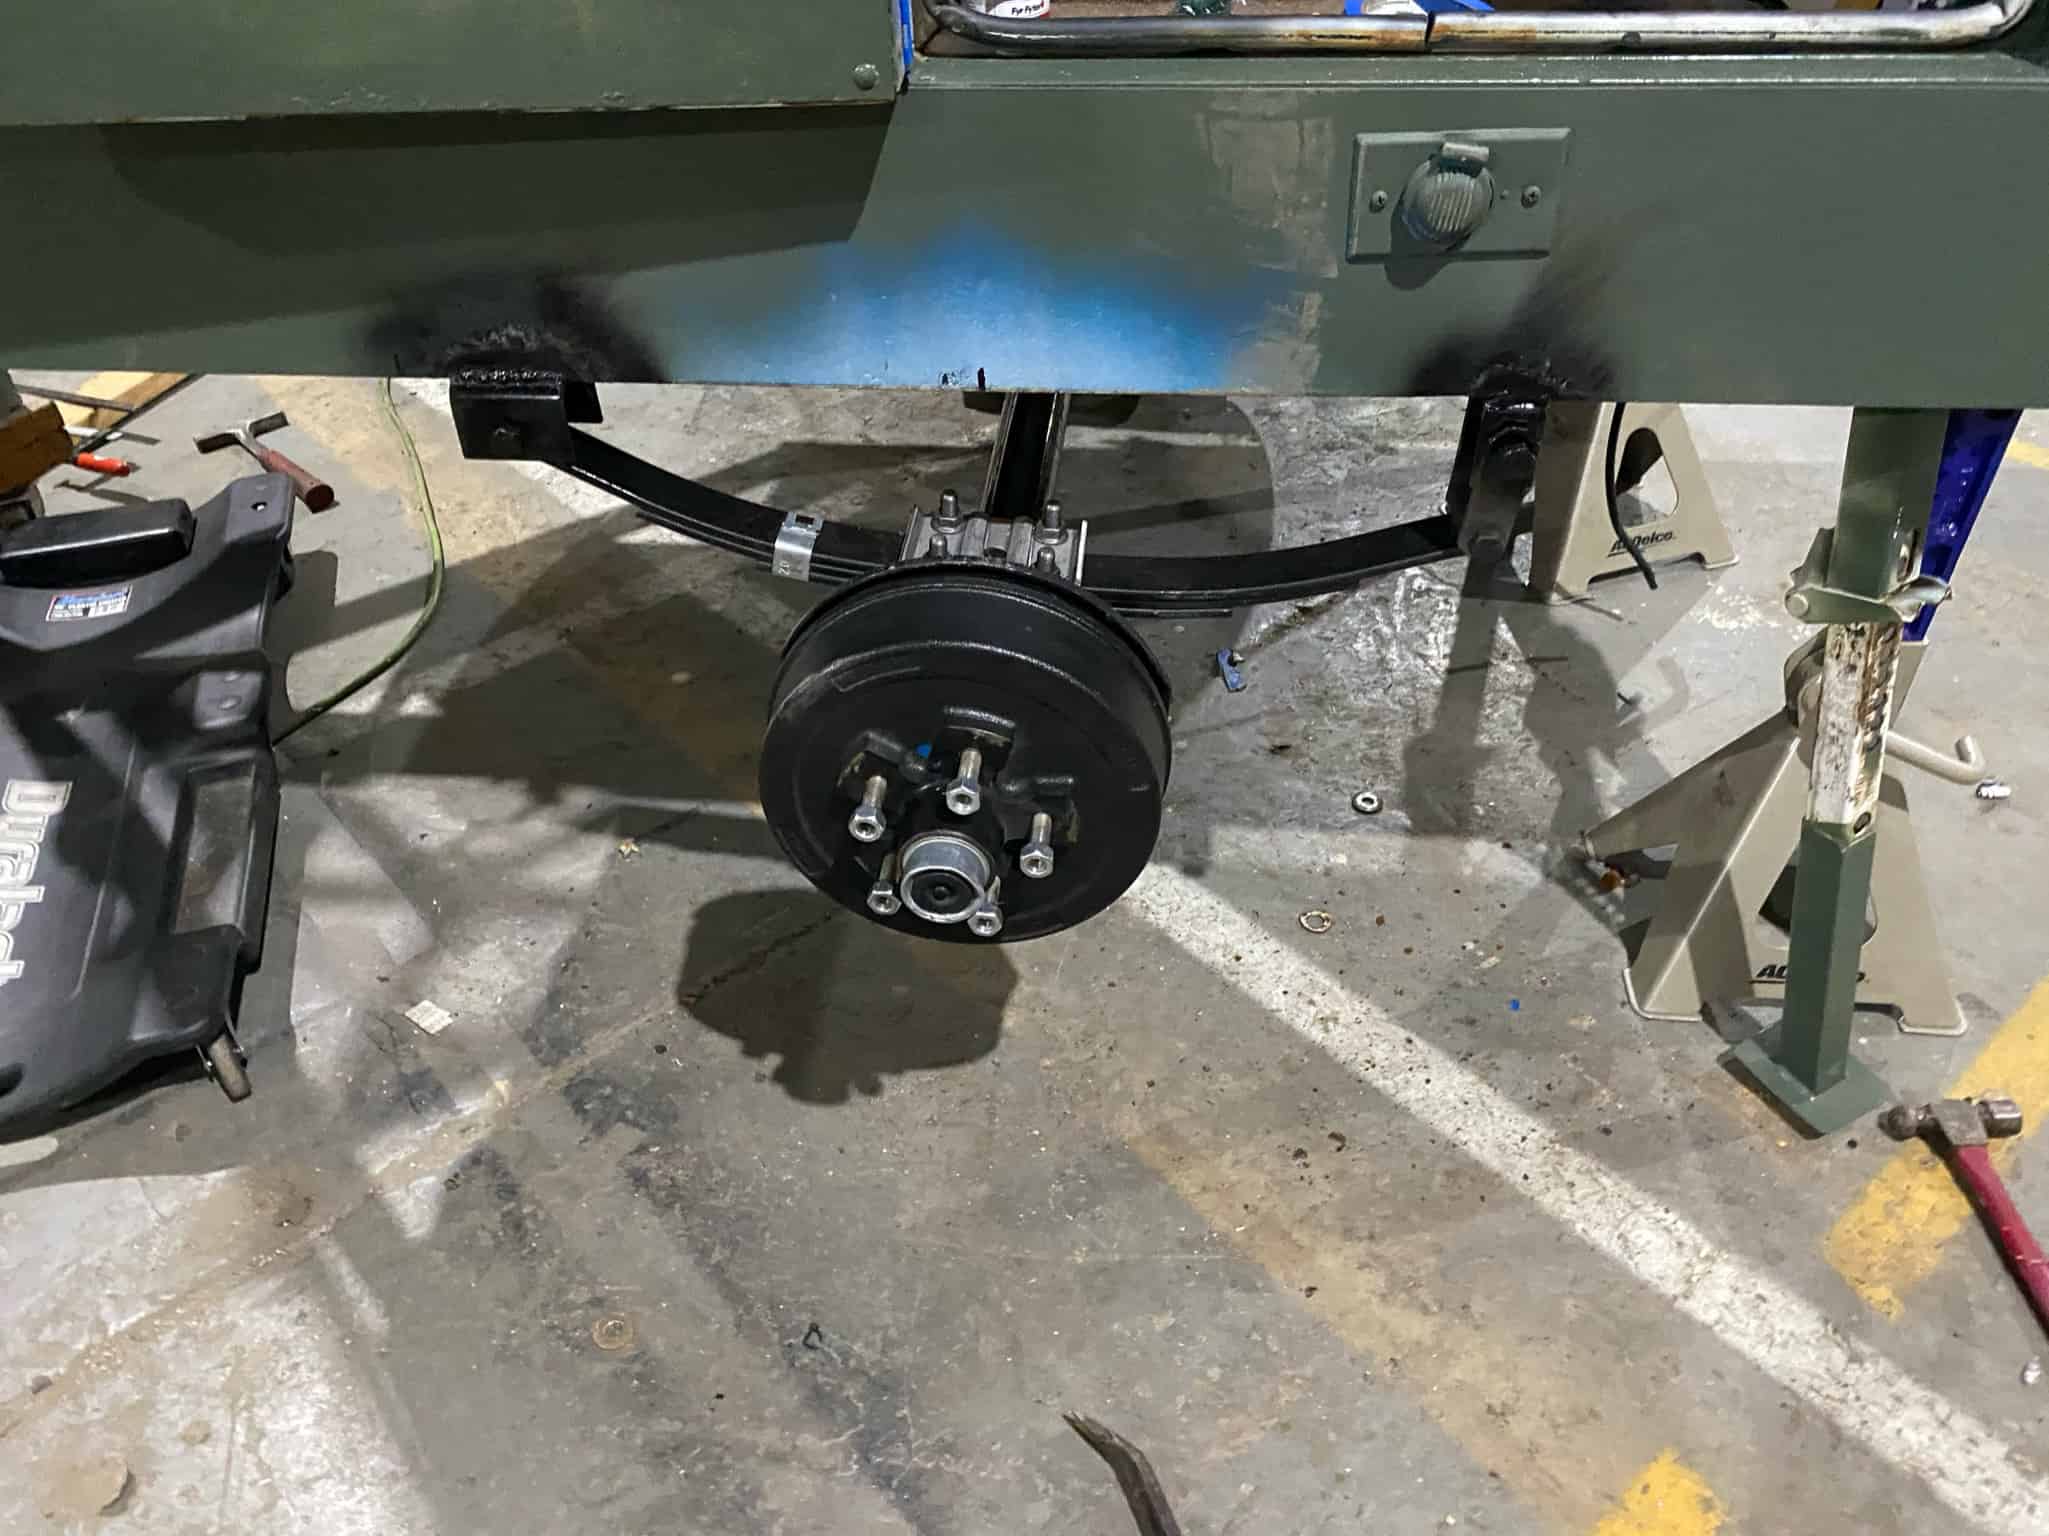
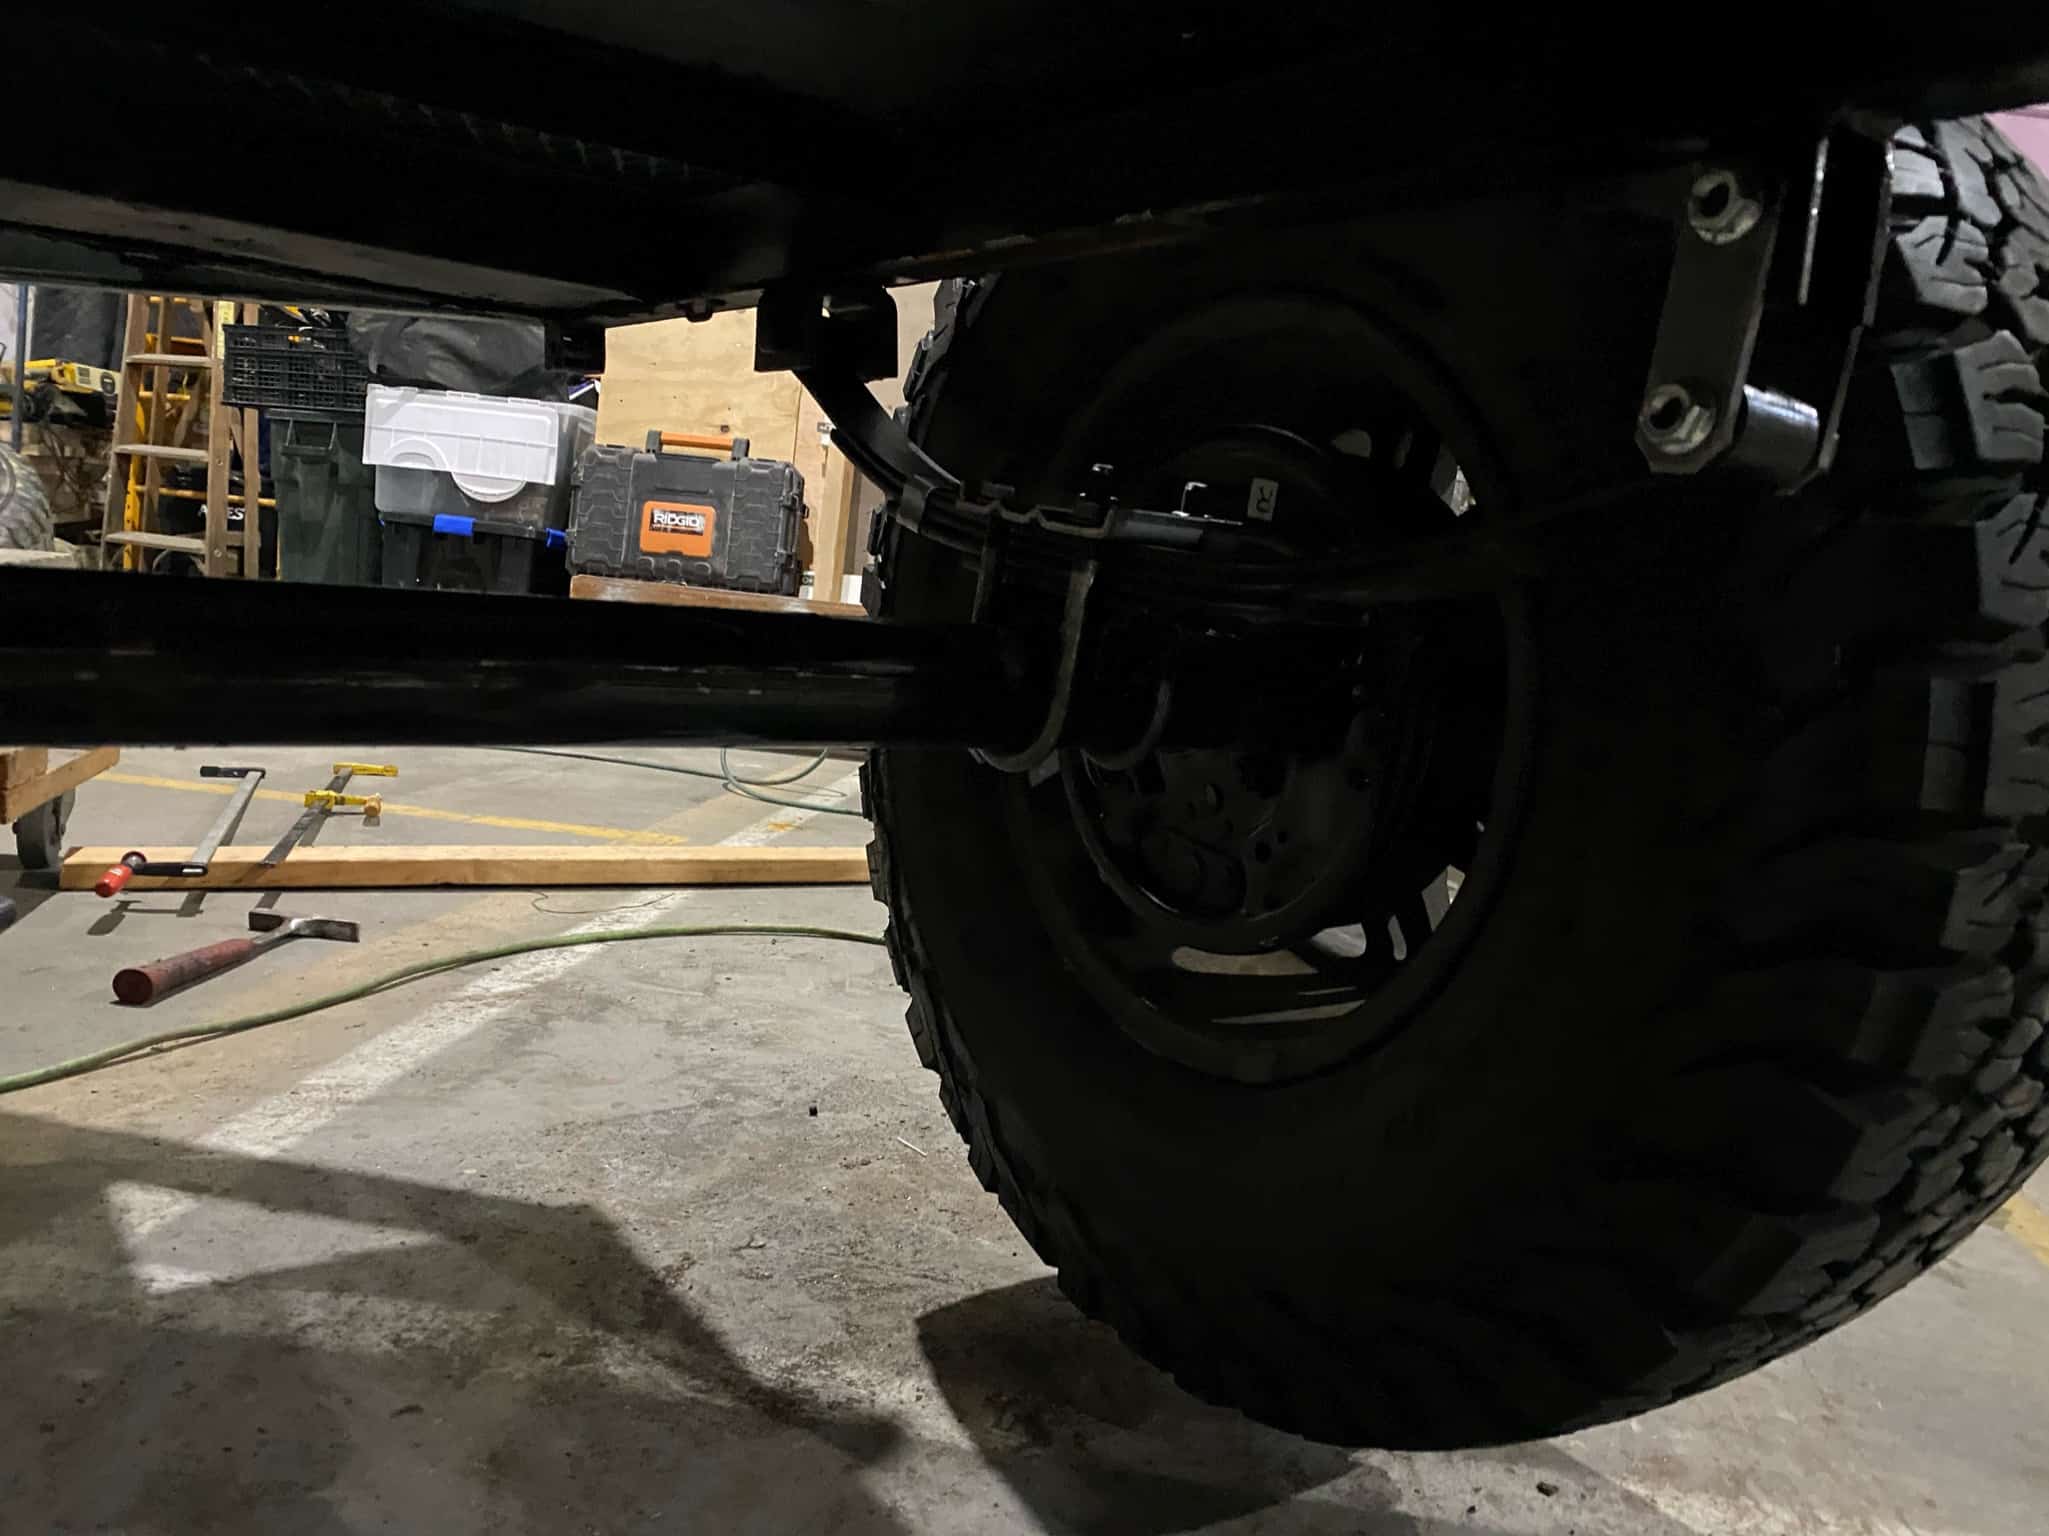
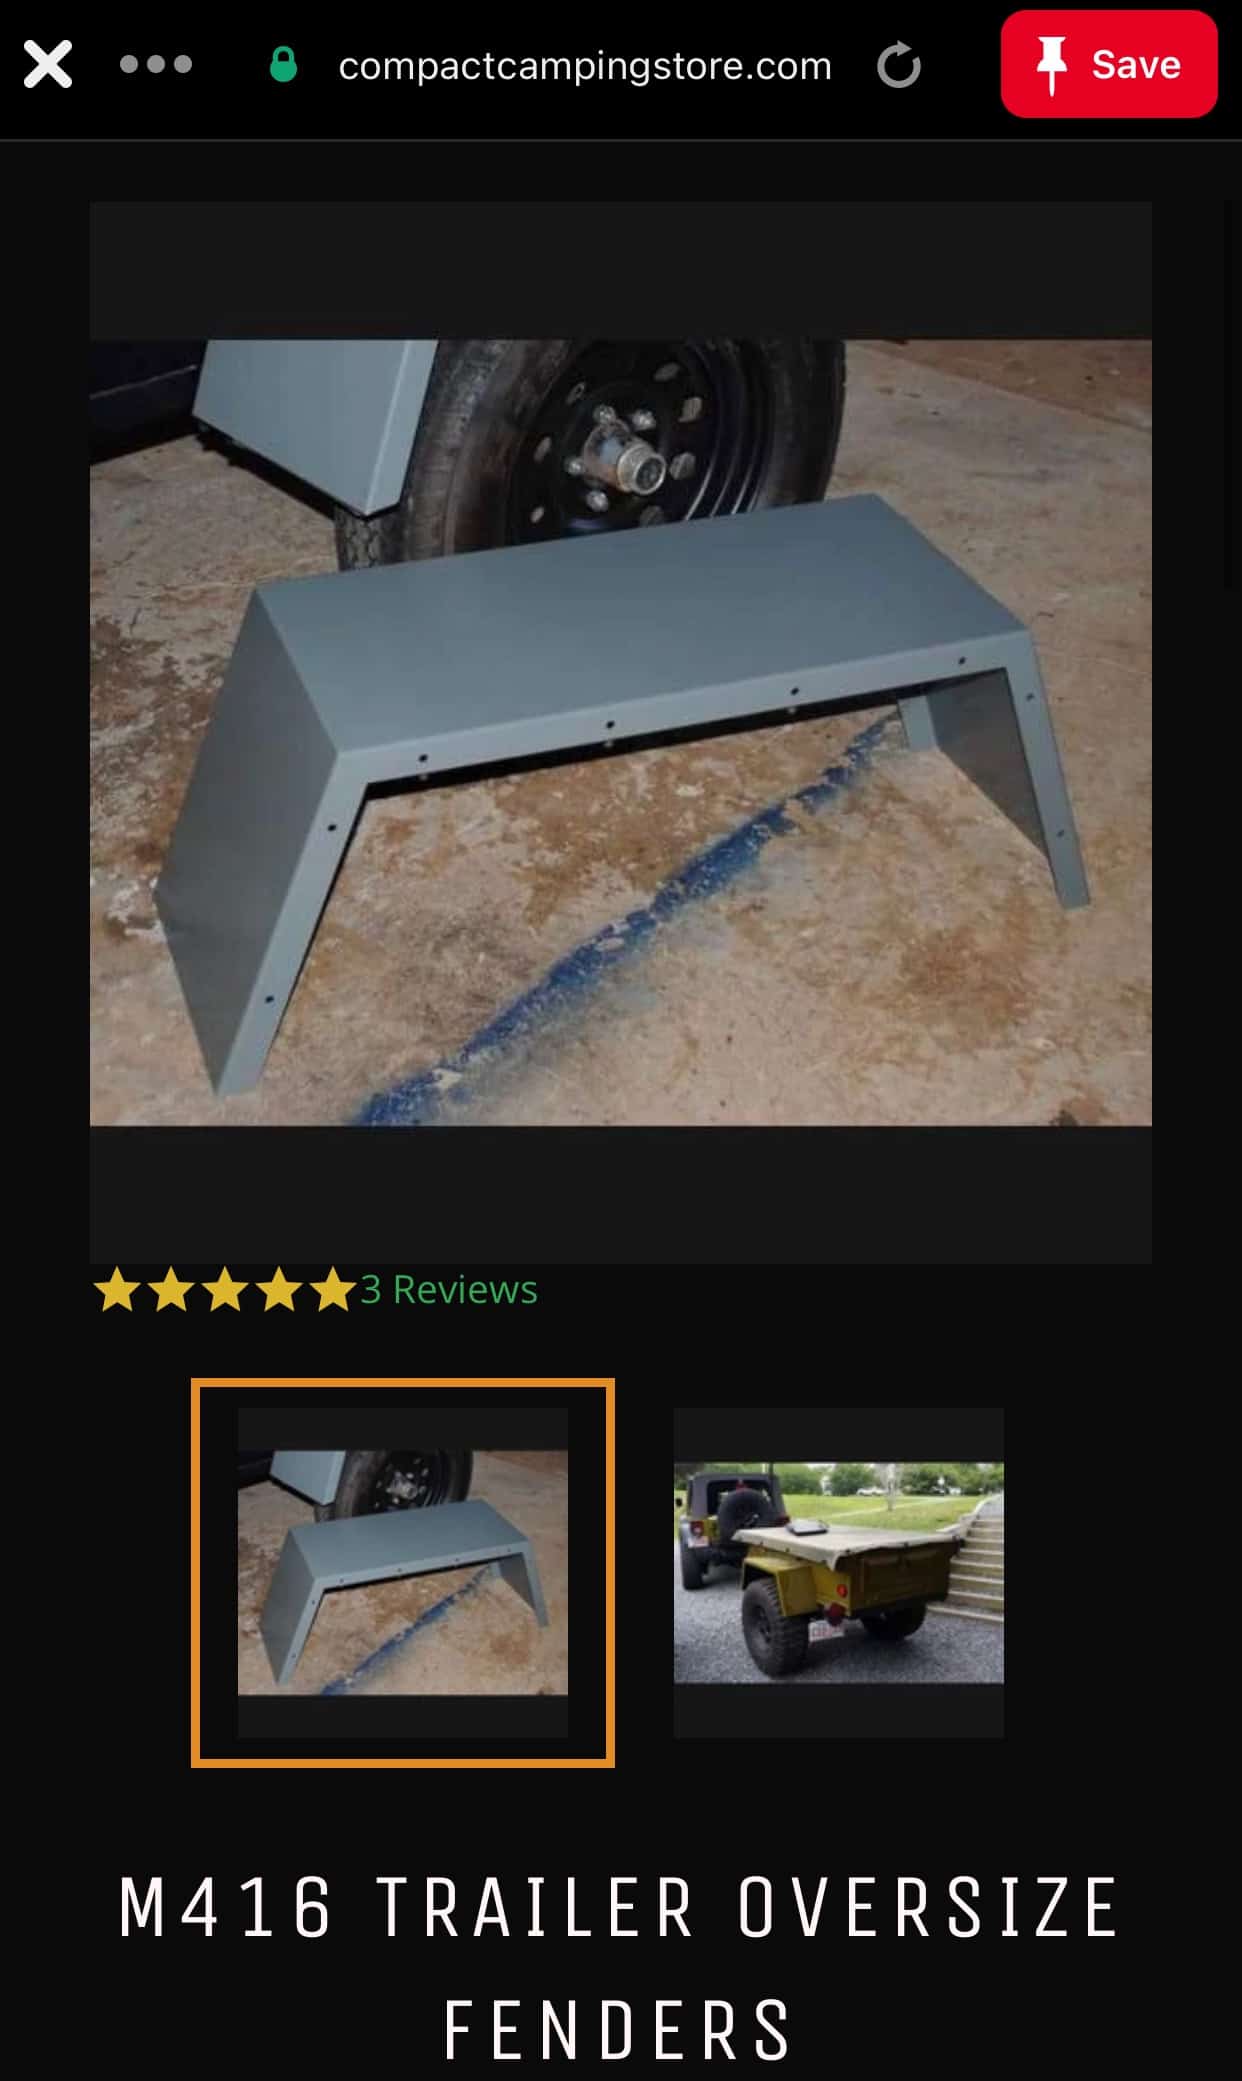
Need (really just want) a new axle.. so I have trailer brakes. Don't want to be going downhill and affect my tow vehicle brakes. I enlisted Tyler's help to weld the axle on — I don't weld structural stuff, and he's a certified welder. Also ordered new fenders that fit the look and my tires. Note: I also switched to tires the same size as my Jeep Gladiator.. so I conceptually have an additional spare for whatever vehicle needs it.
/ Chuck Box
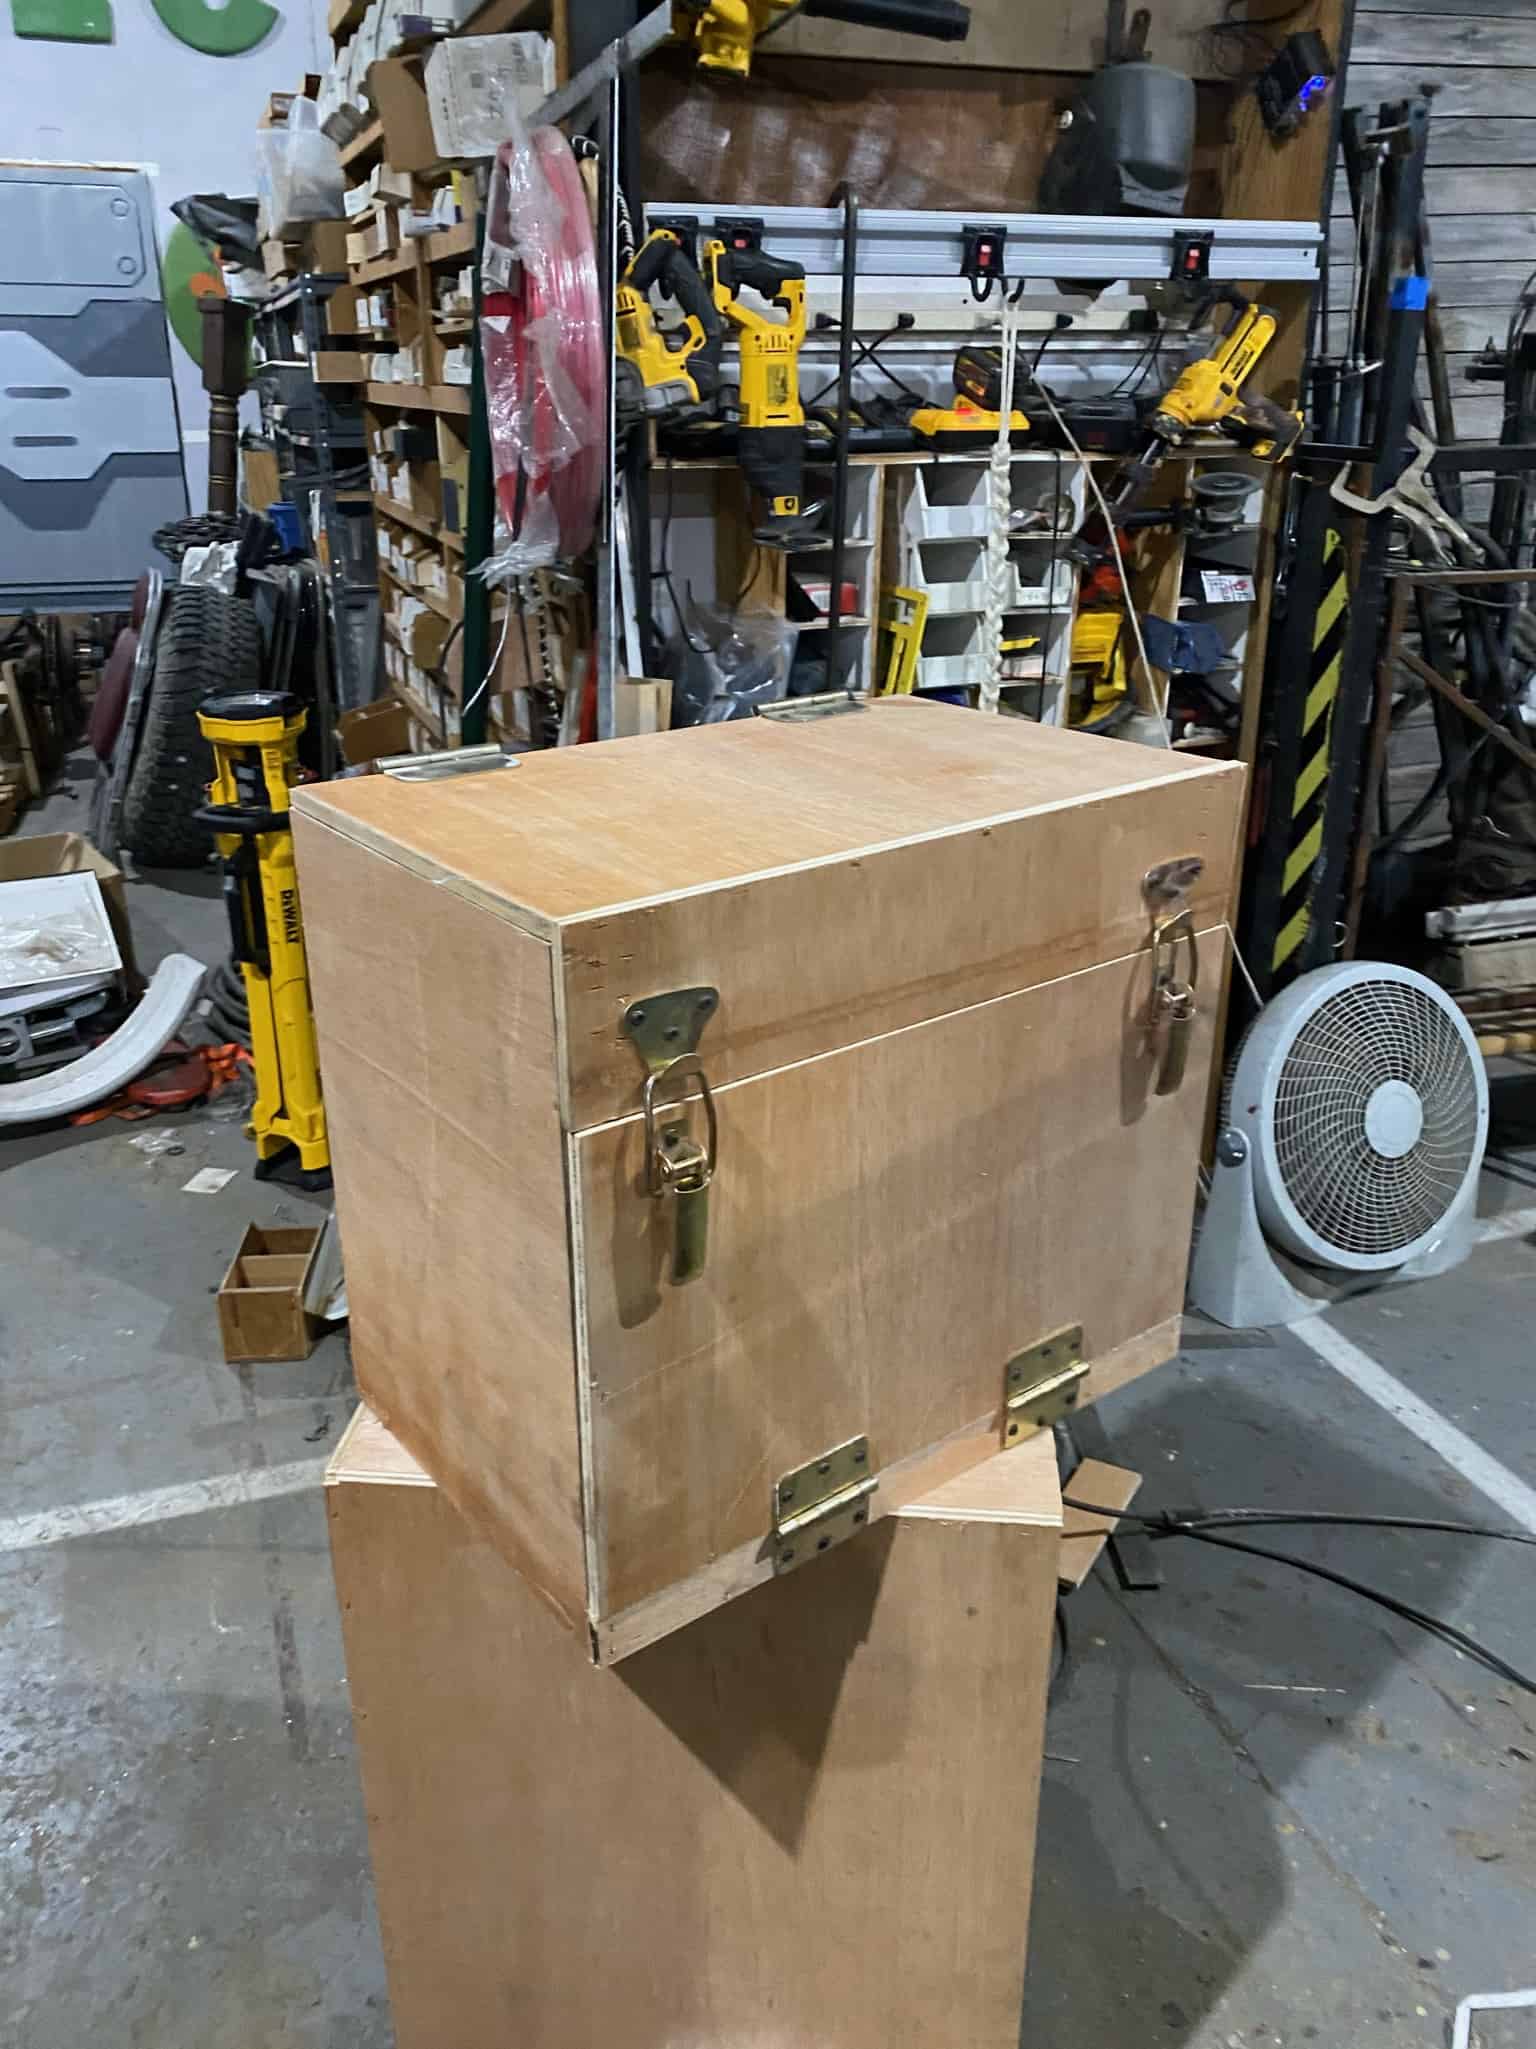
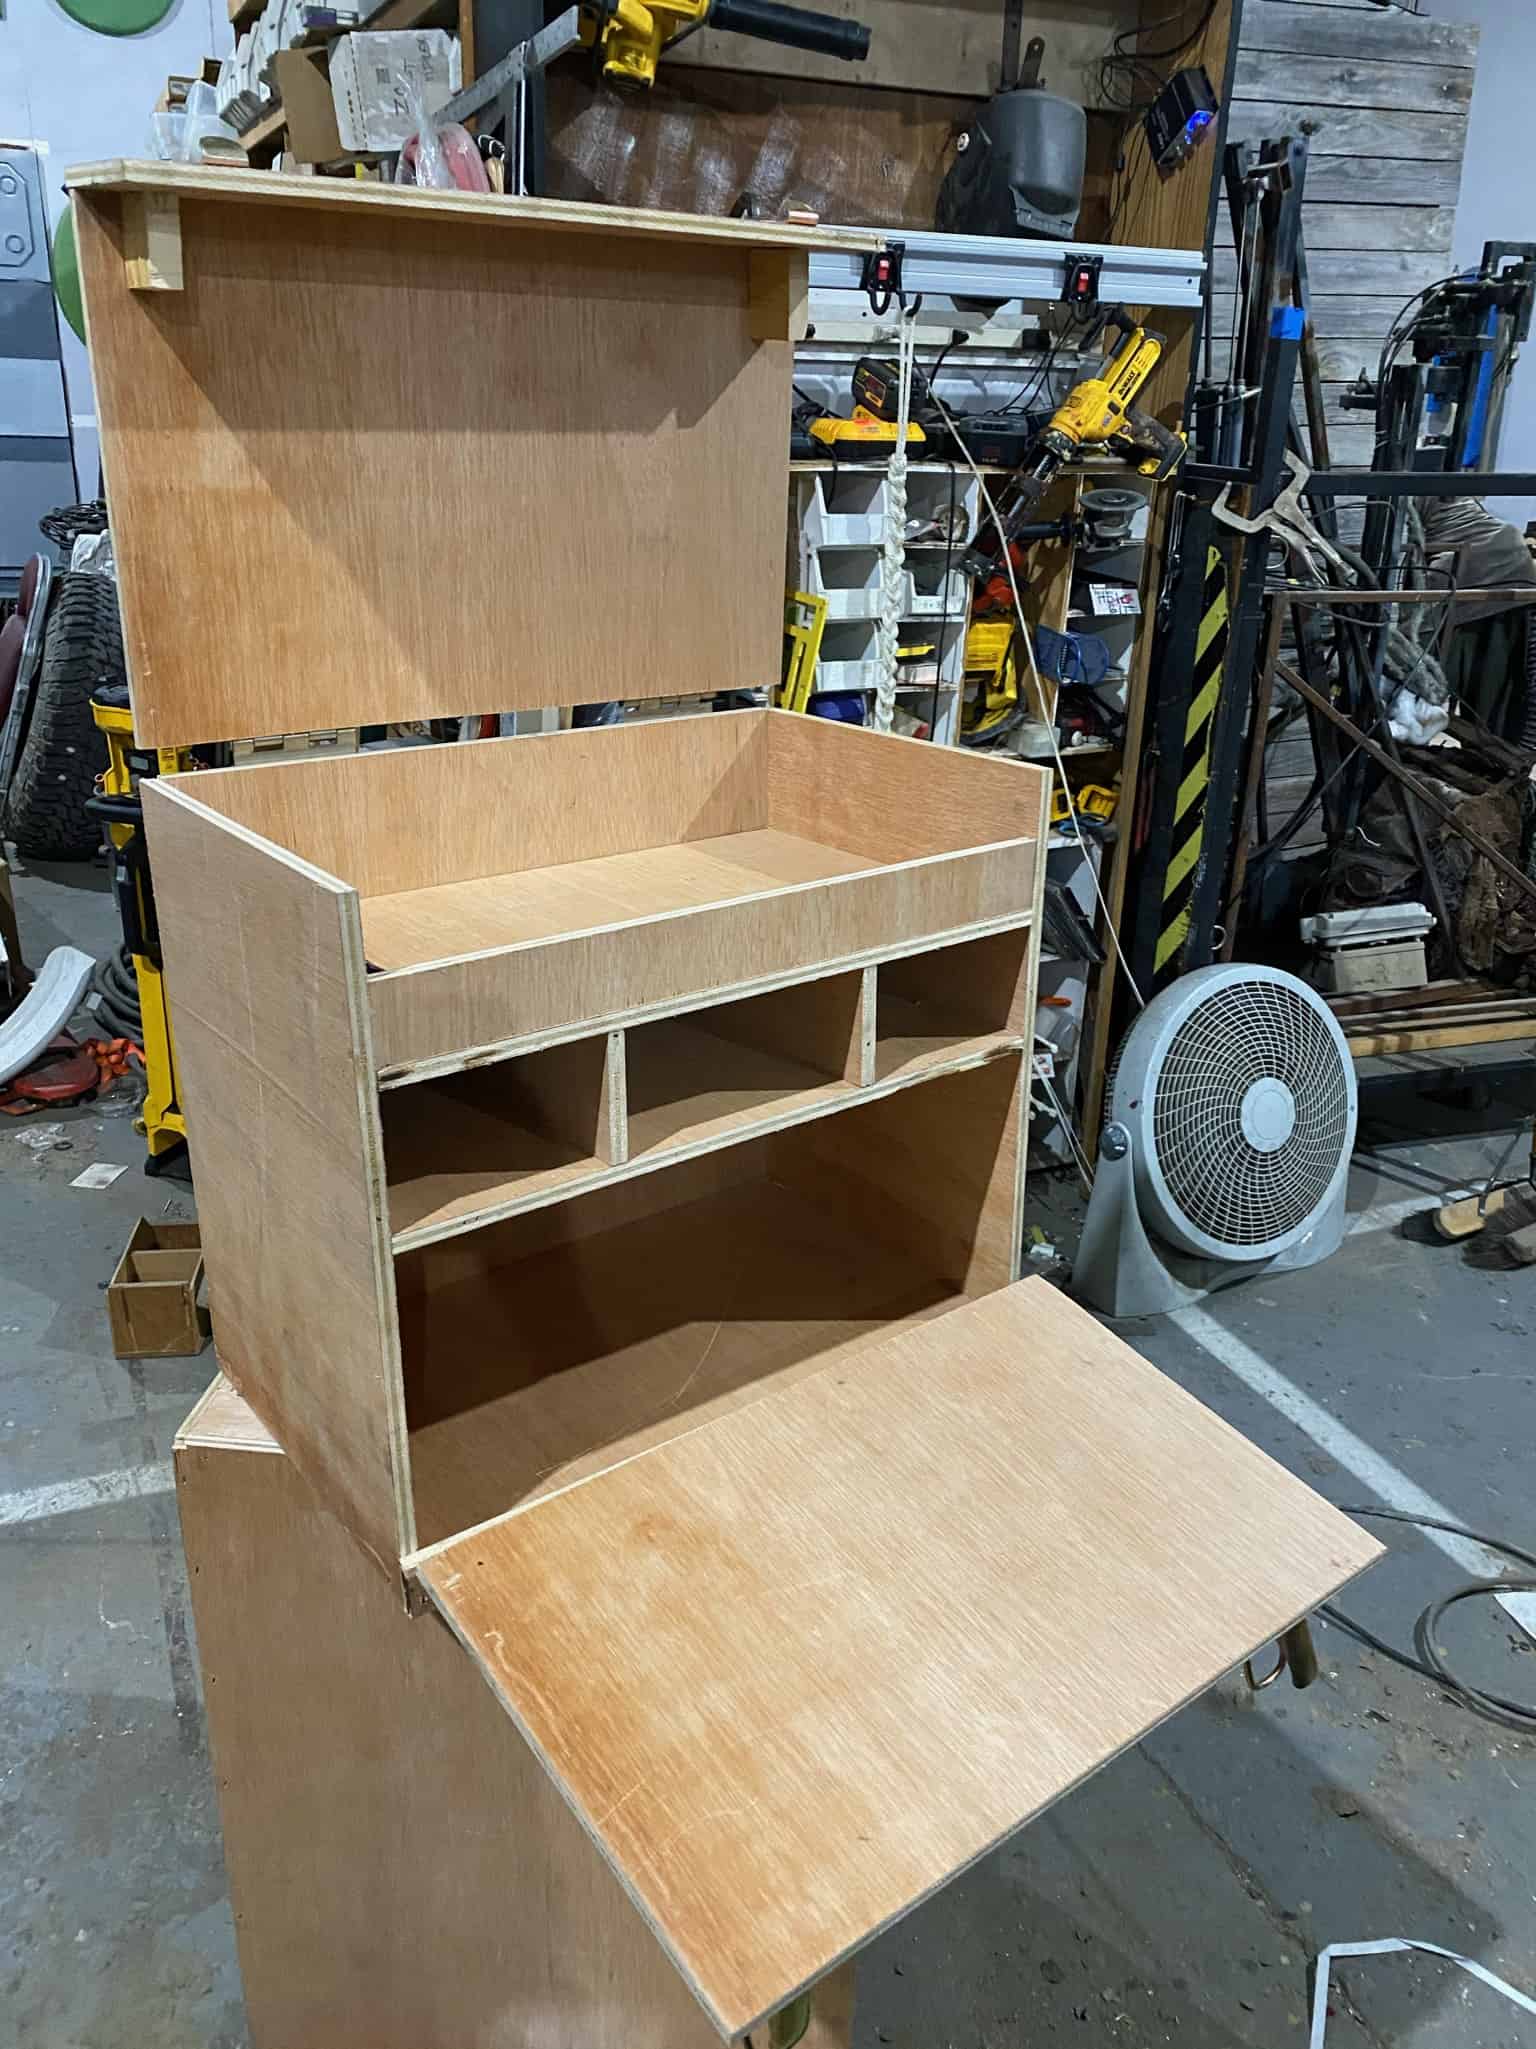
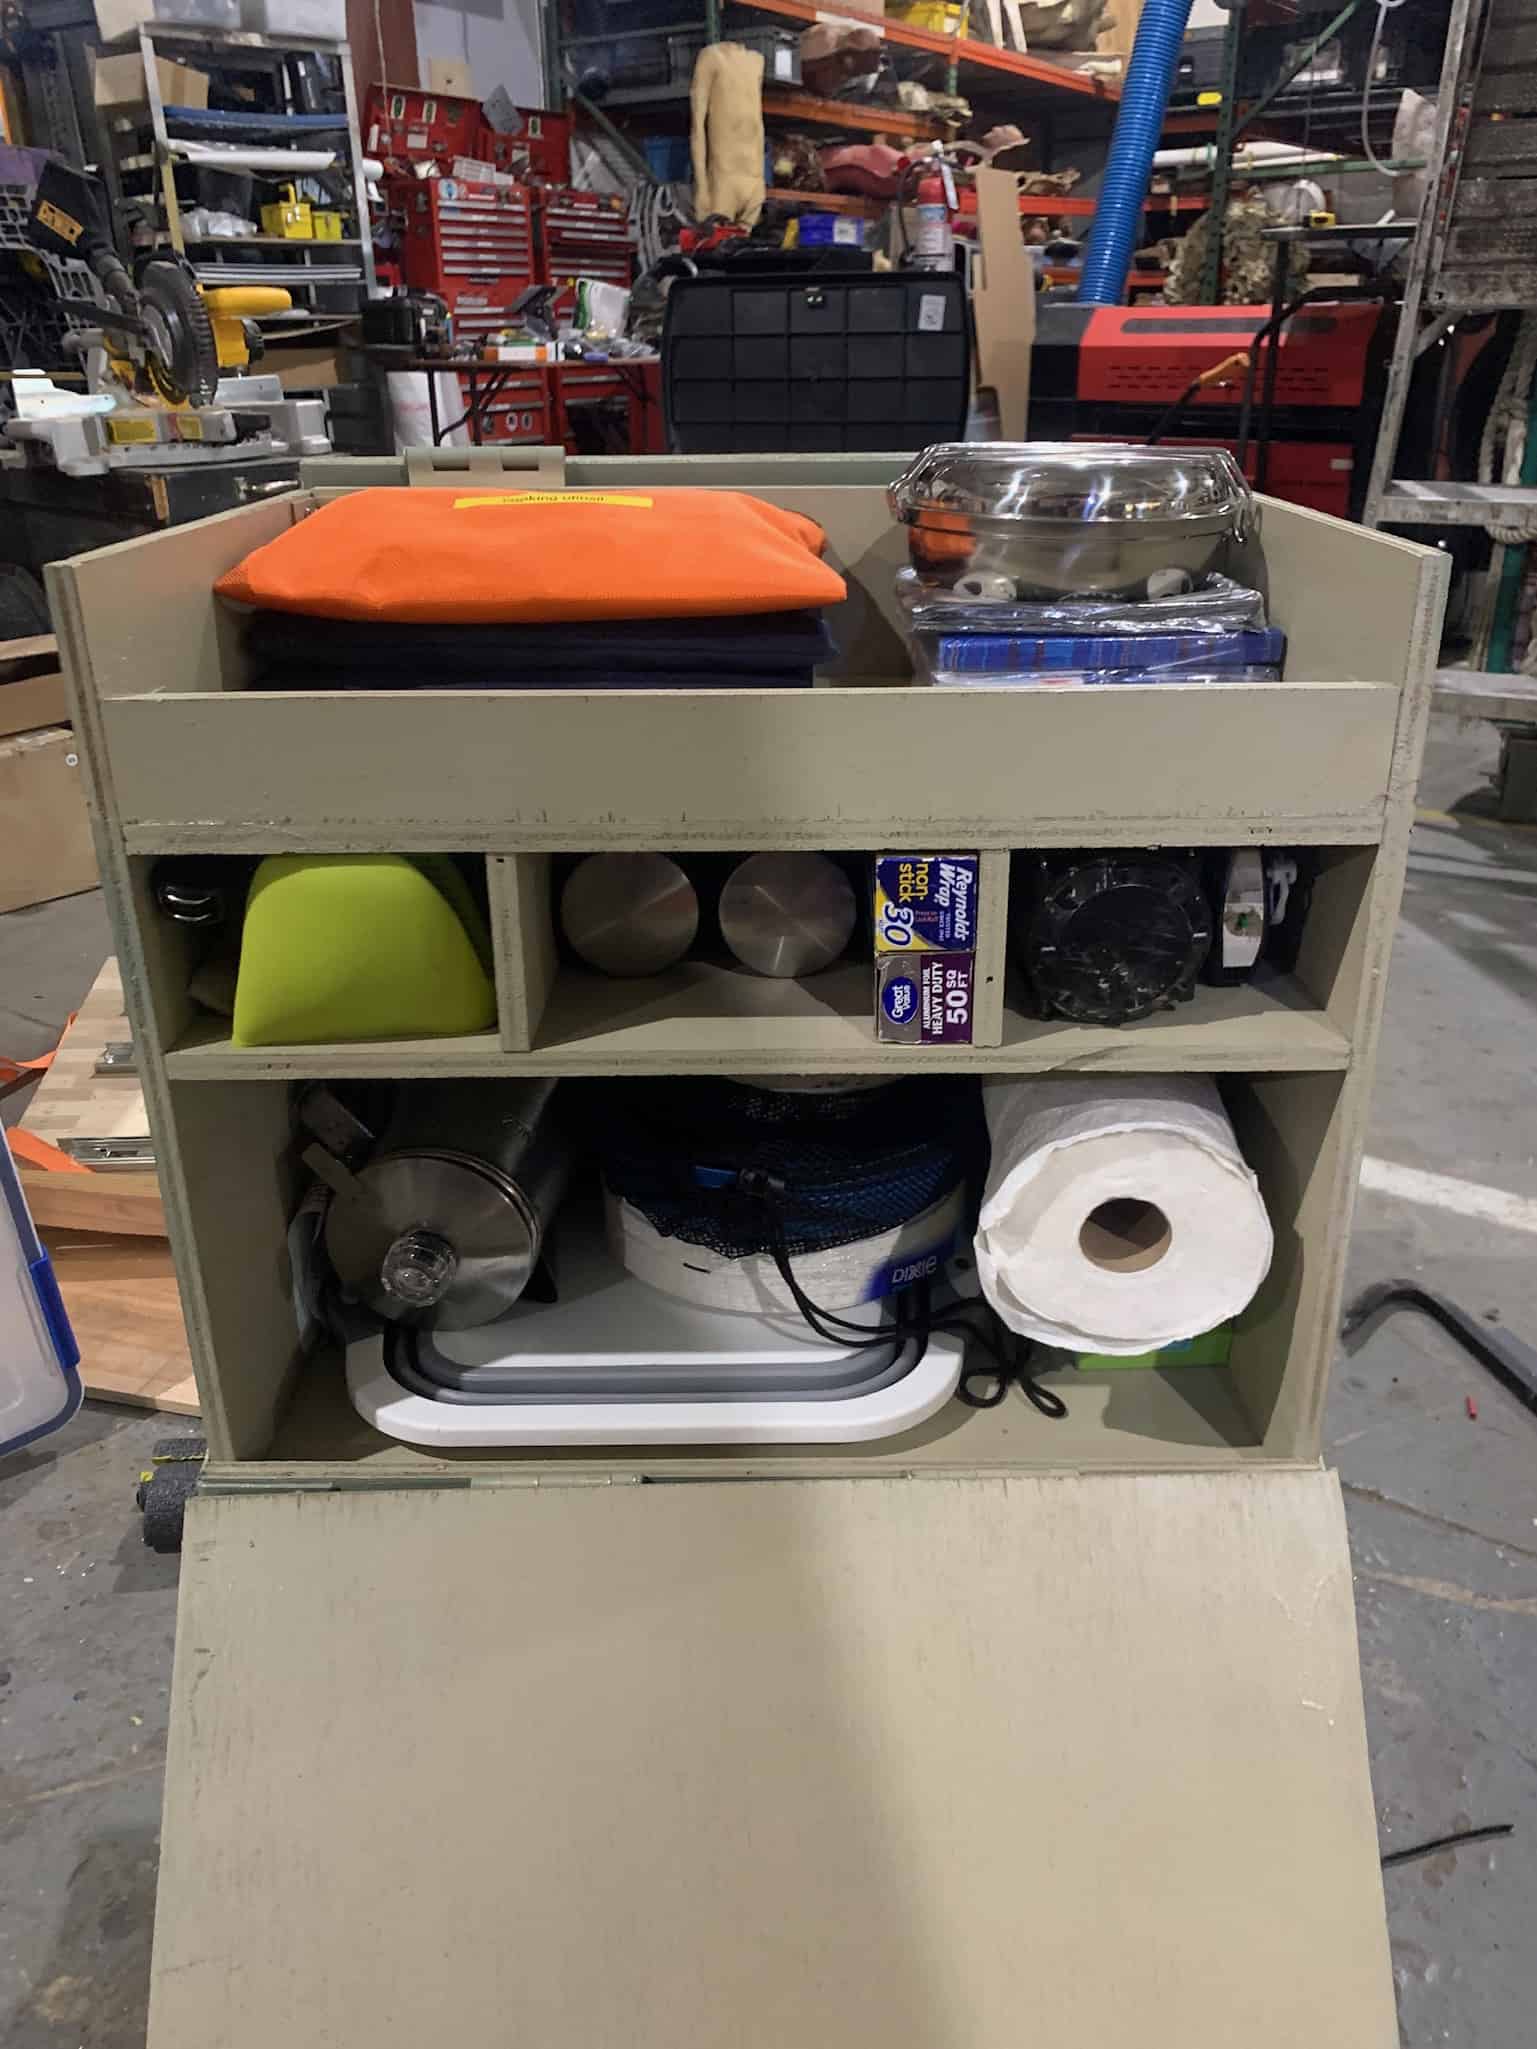
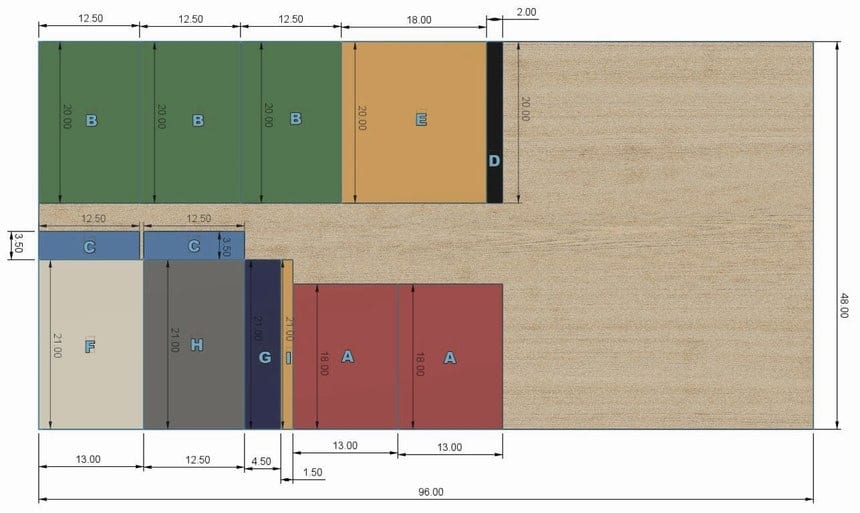
Found some killer plans for a quick and easy chuck box online.. gonna build one real quick. Boom. Yeah, that will work.
/ Gas, Propane, and Fuel Storage
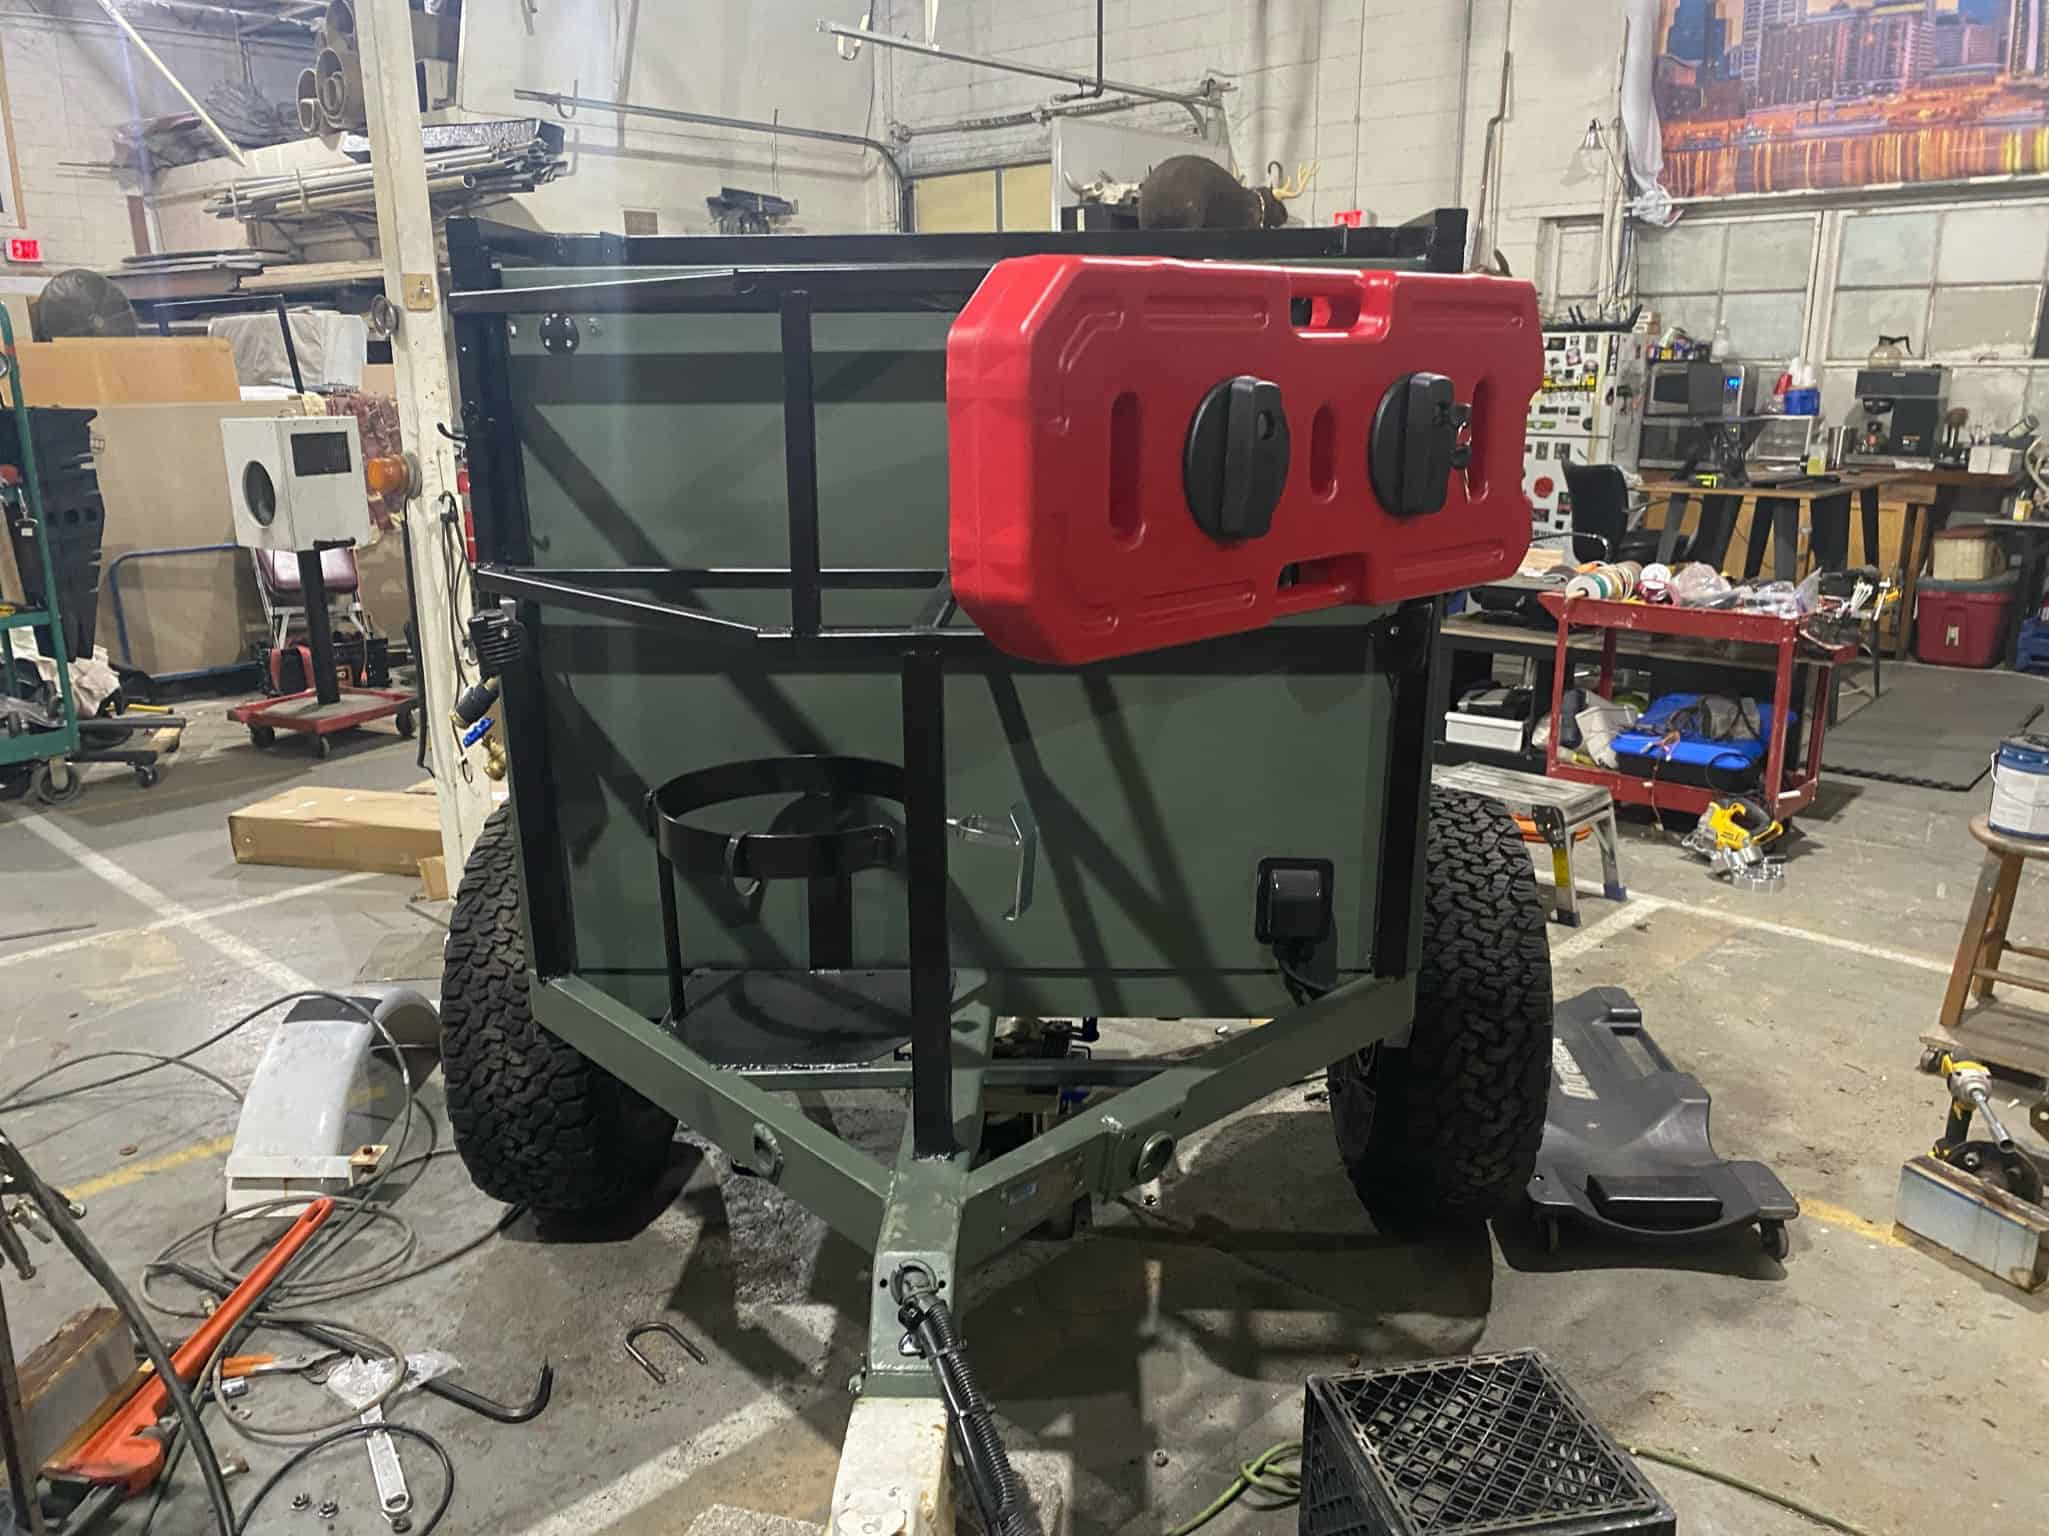
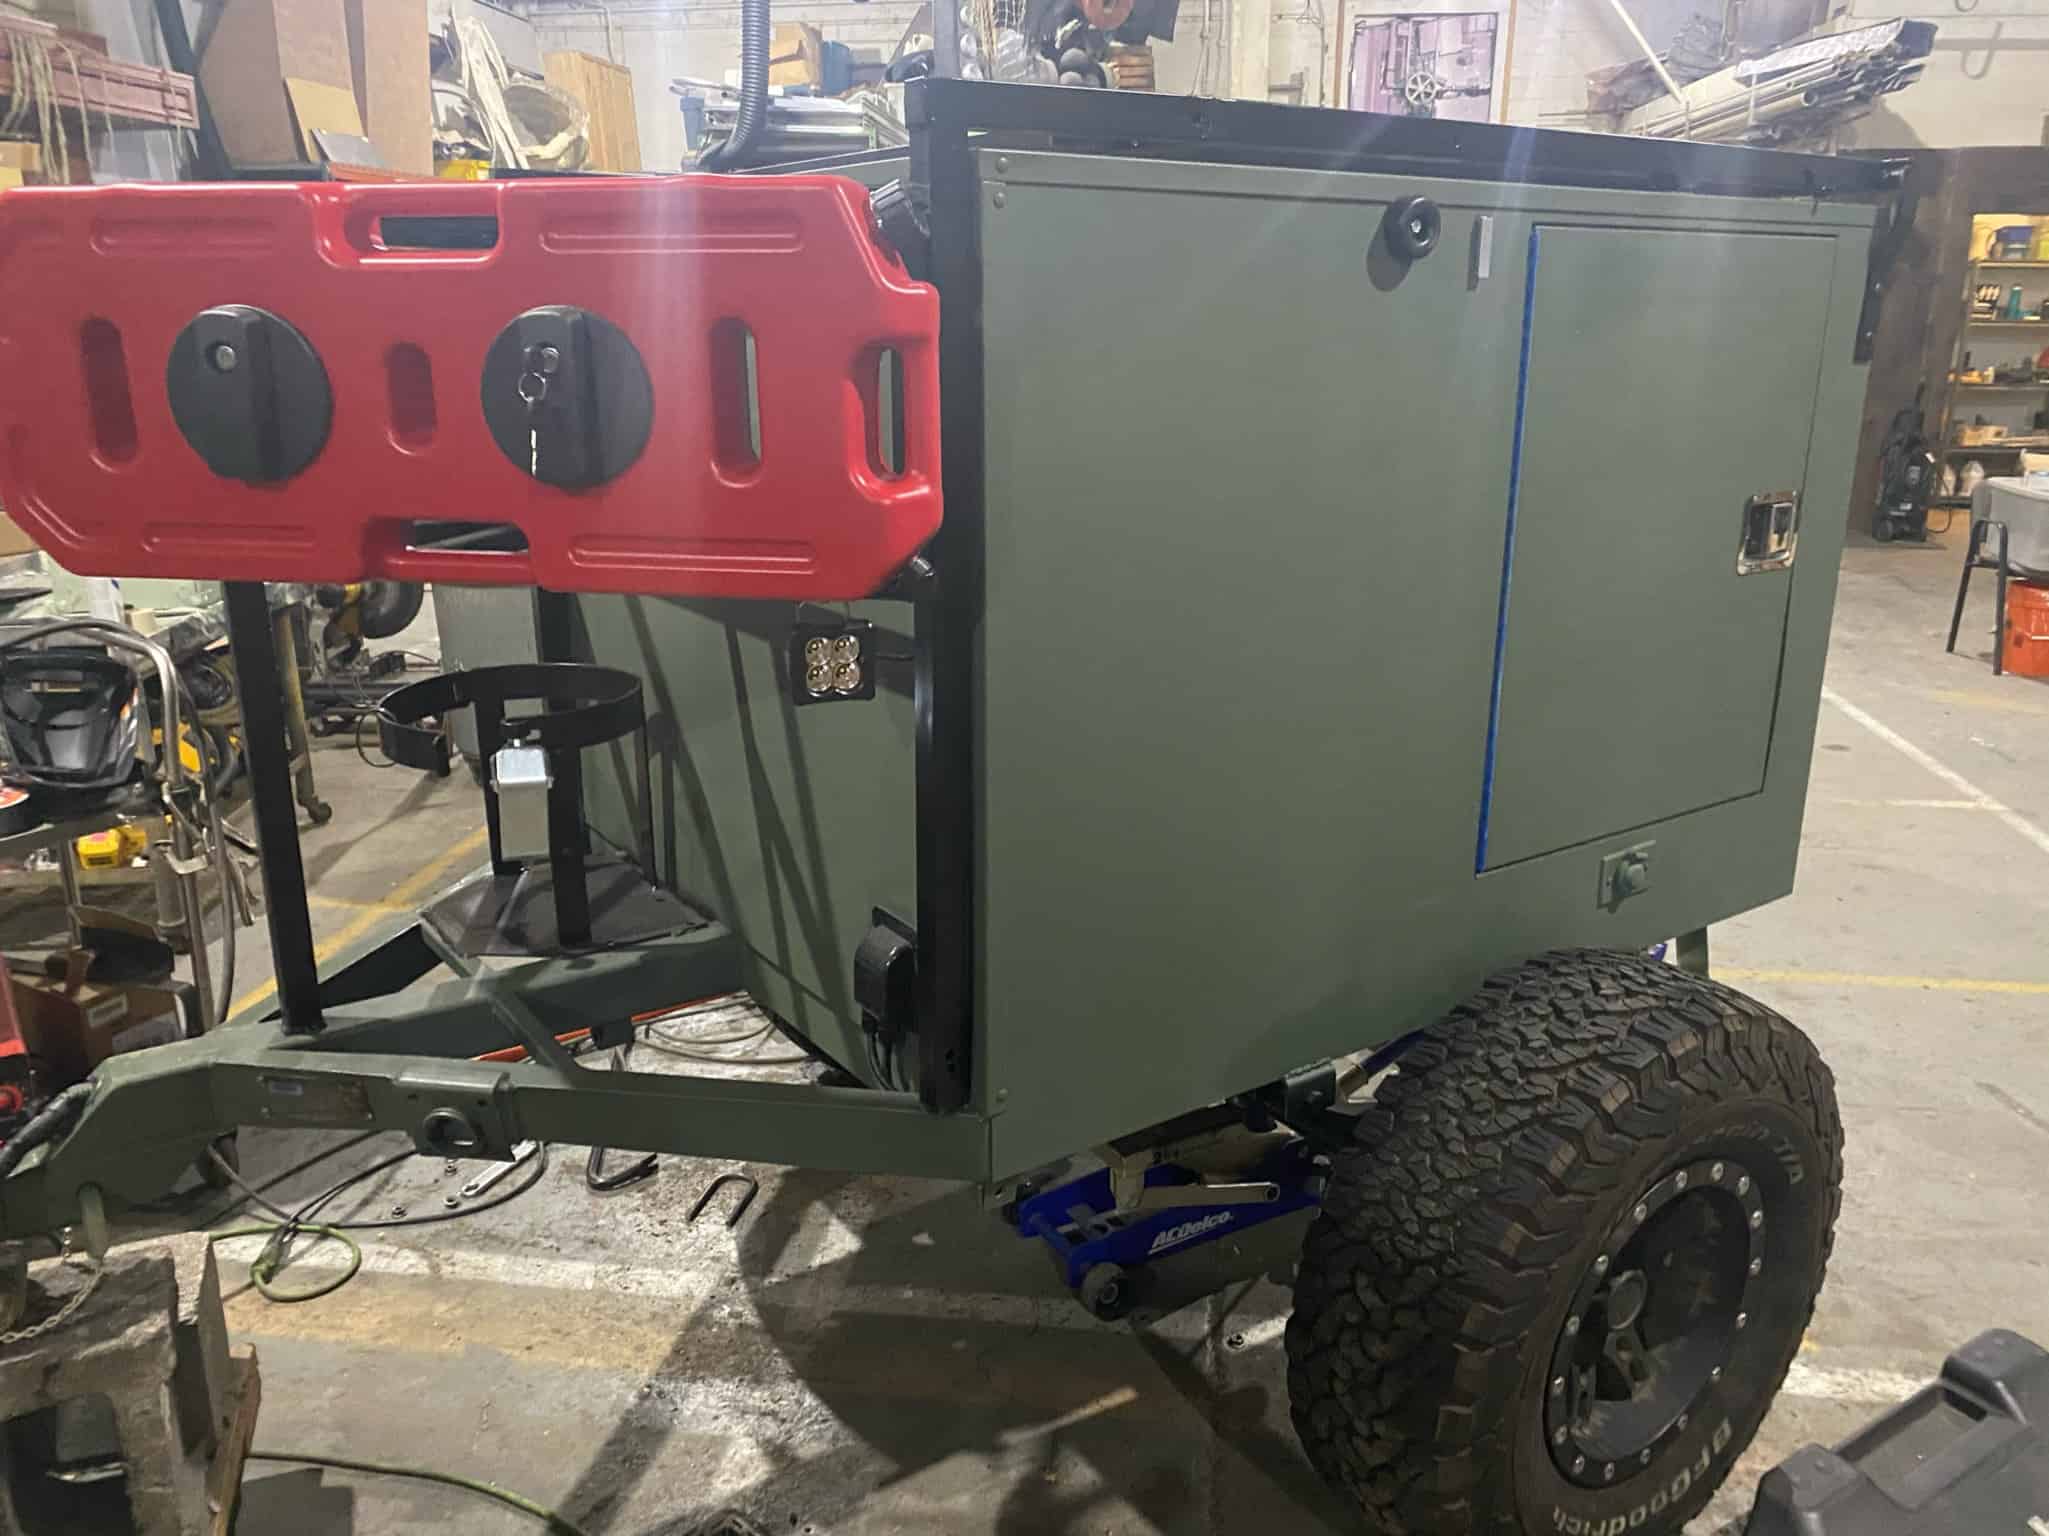
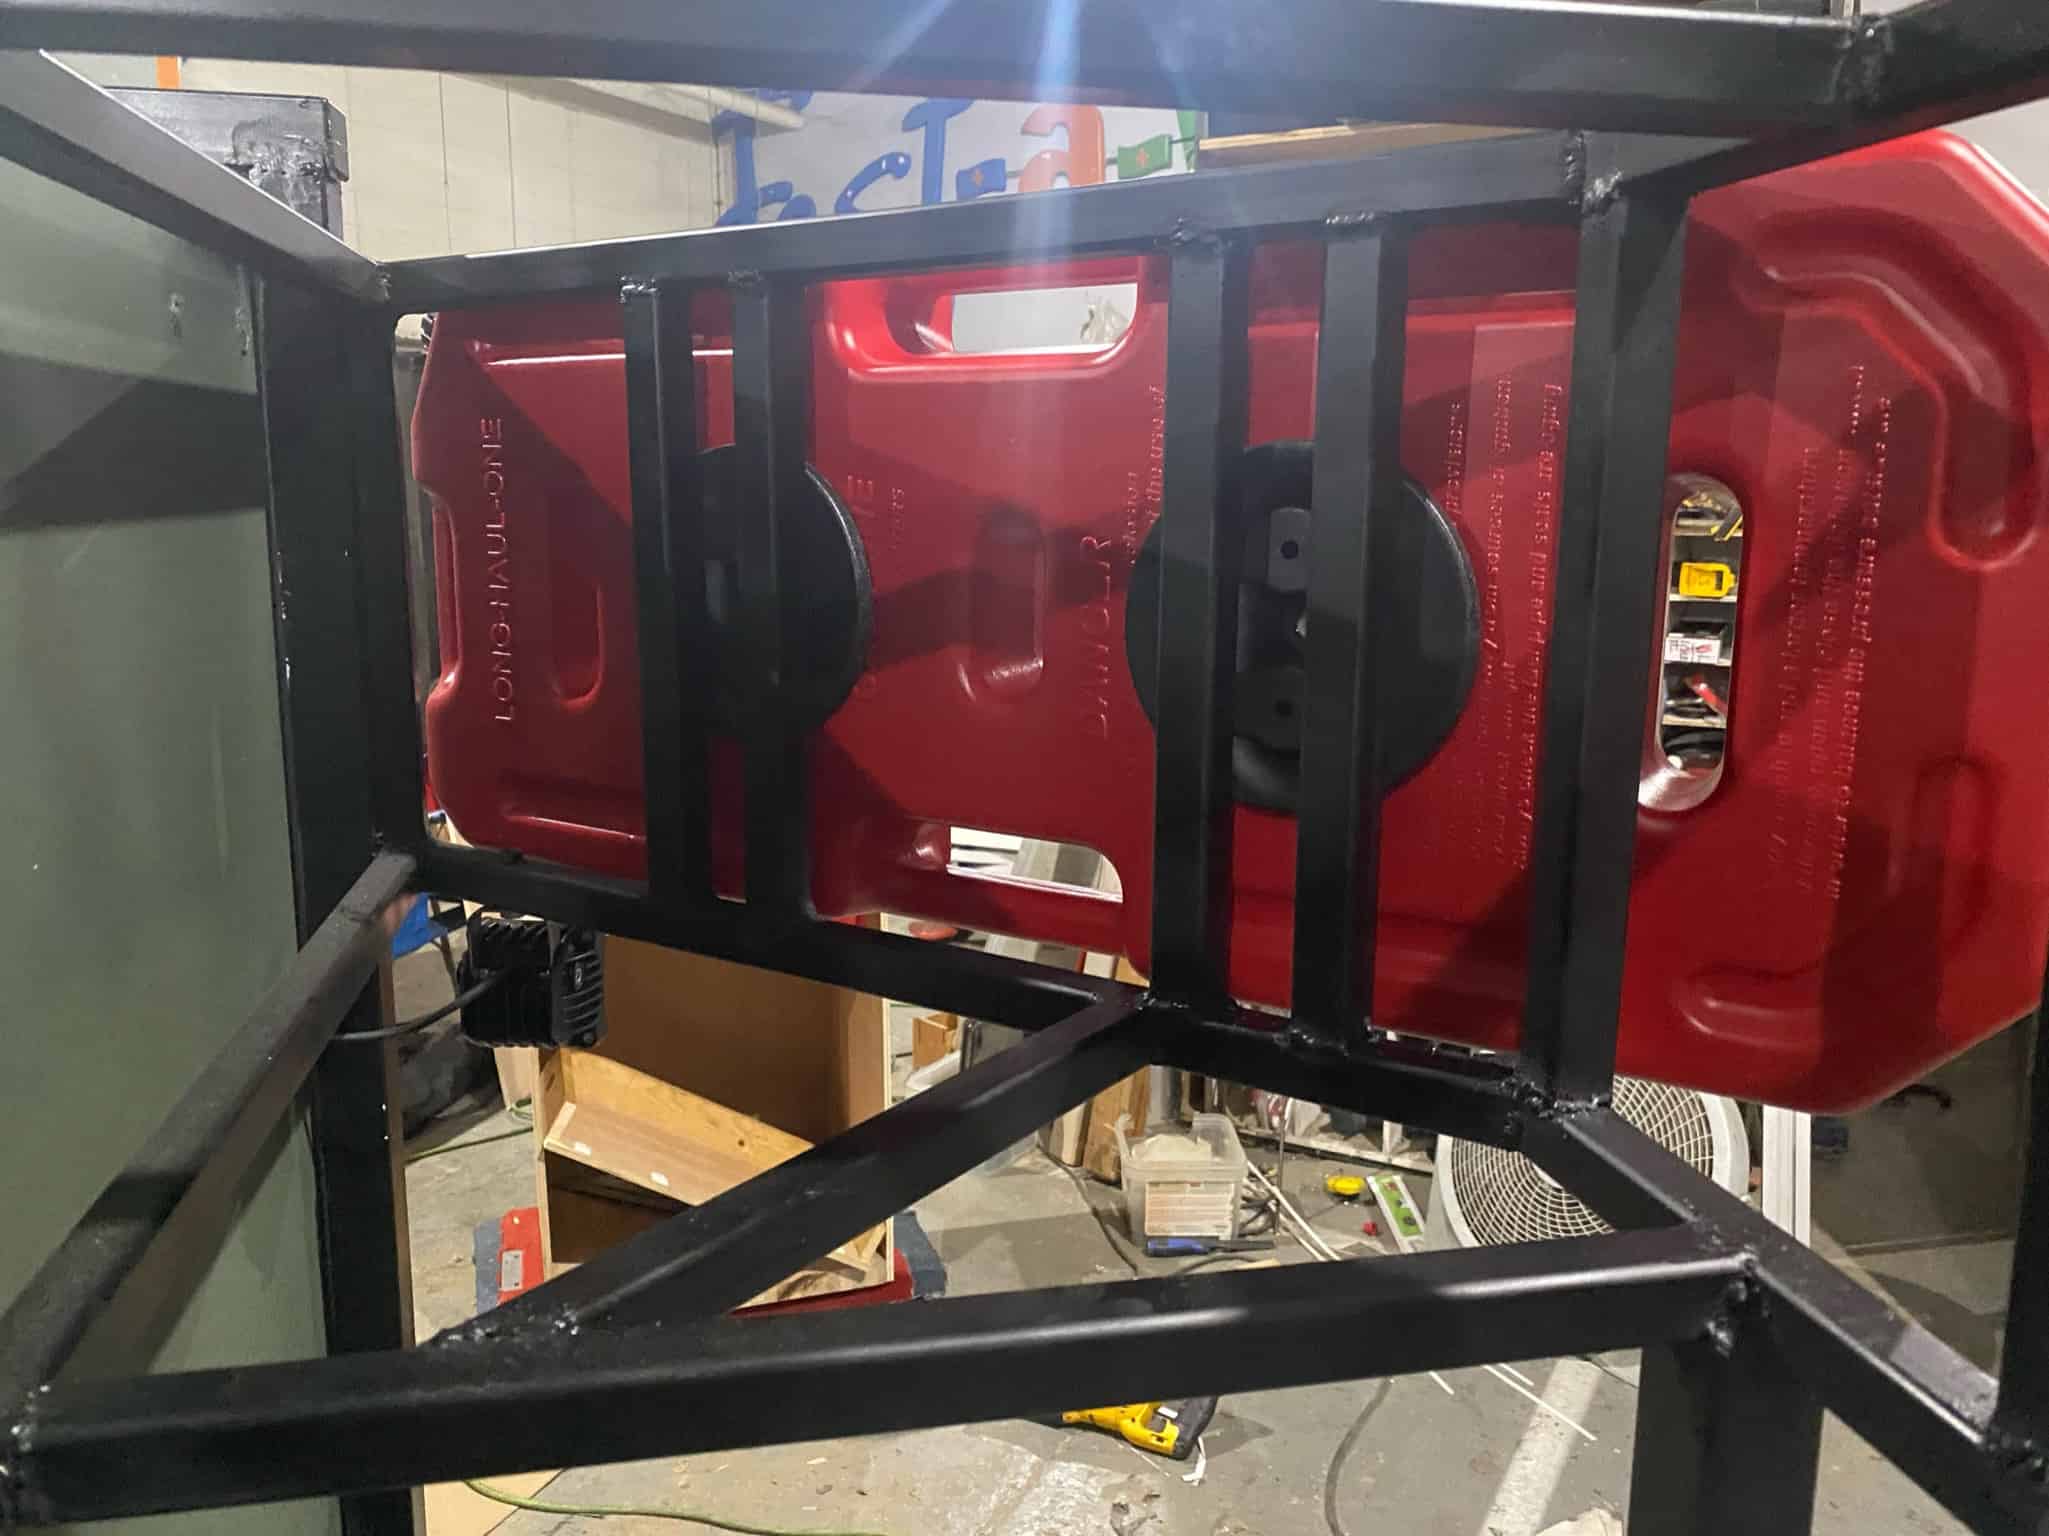
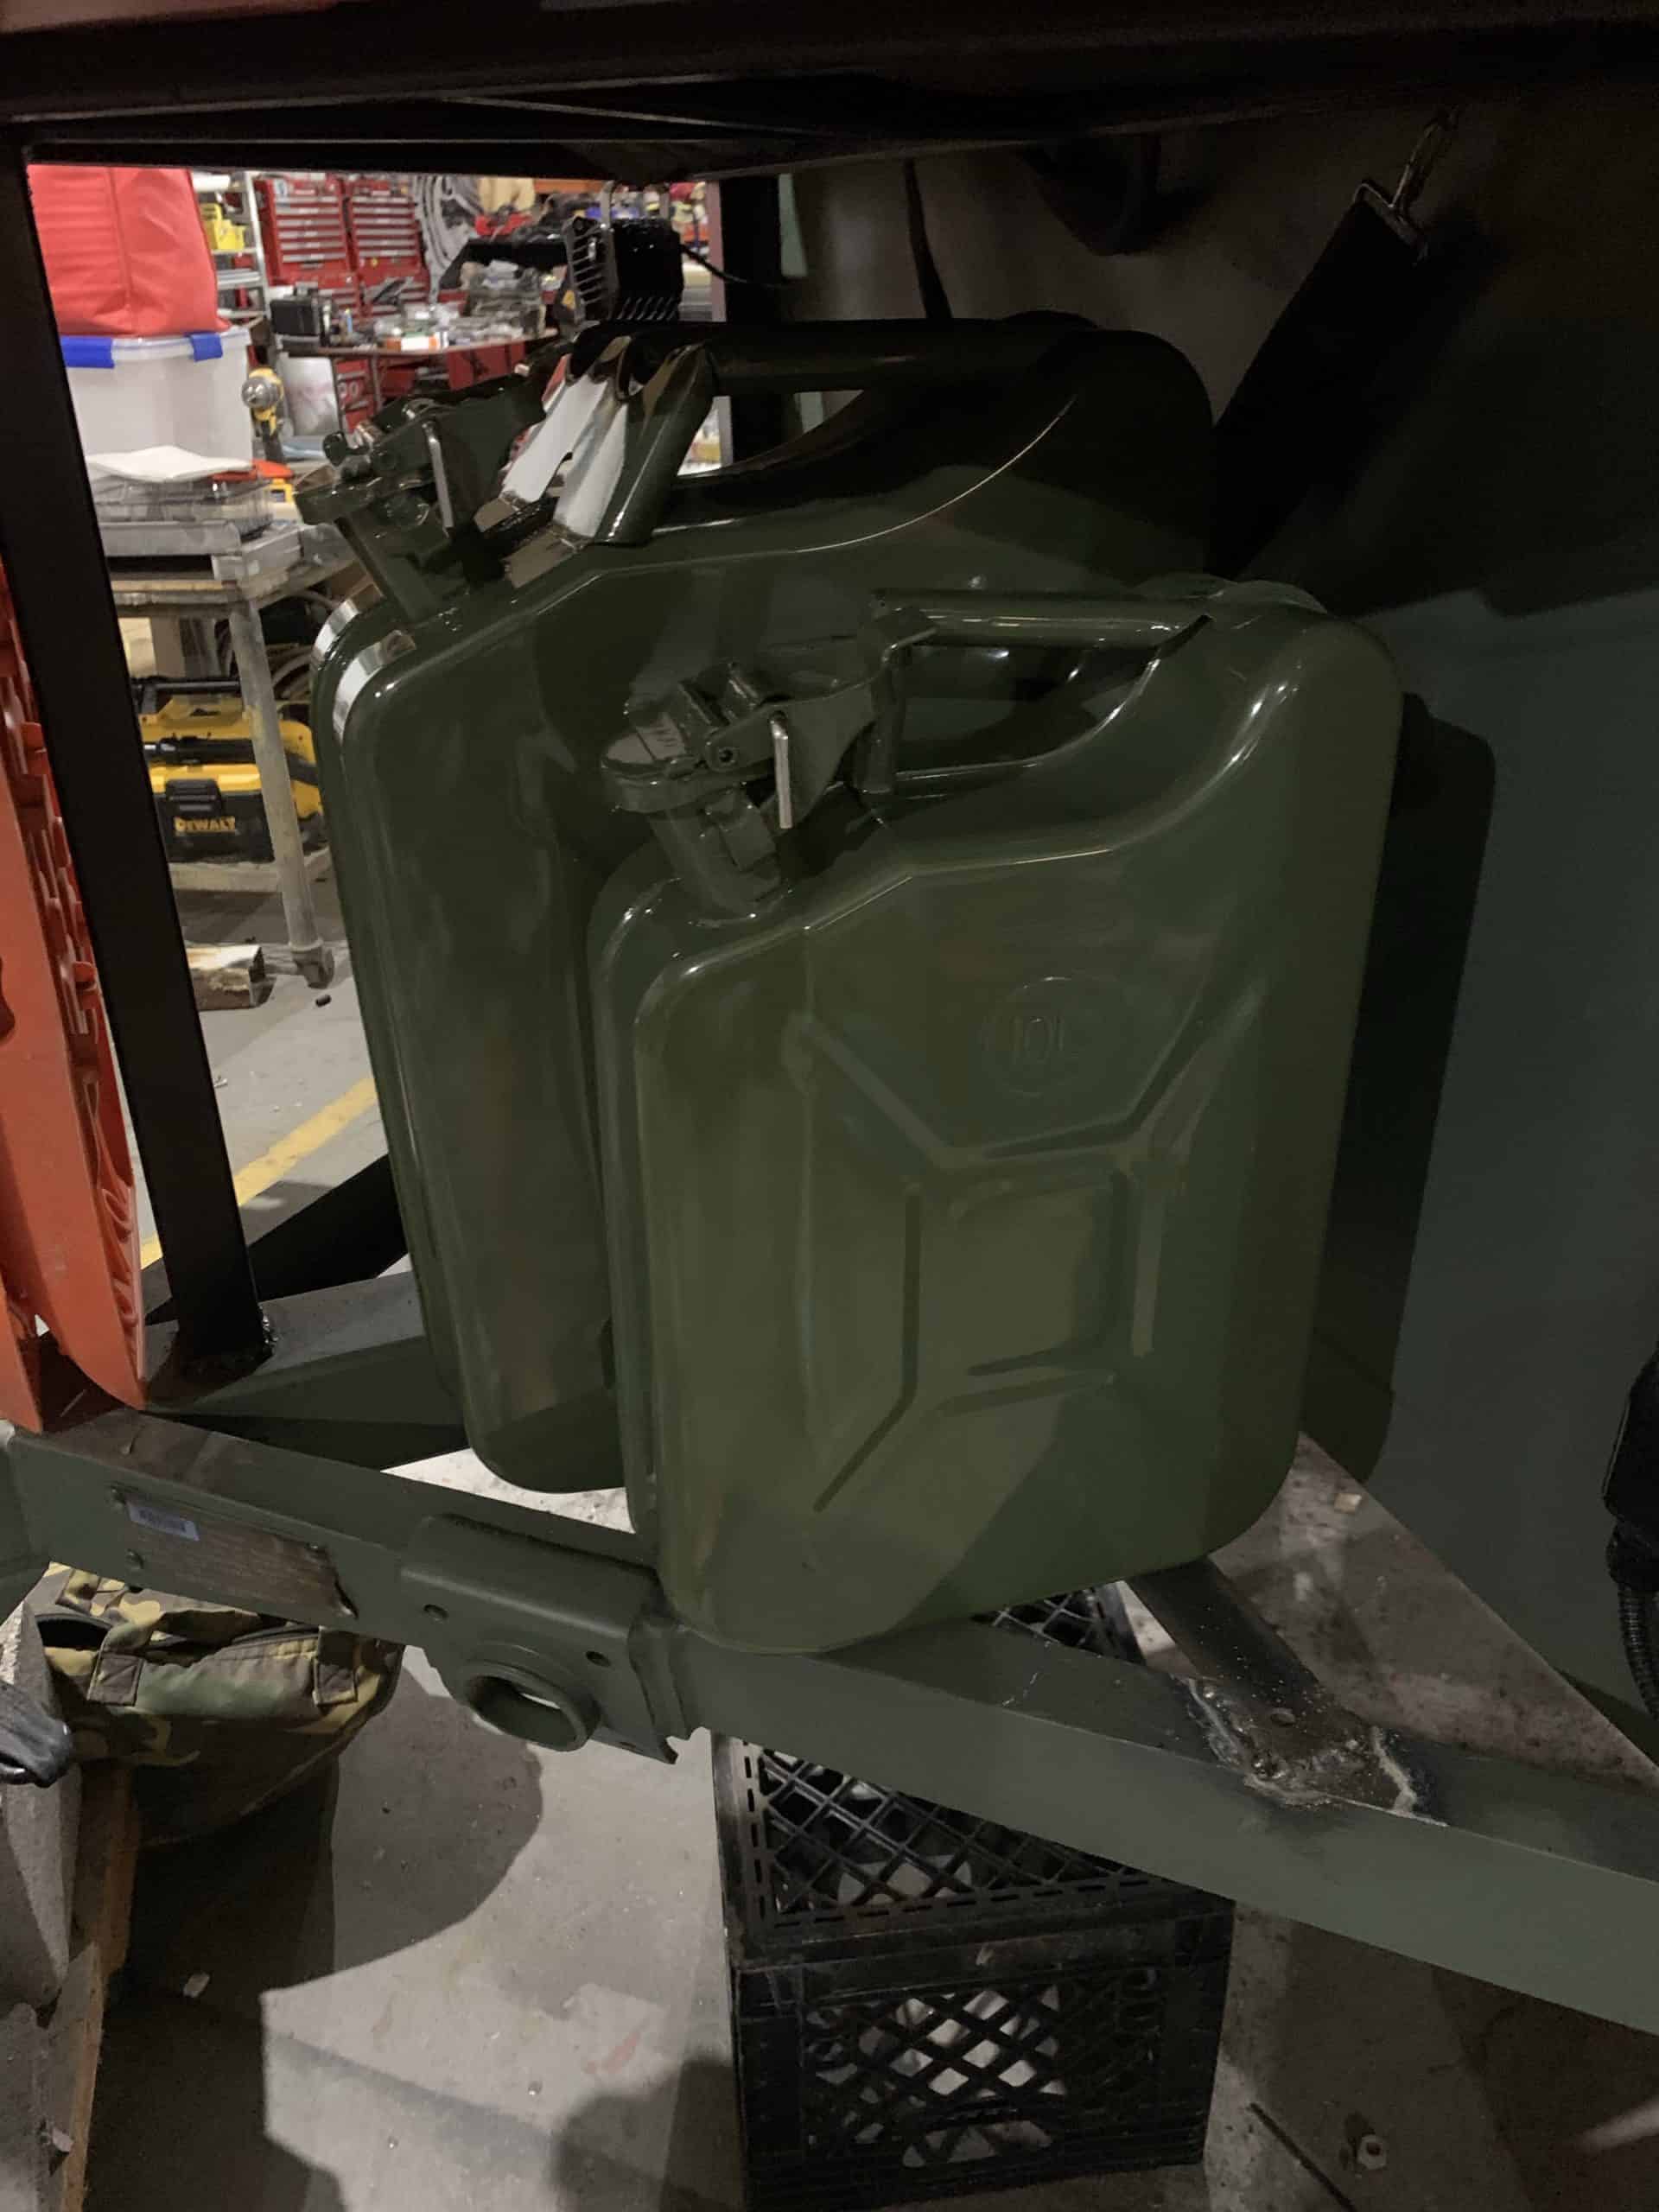
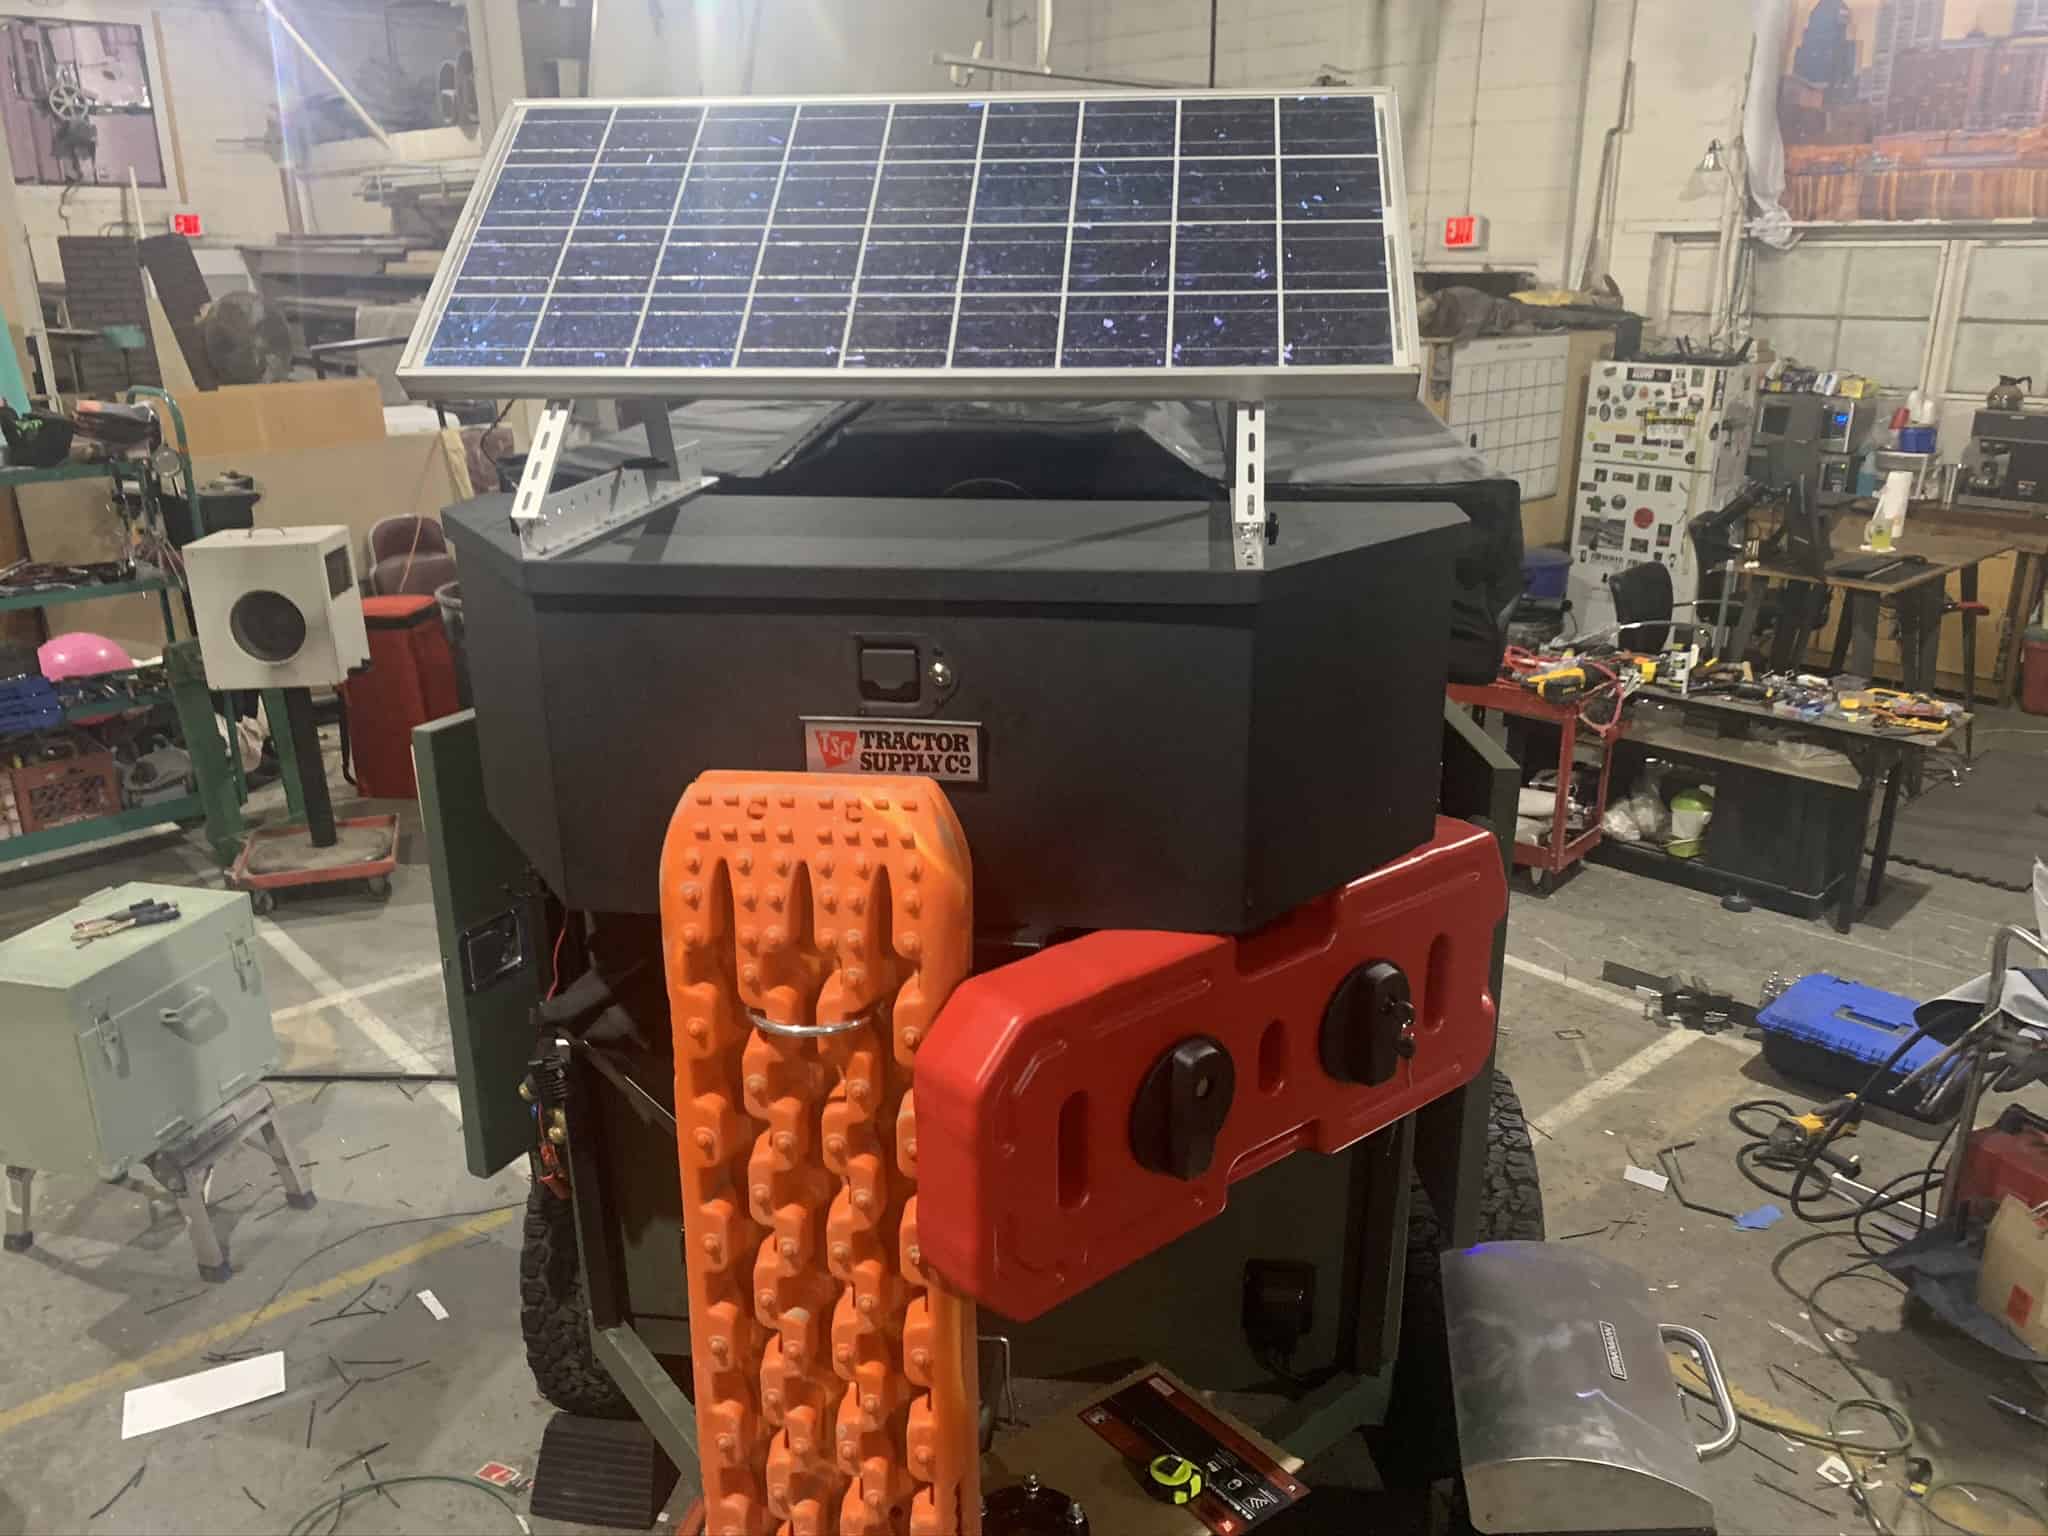
Gas cans are the second most important thing in the middle of nowhere.. so you don't run out, in the middle of nowhere. Installed a 5gal one on the tongue rack, and a tongue bar for two spare 5gal jerry cans too. Also wanted a propane tank for the water heater / cooking, etc.
/ Solar-Powered Fridge and Freezer
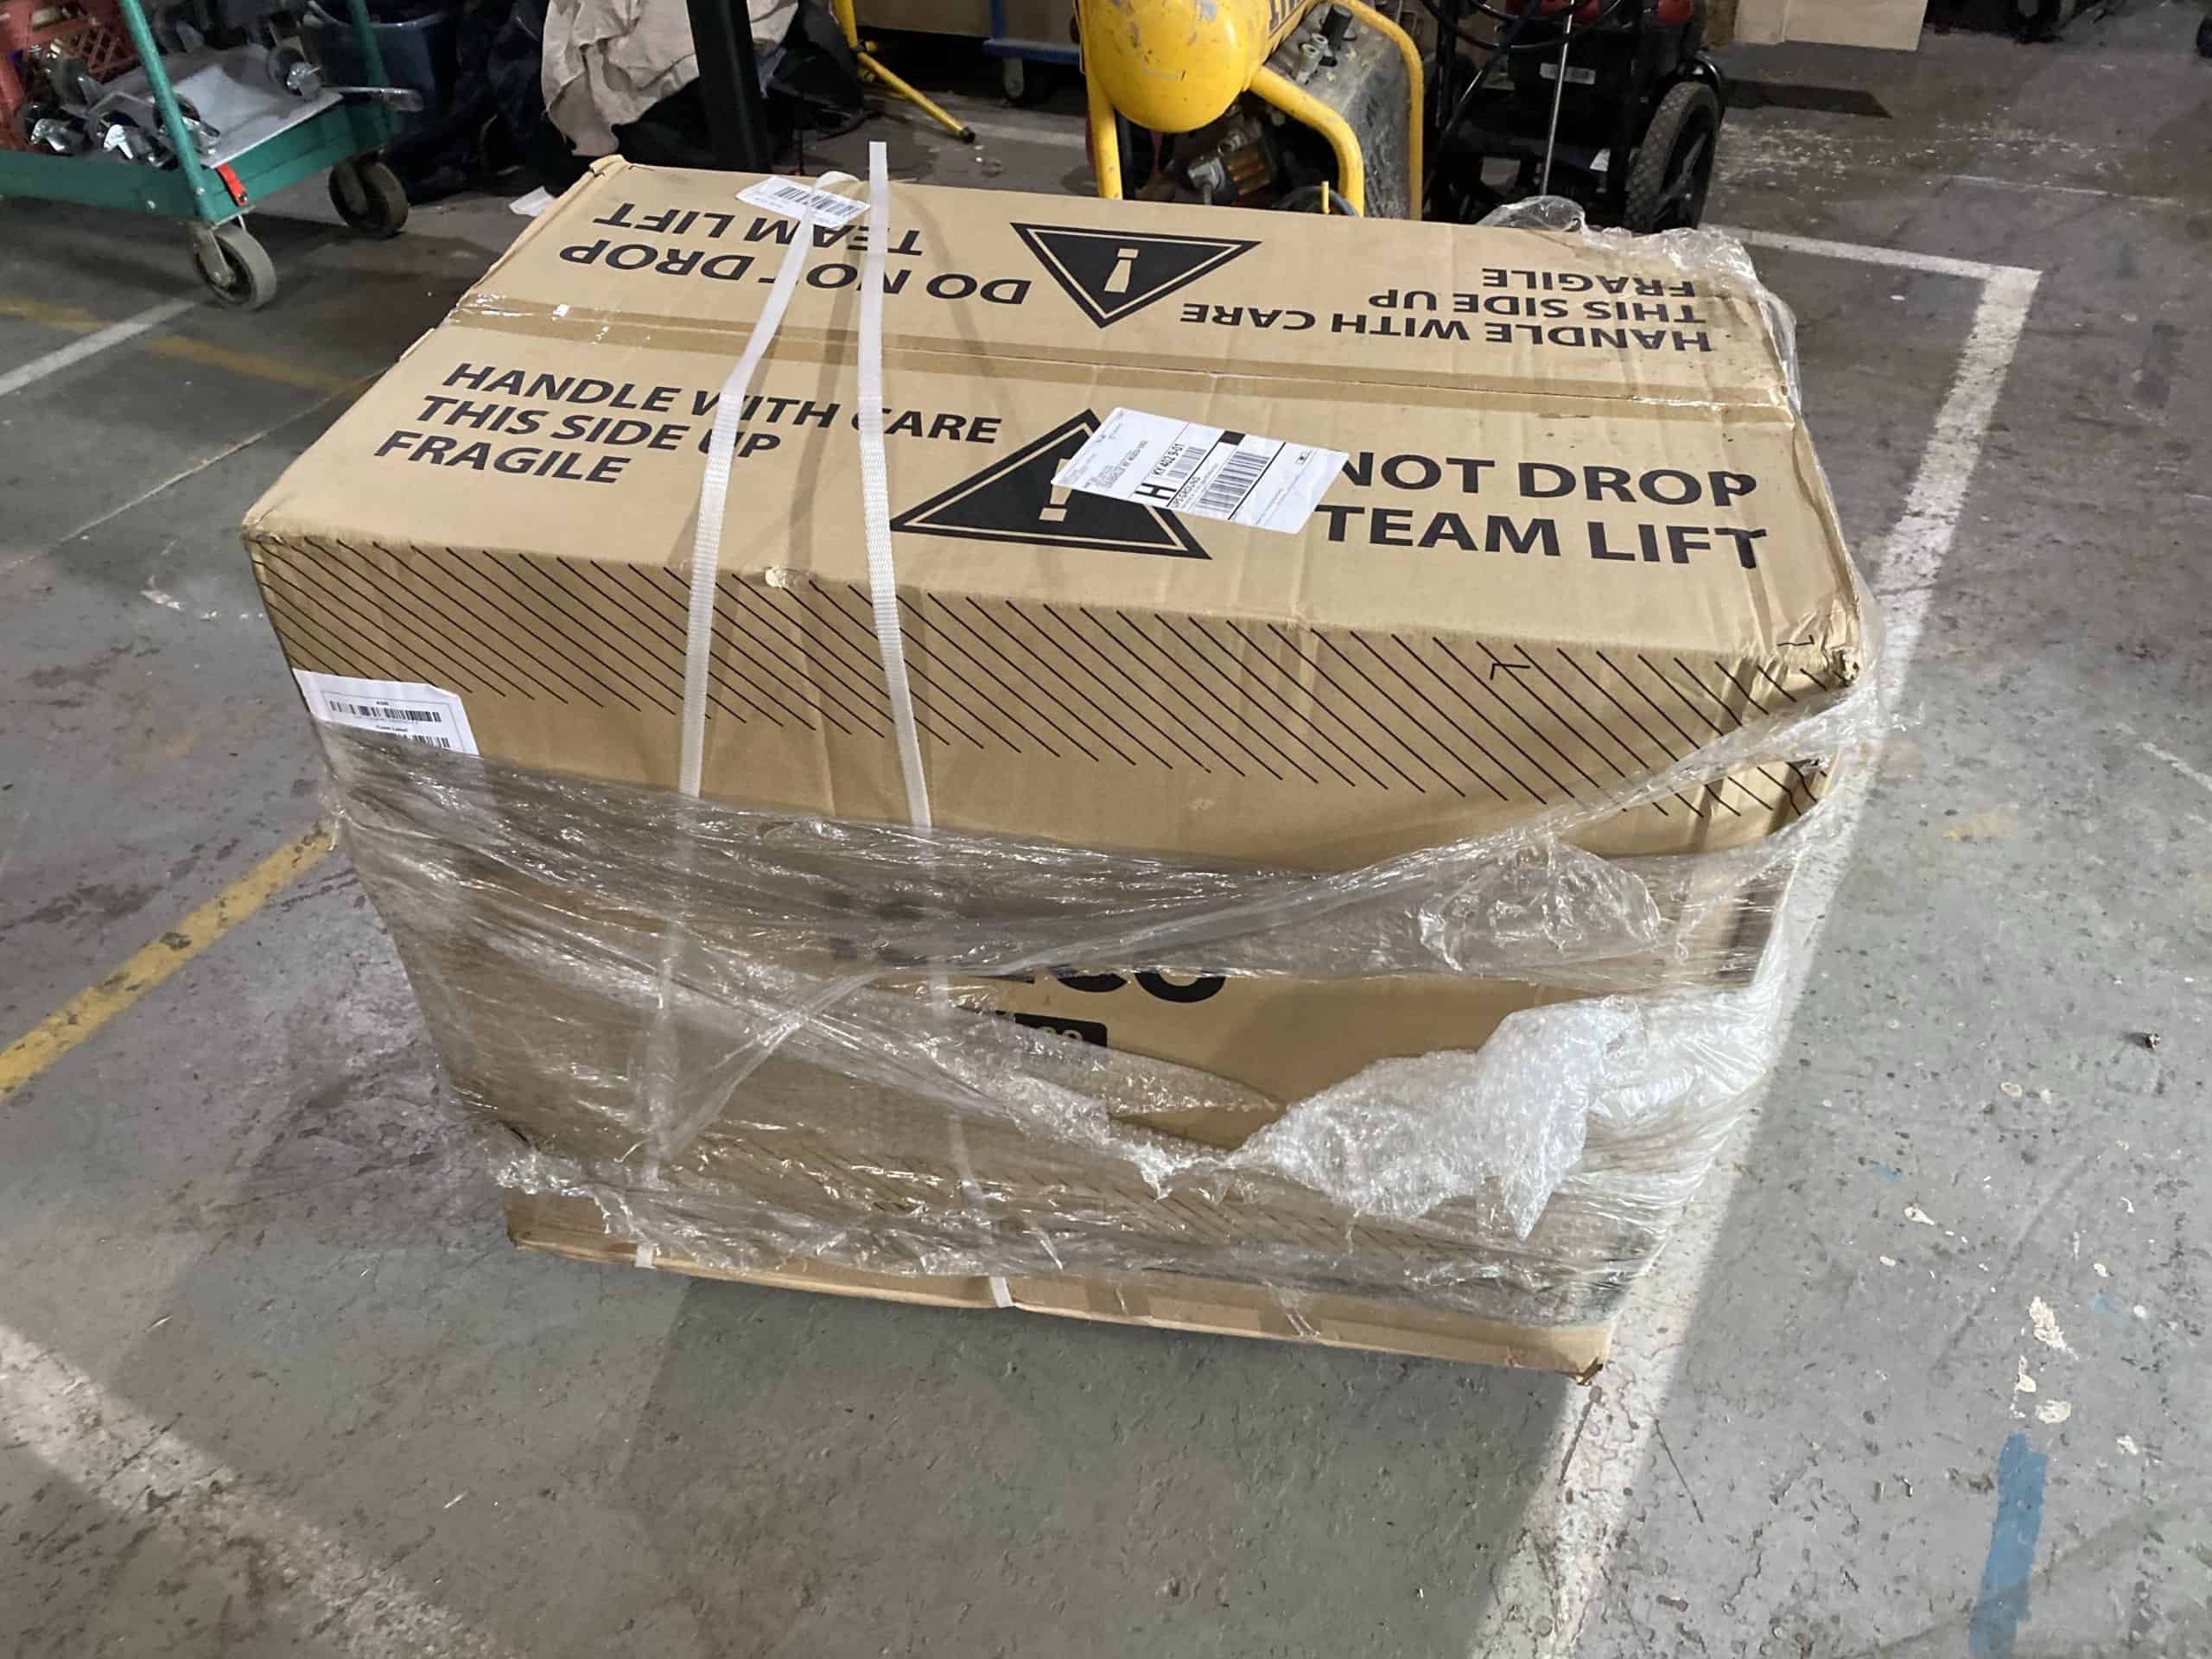
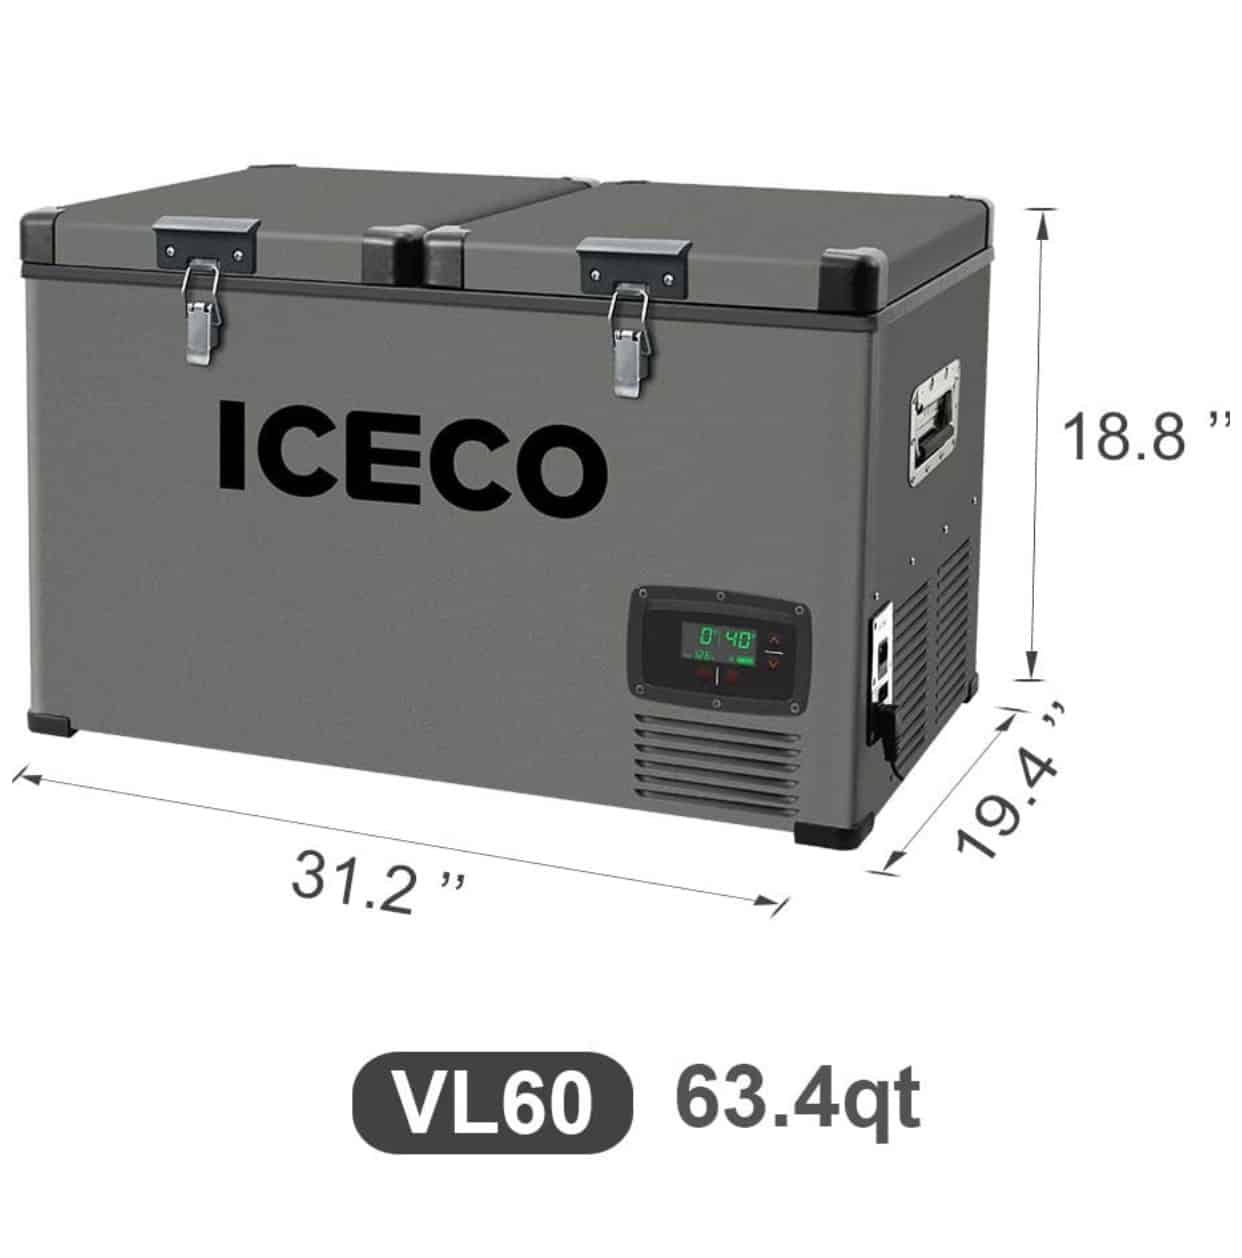
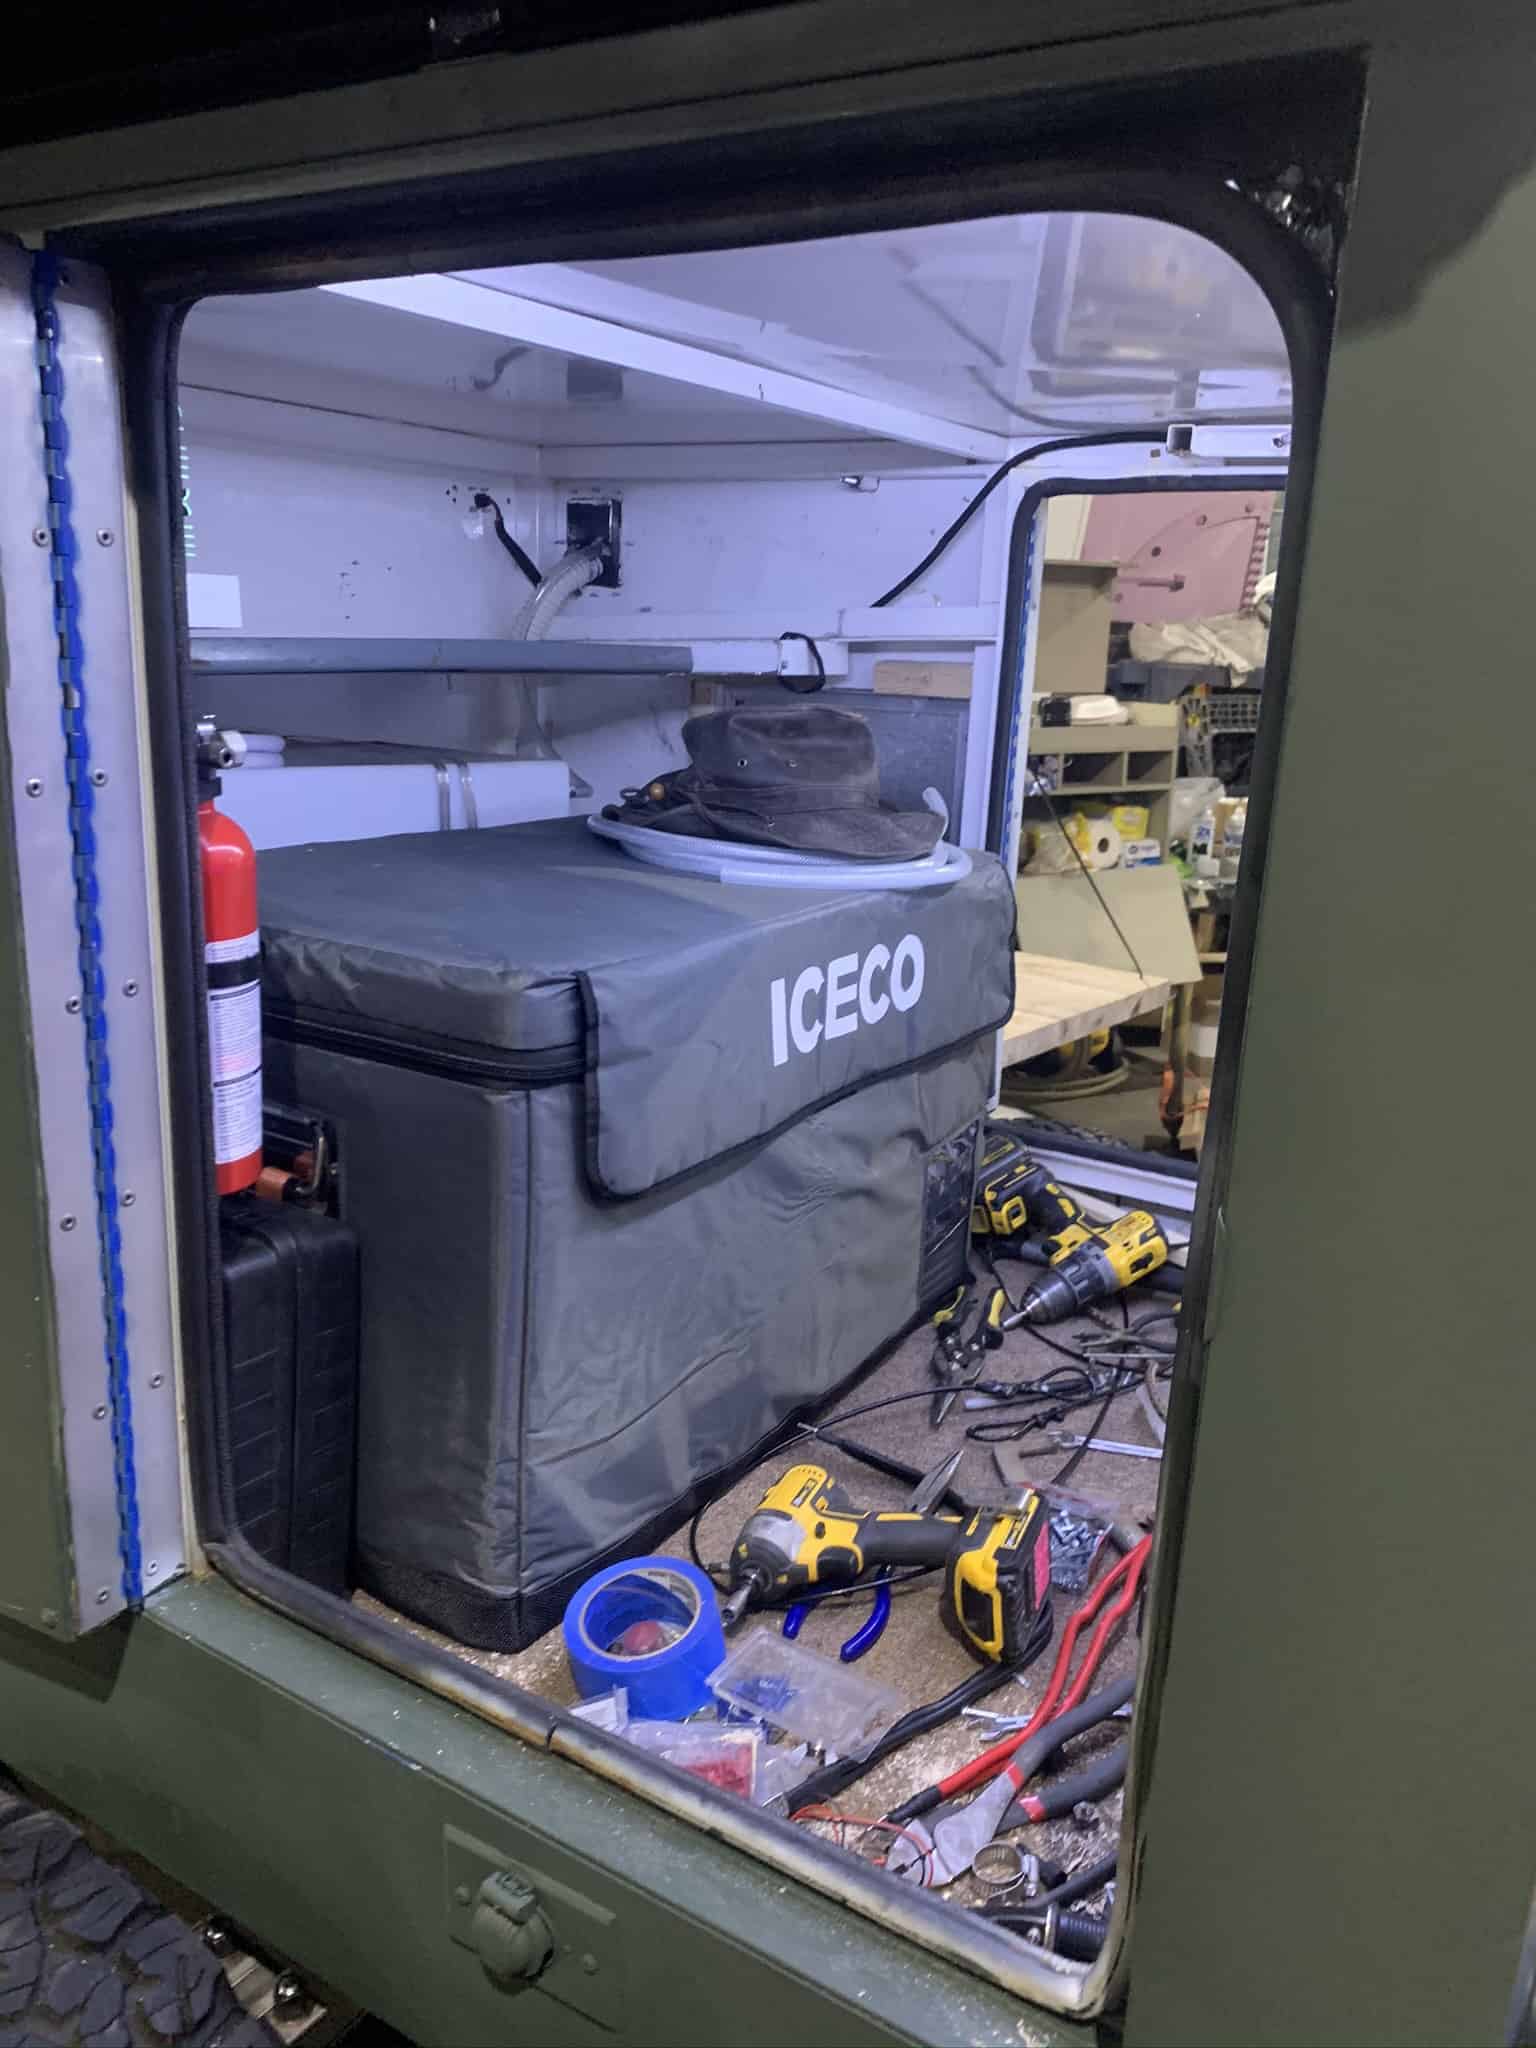
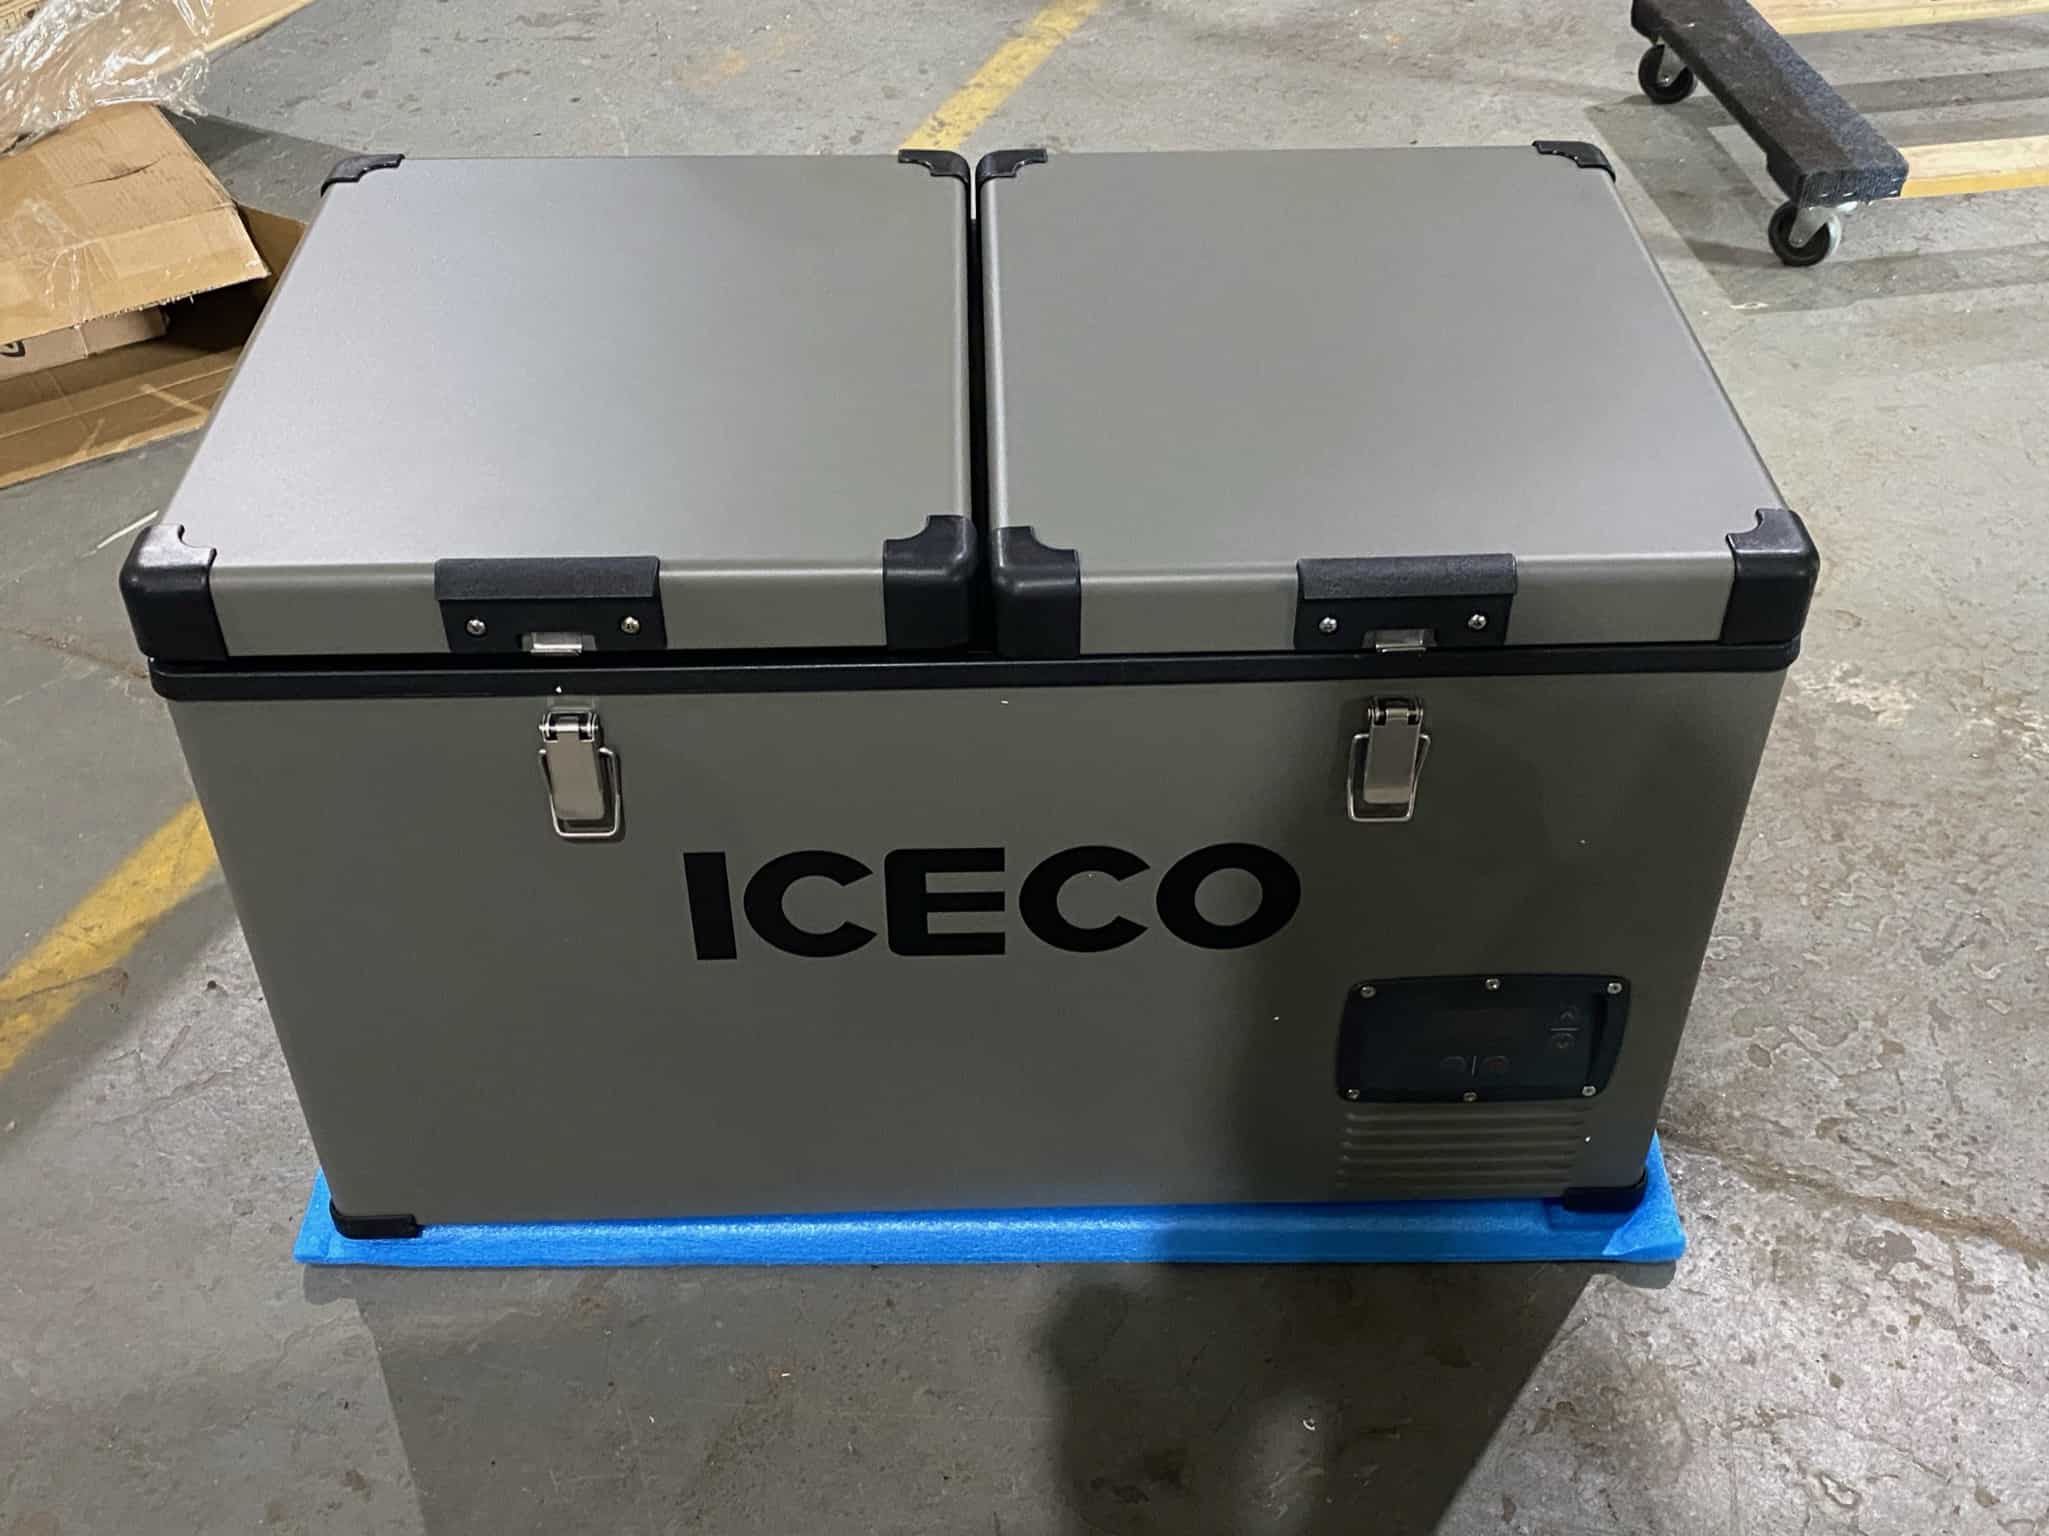
Yes, I want a filet and a cold beer in the middle of nowhere. I picked the ICECO VL60 — I wanted the larger space and the dual zone. It was the right quality and right number of watts for my solar panel. Very happy with this choice.
/ Rooftop Tent
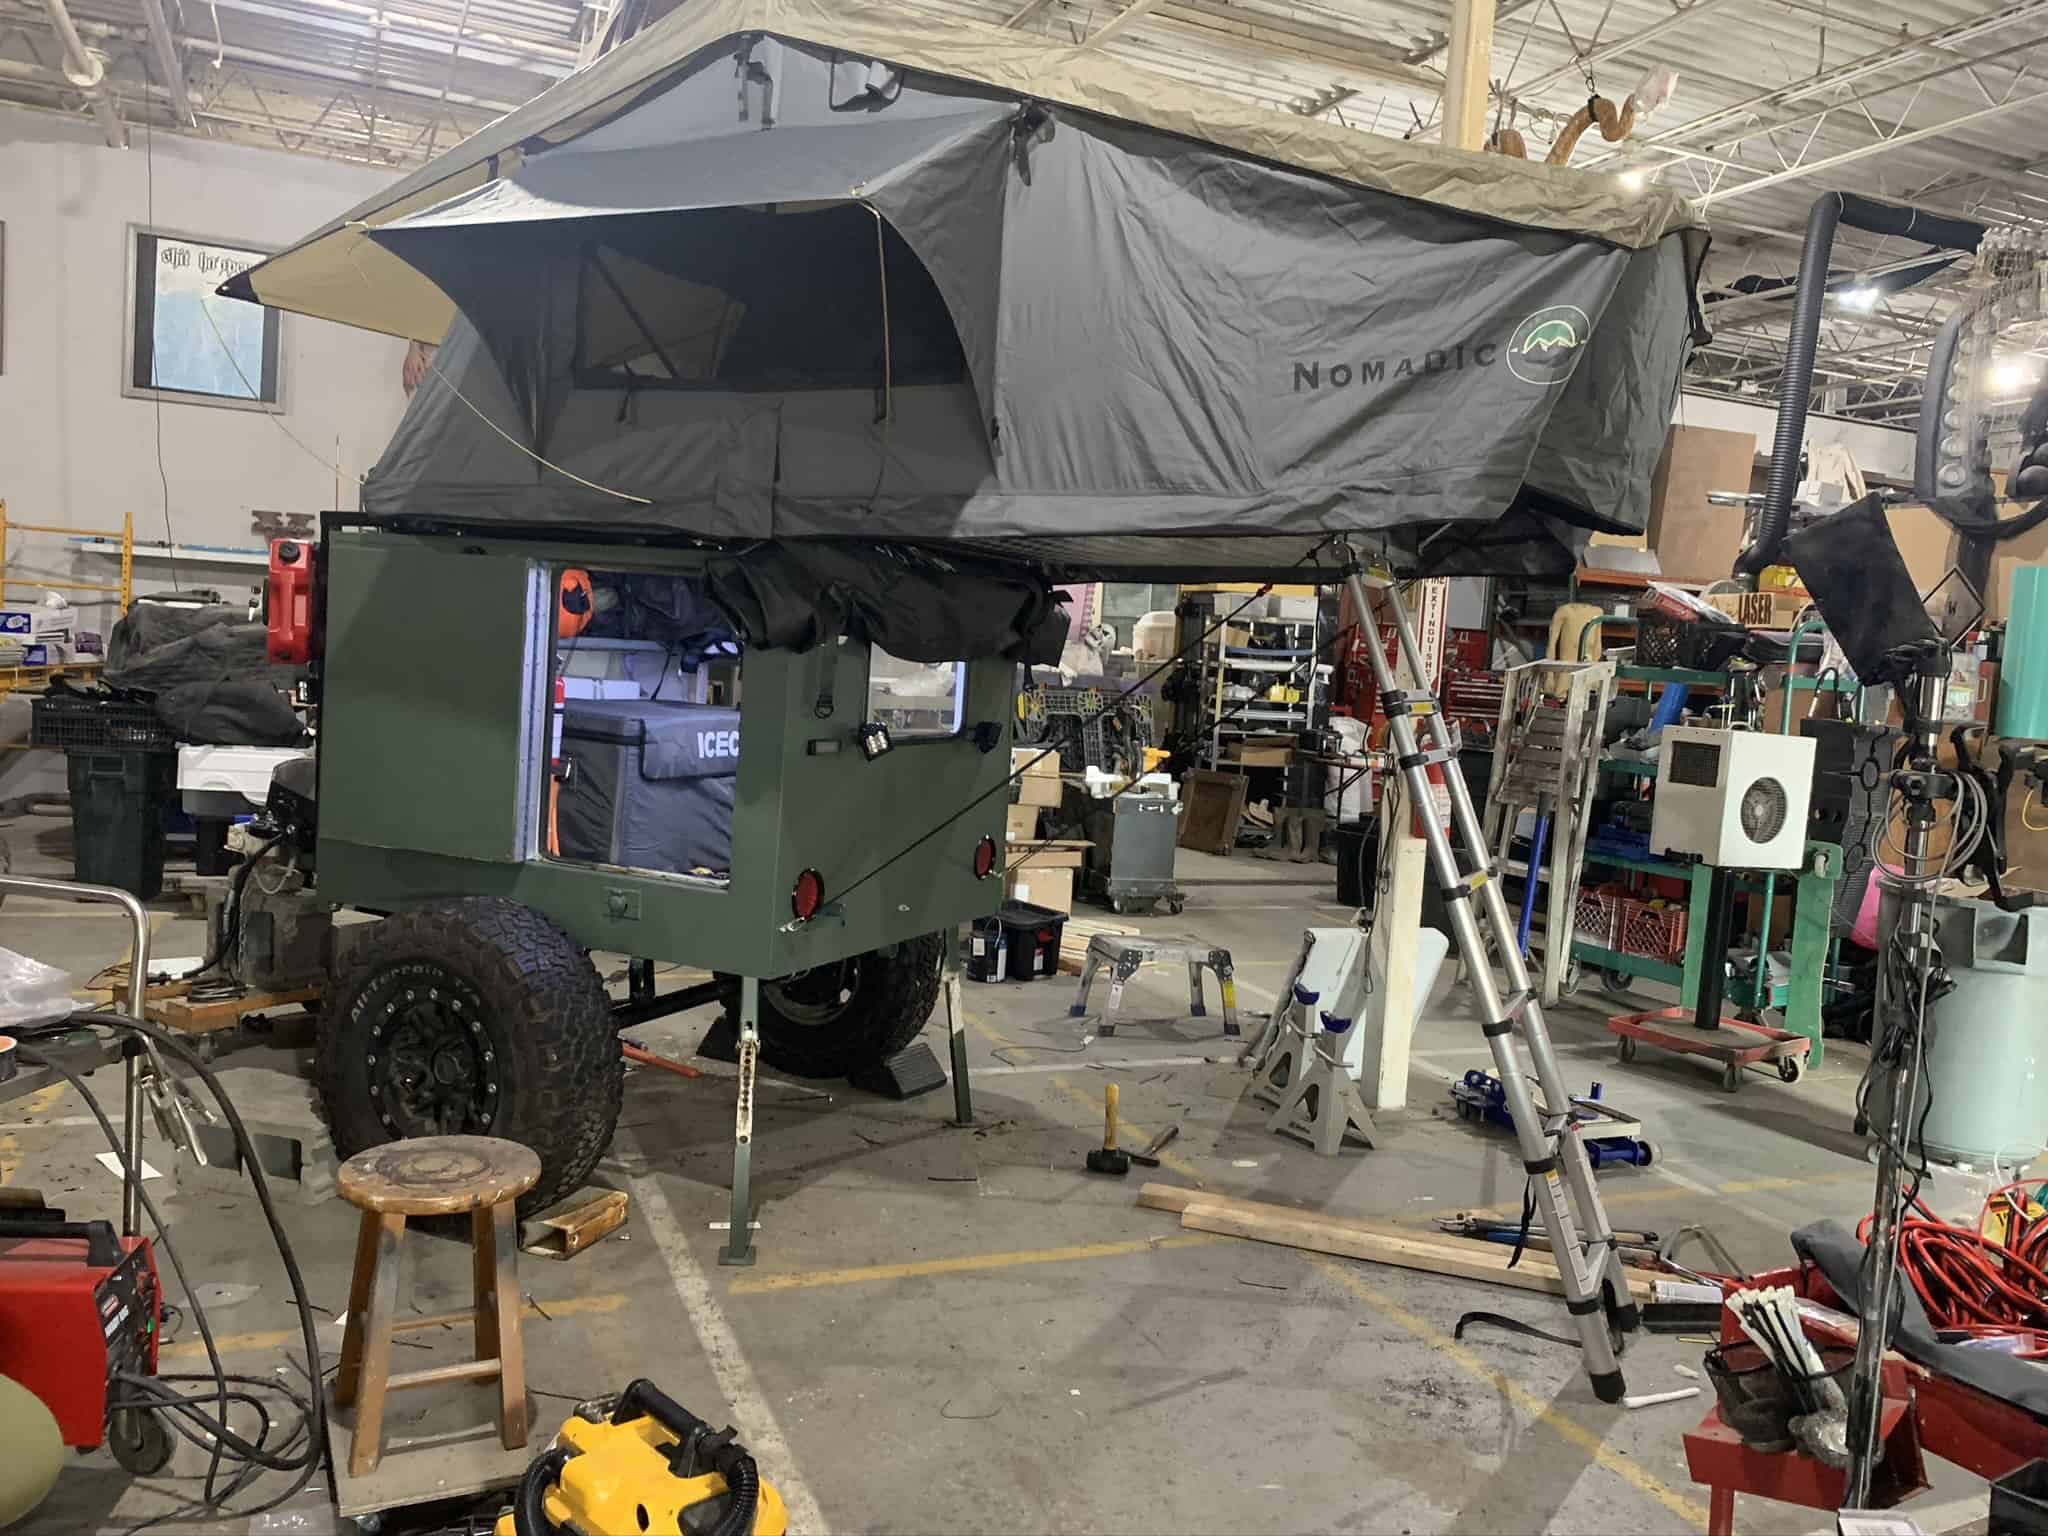
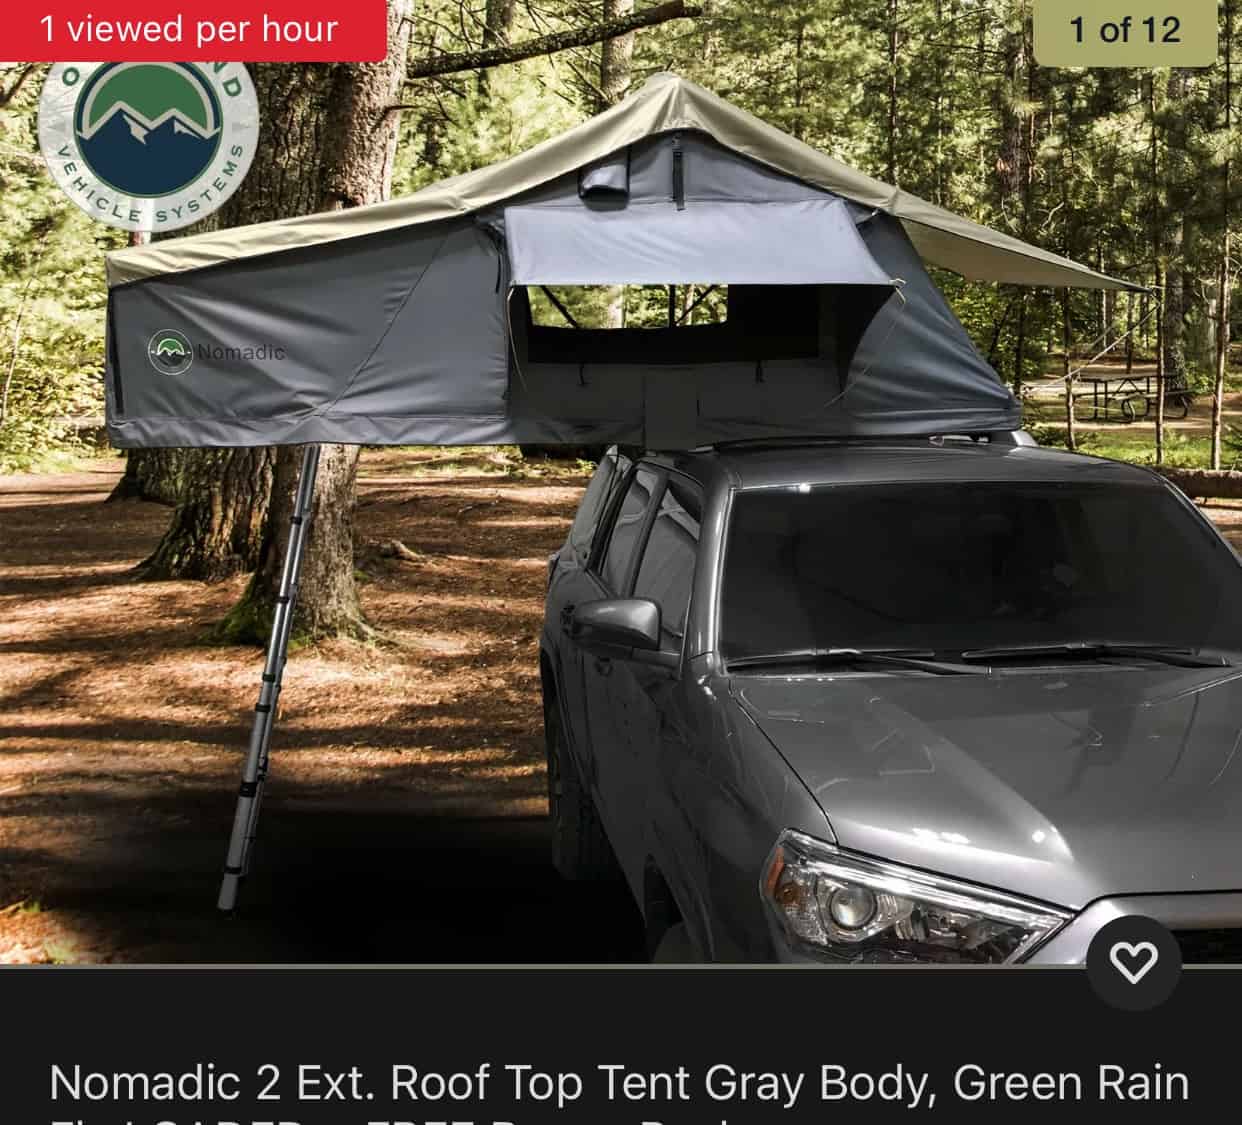
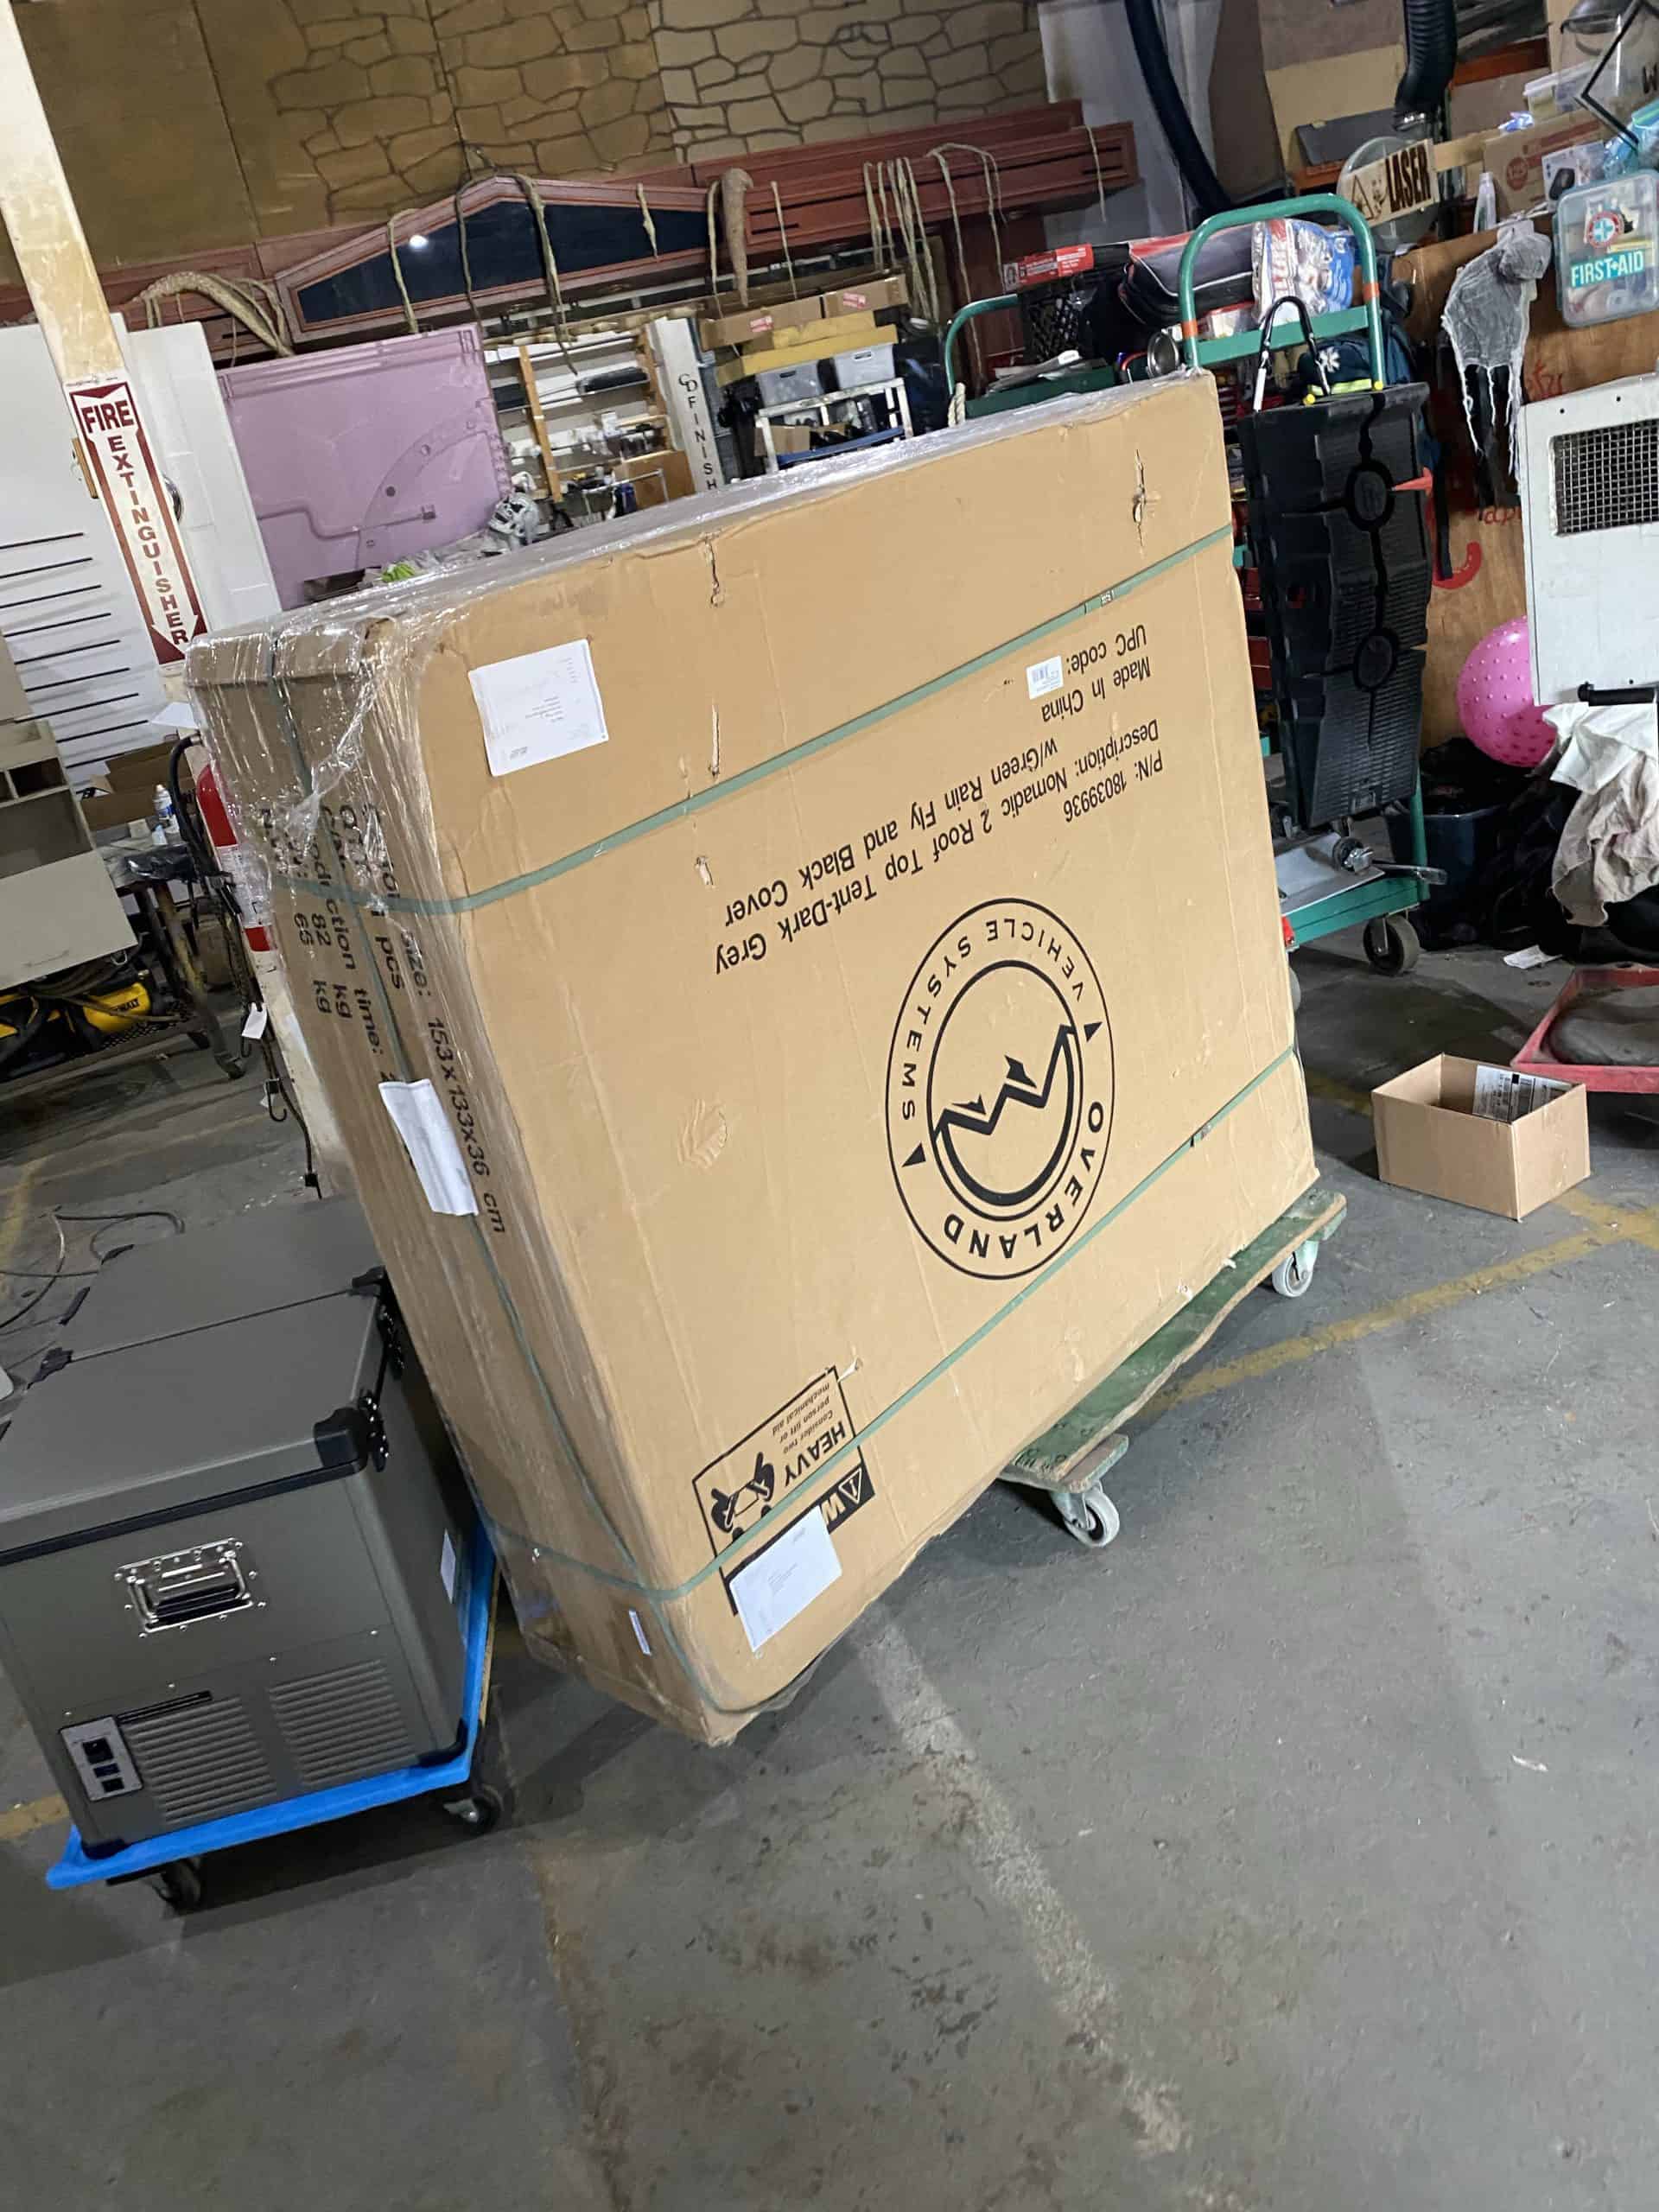
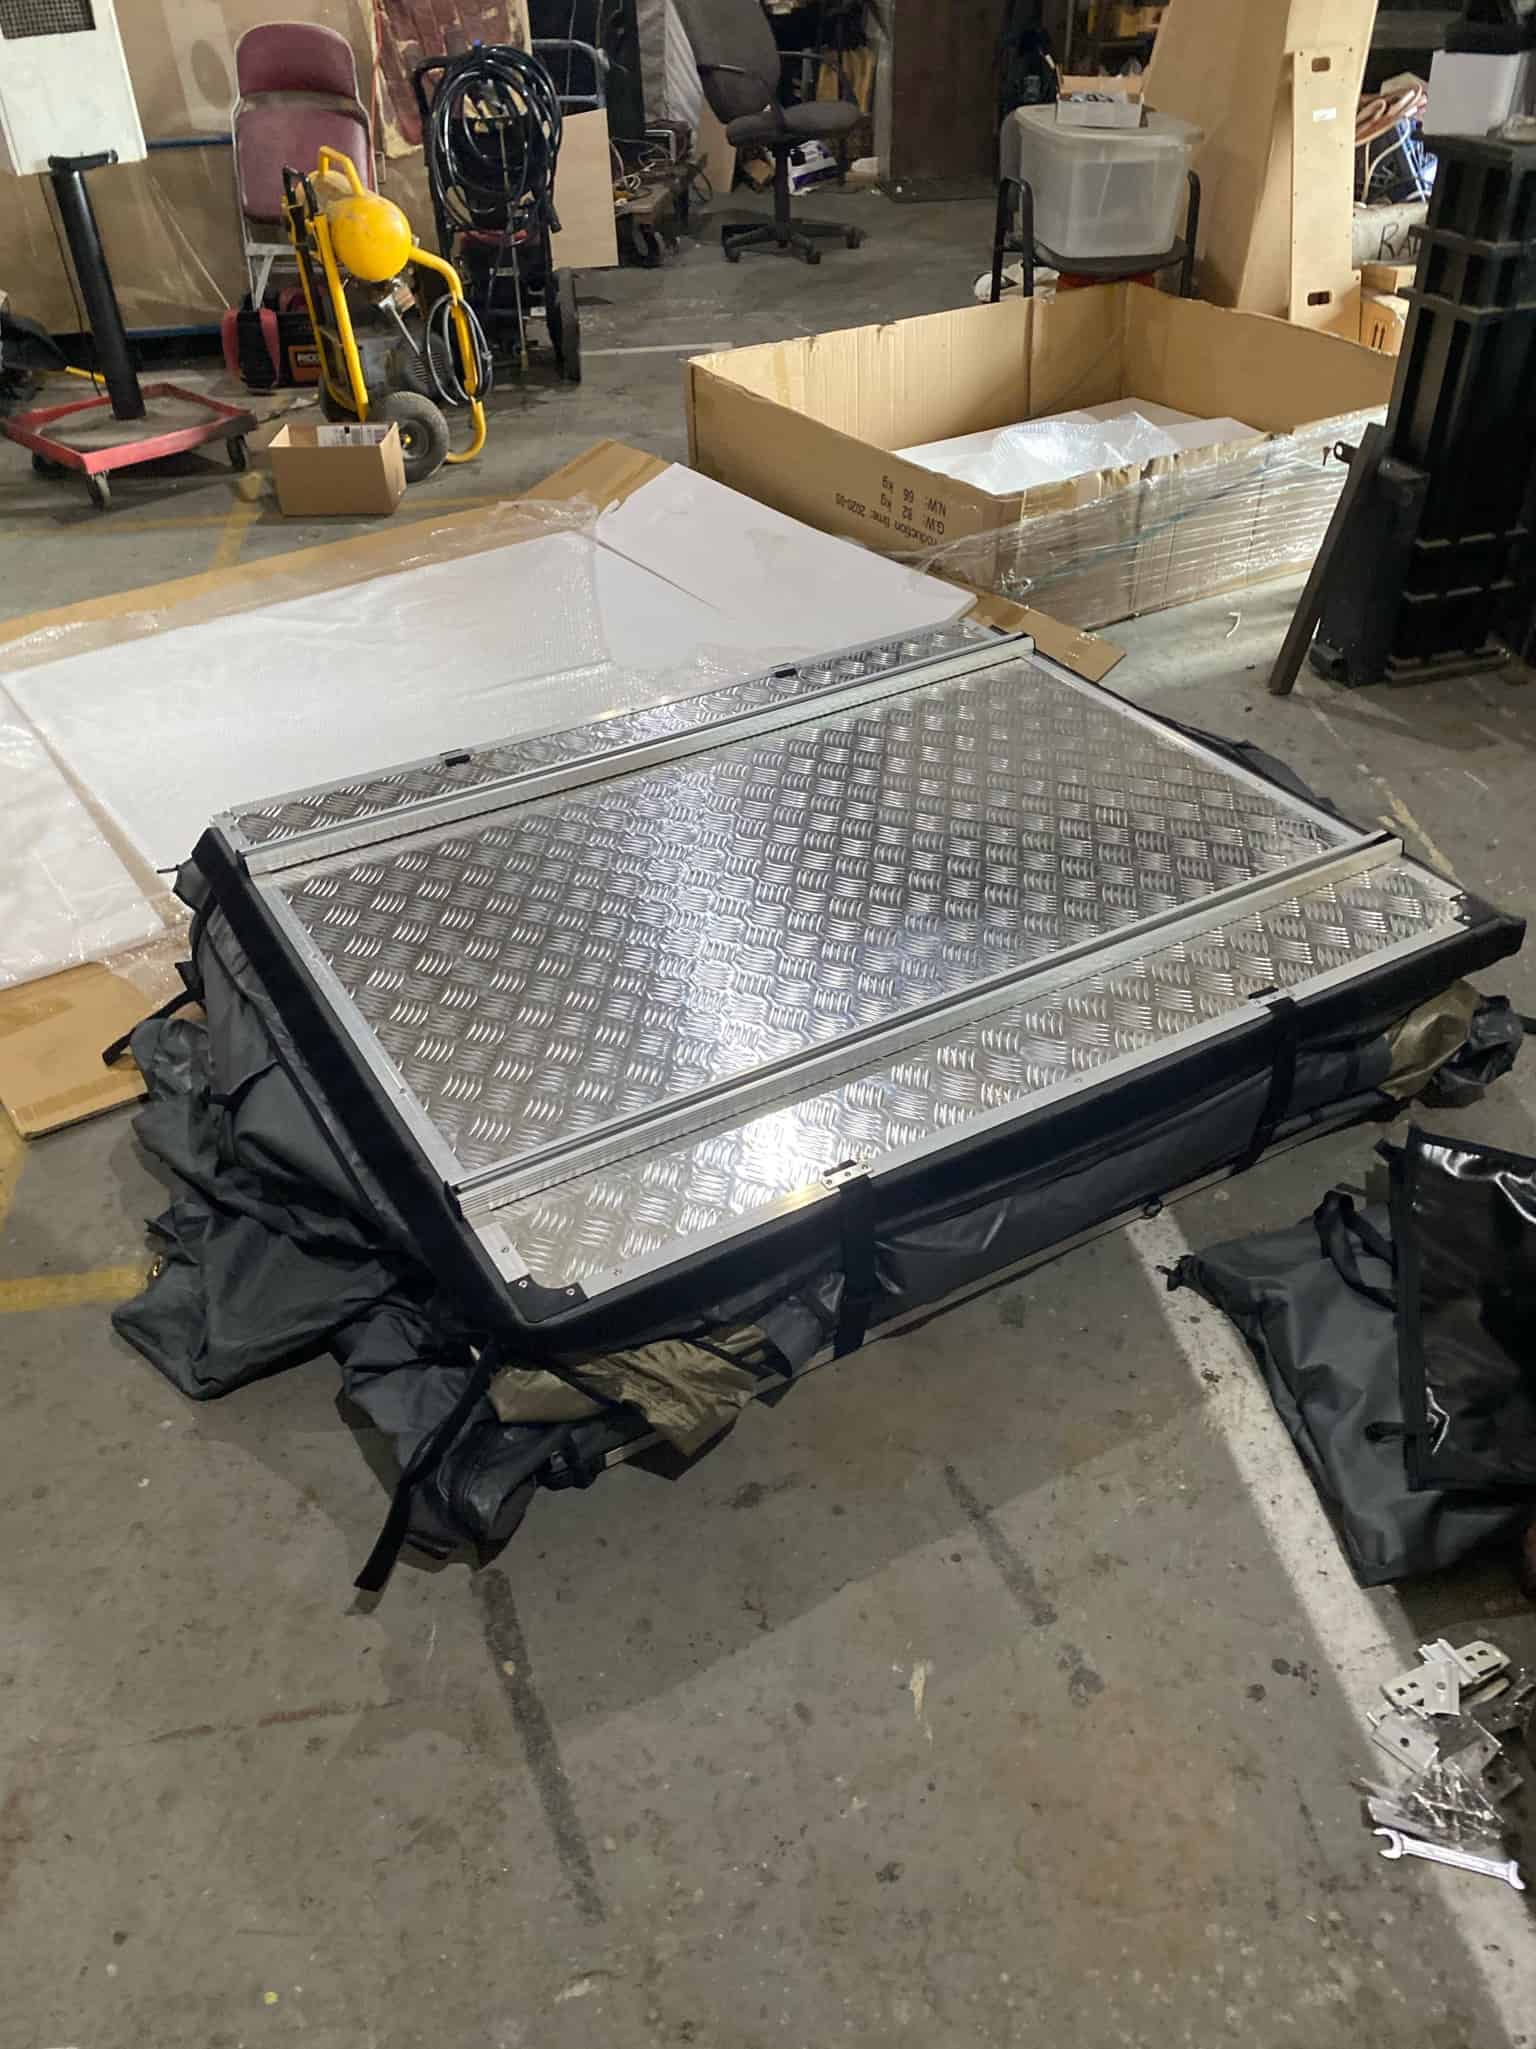
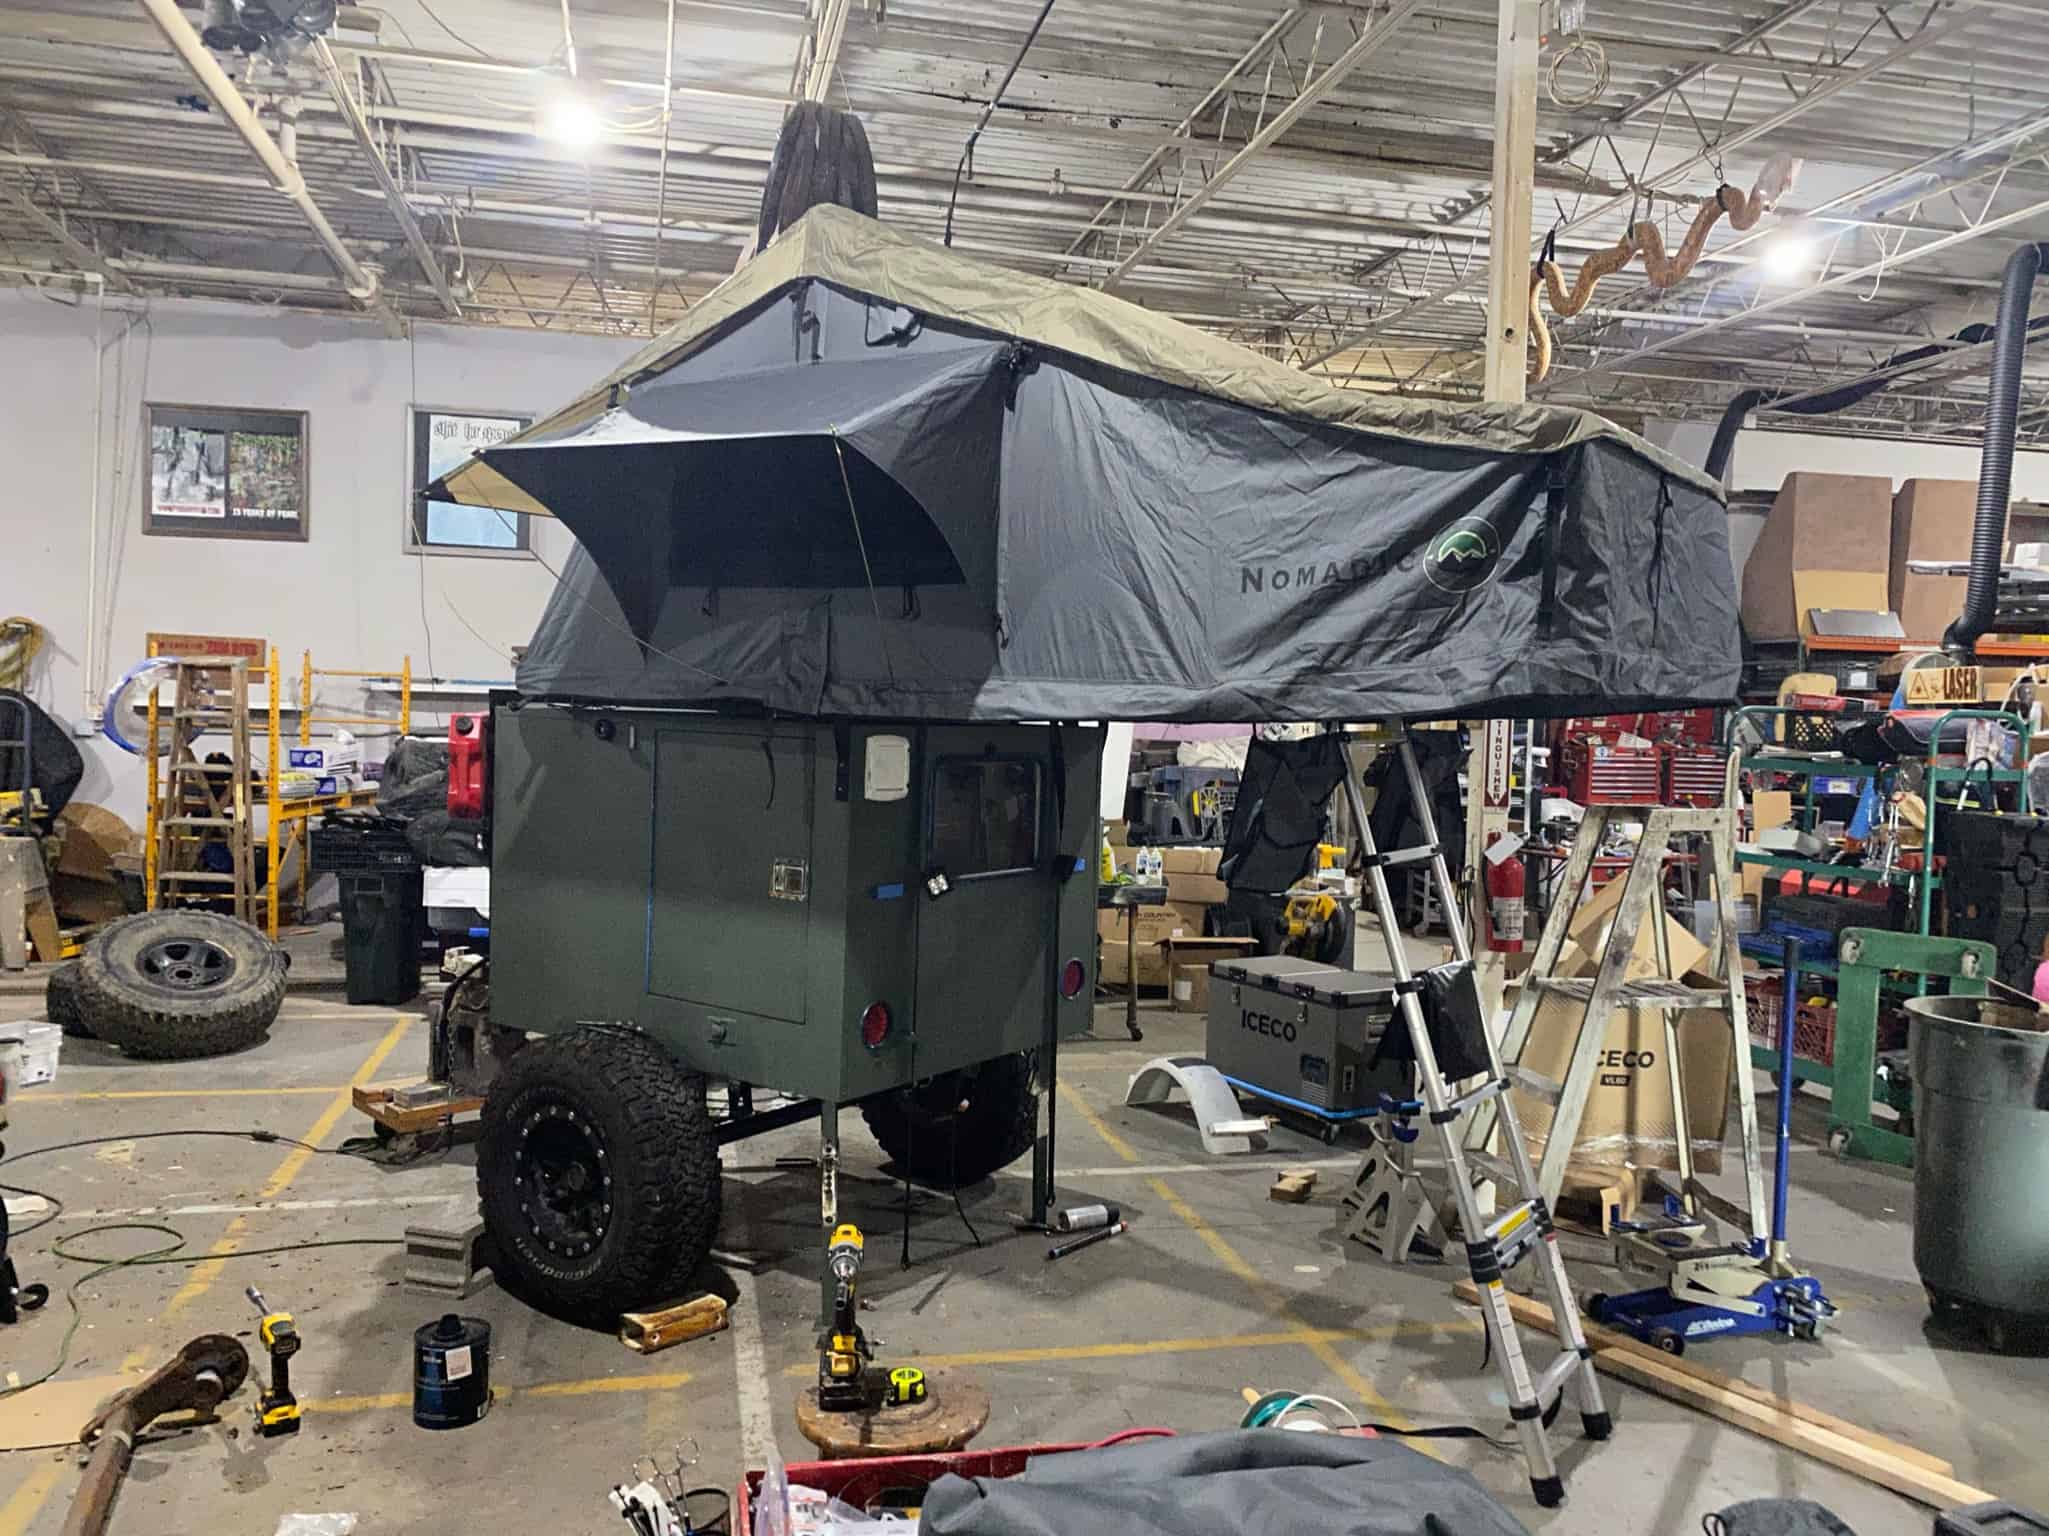
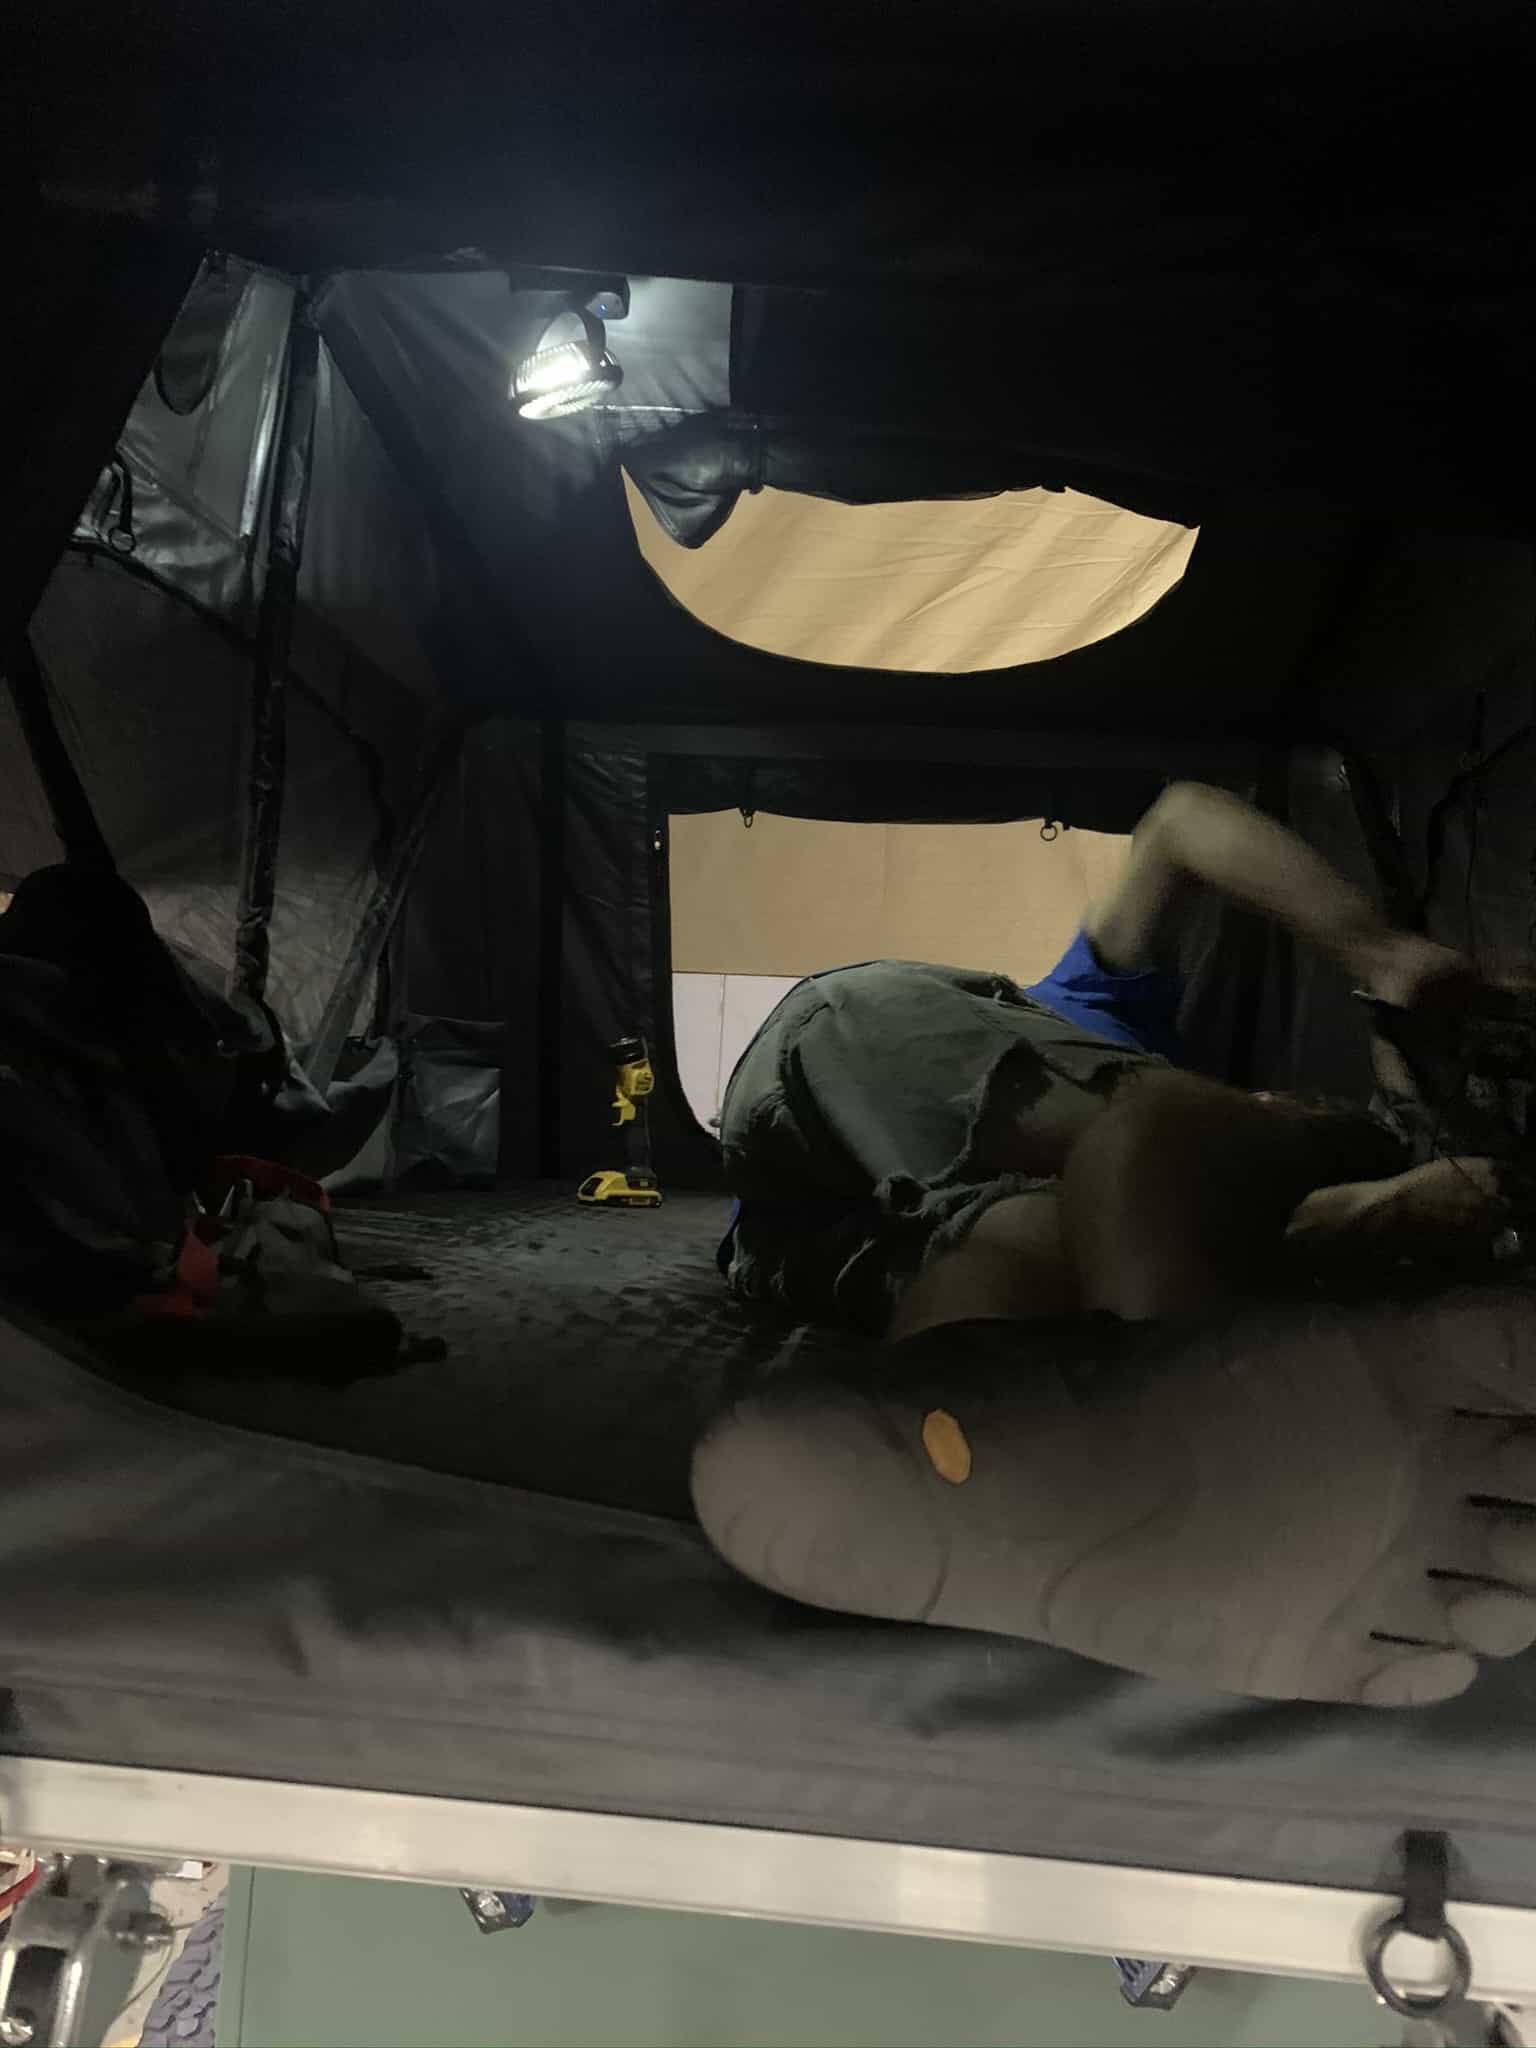
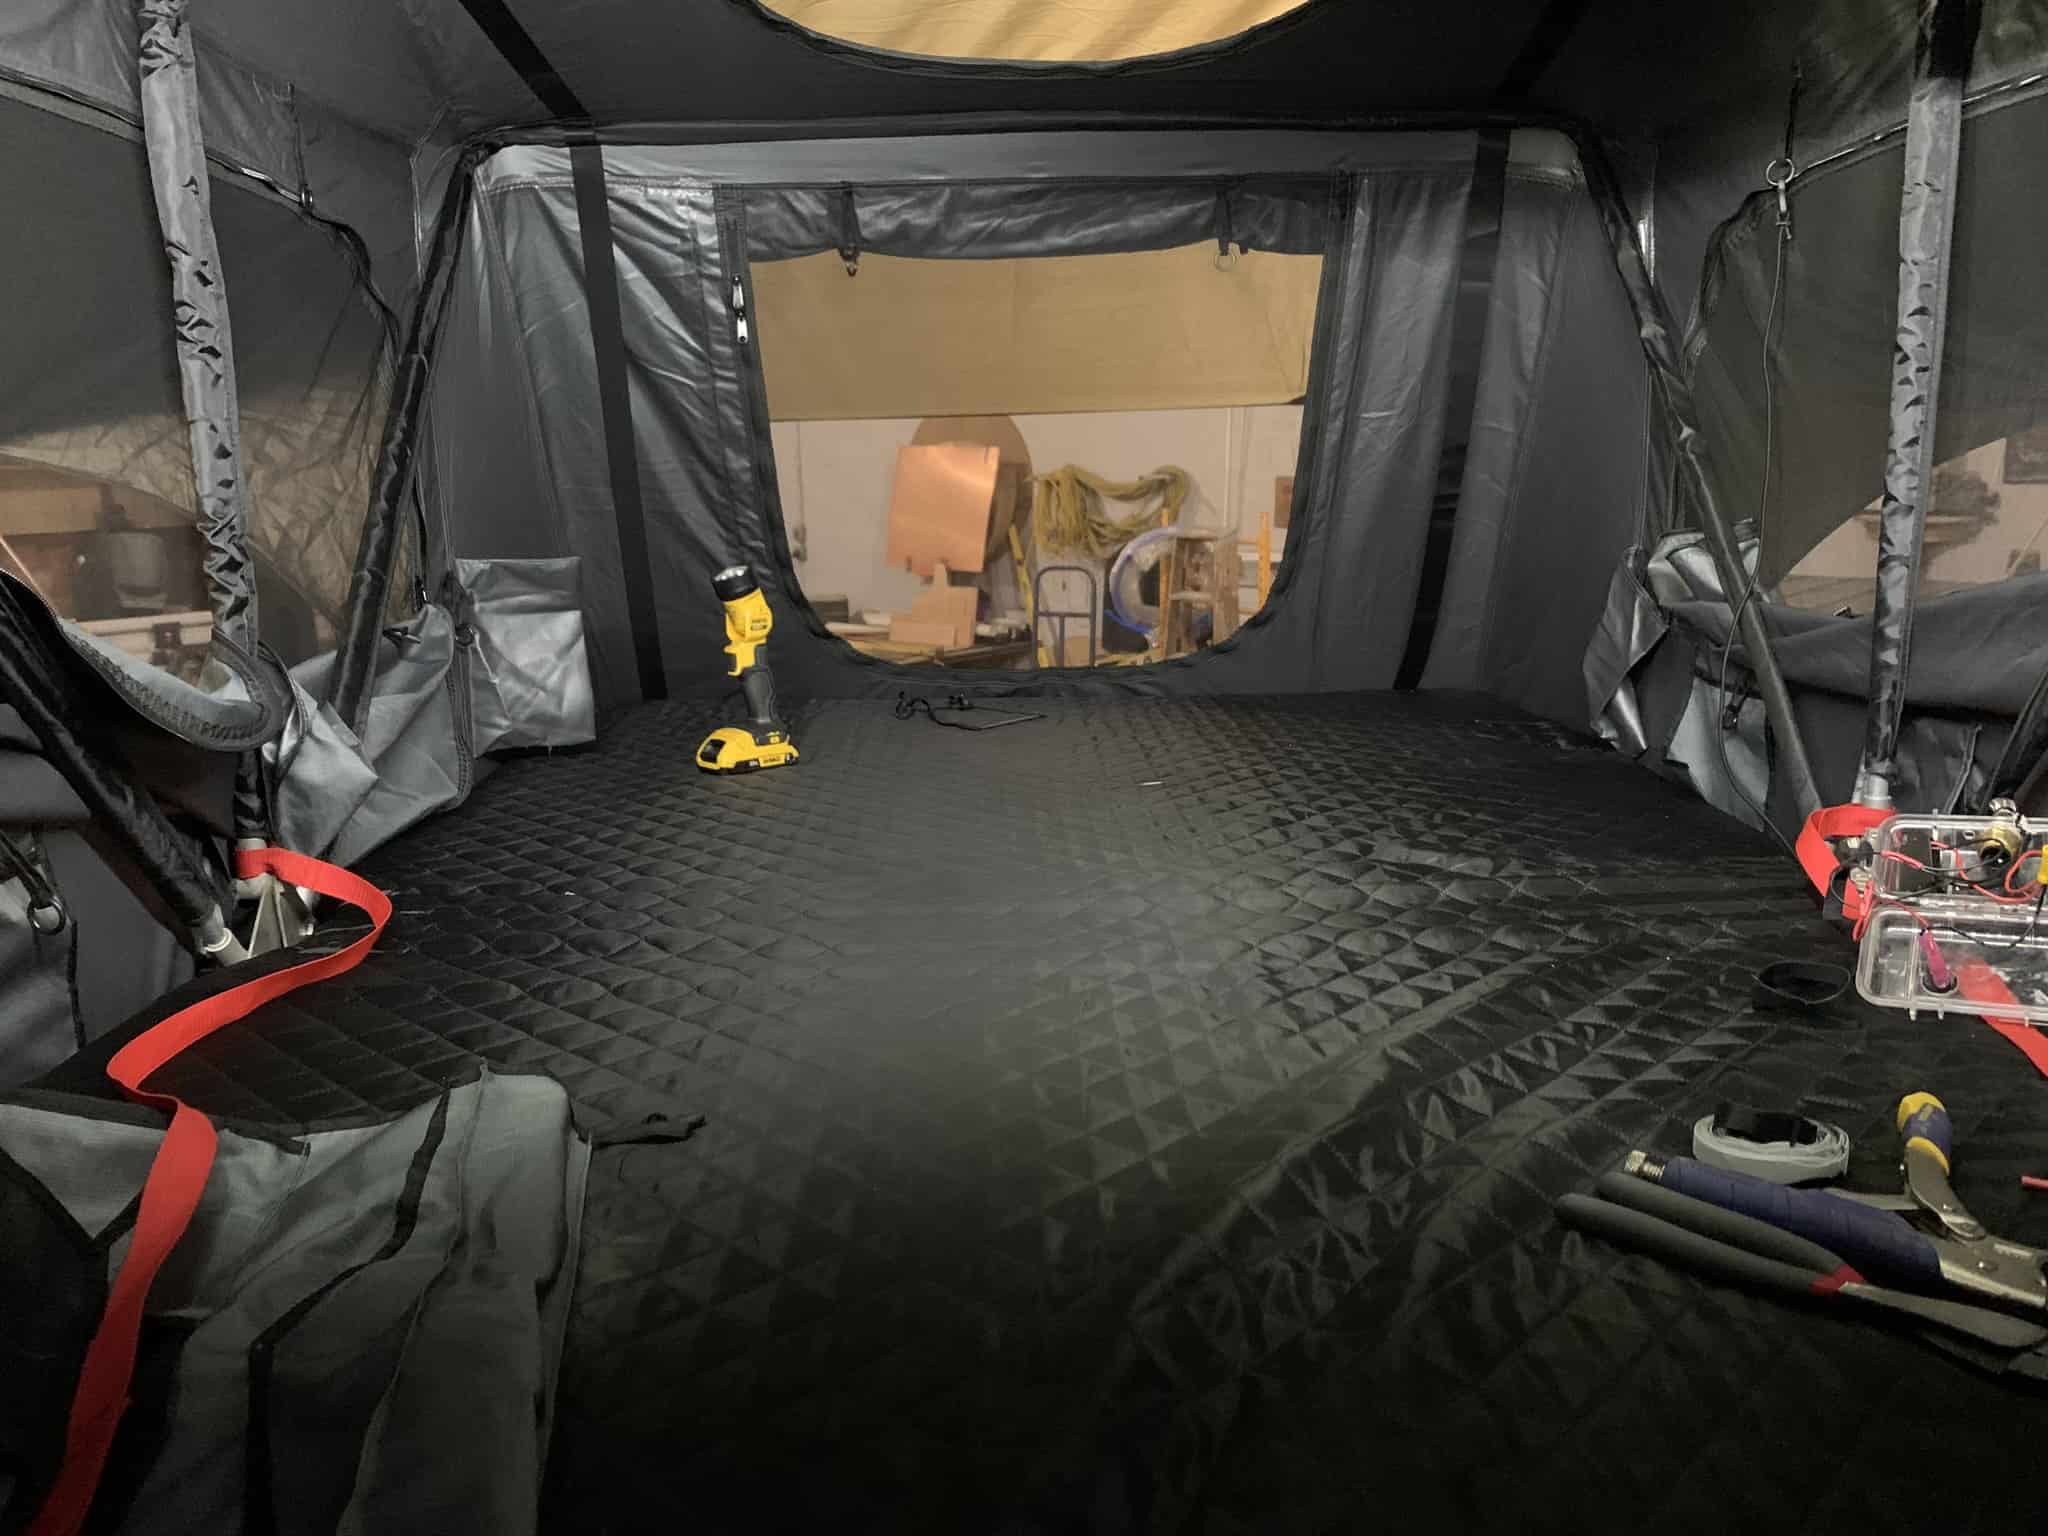
I decided to go with a Nomadic two person rooftop tent. It mounted exactly like I hoped it would.. thank god it fit. I didn't measure, just guessed. I got lucky. We decided to have it open to the rear of the trailer, as I am too tall to get under it well, and it would have made cooking hard otherwise.
/ Wiring, Racks, and Storage
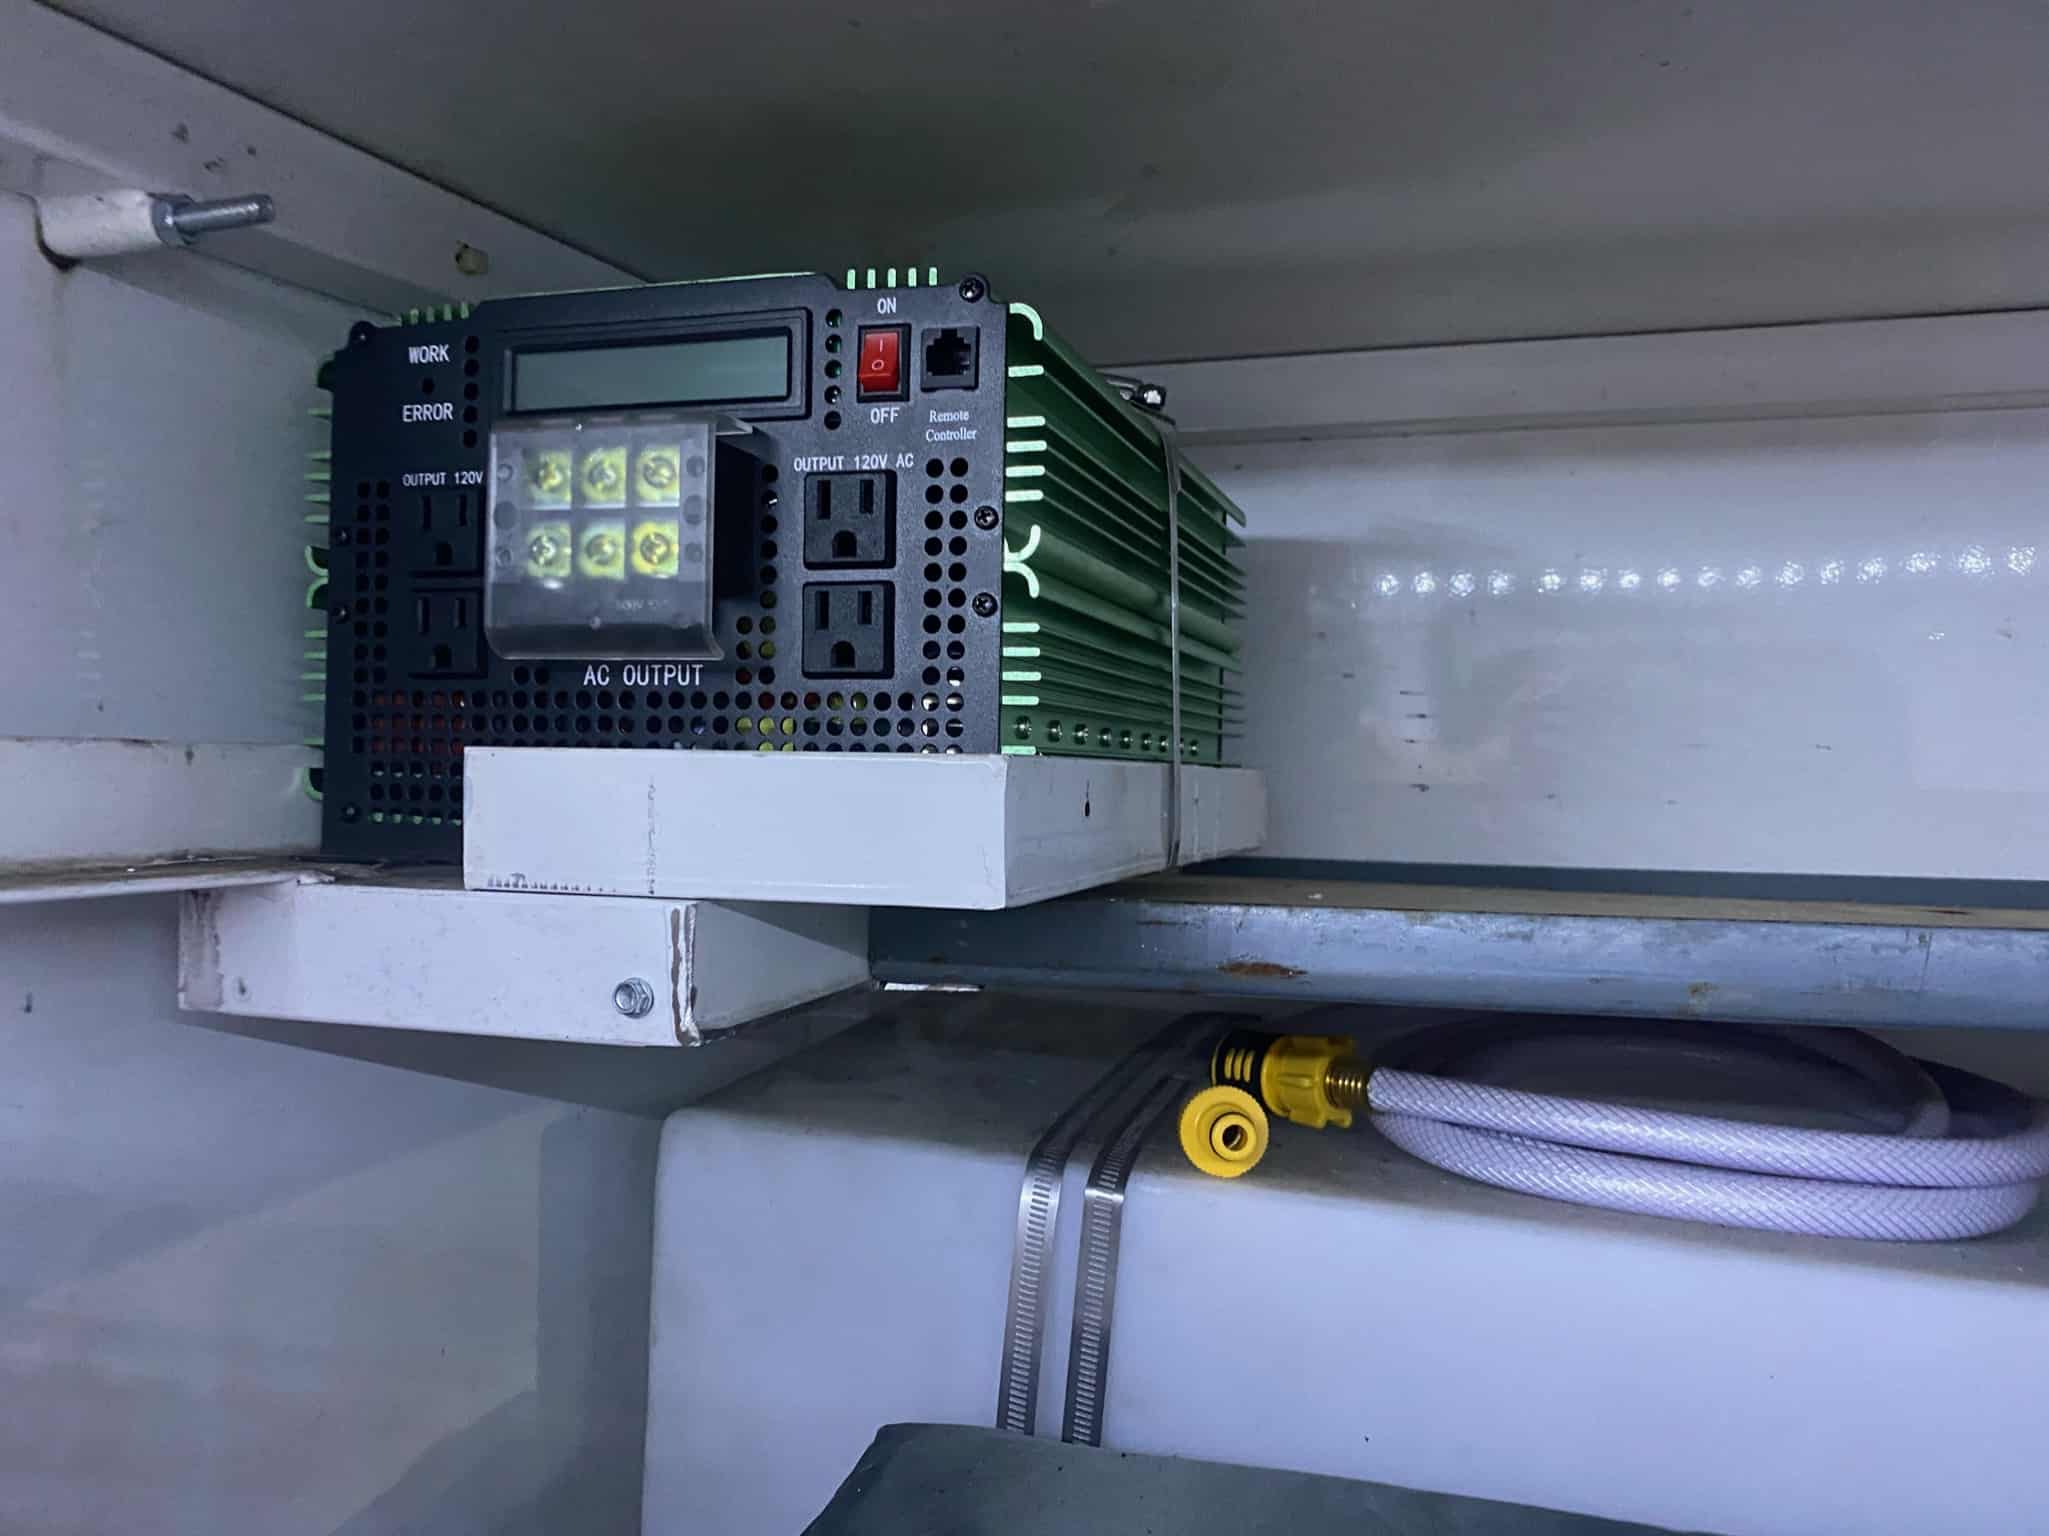
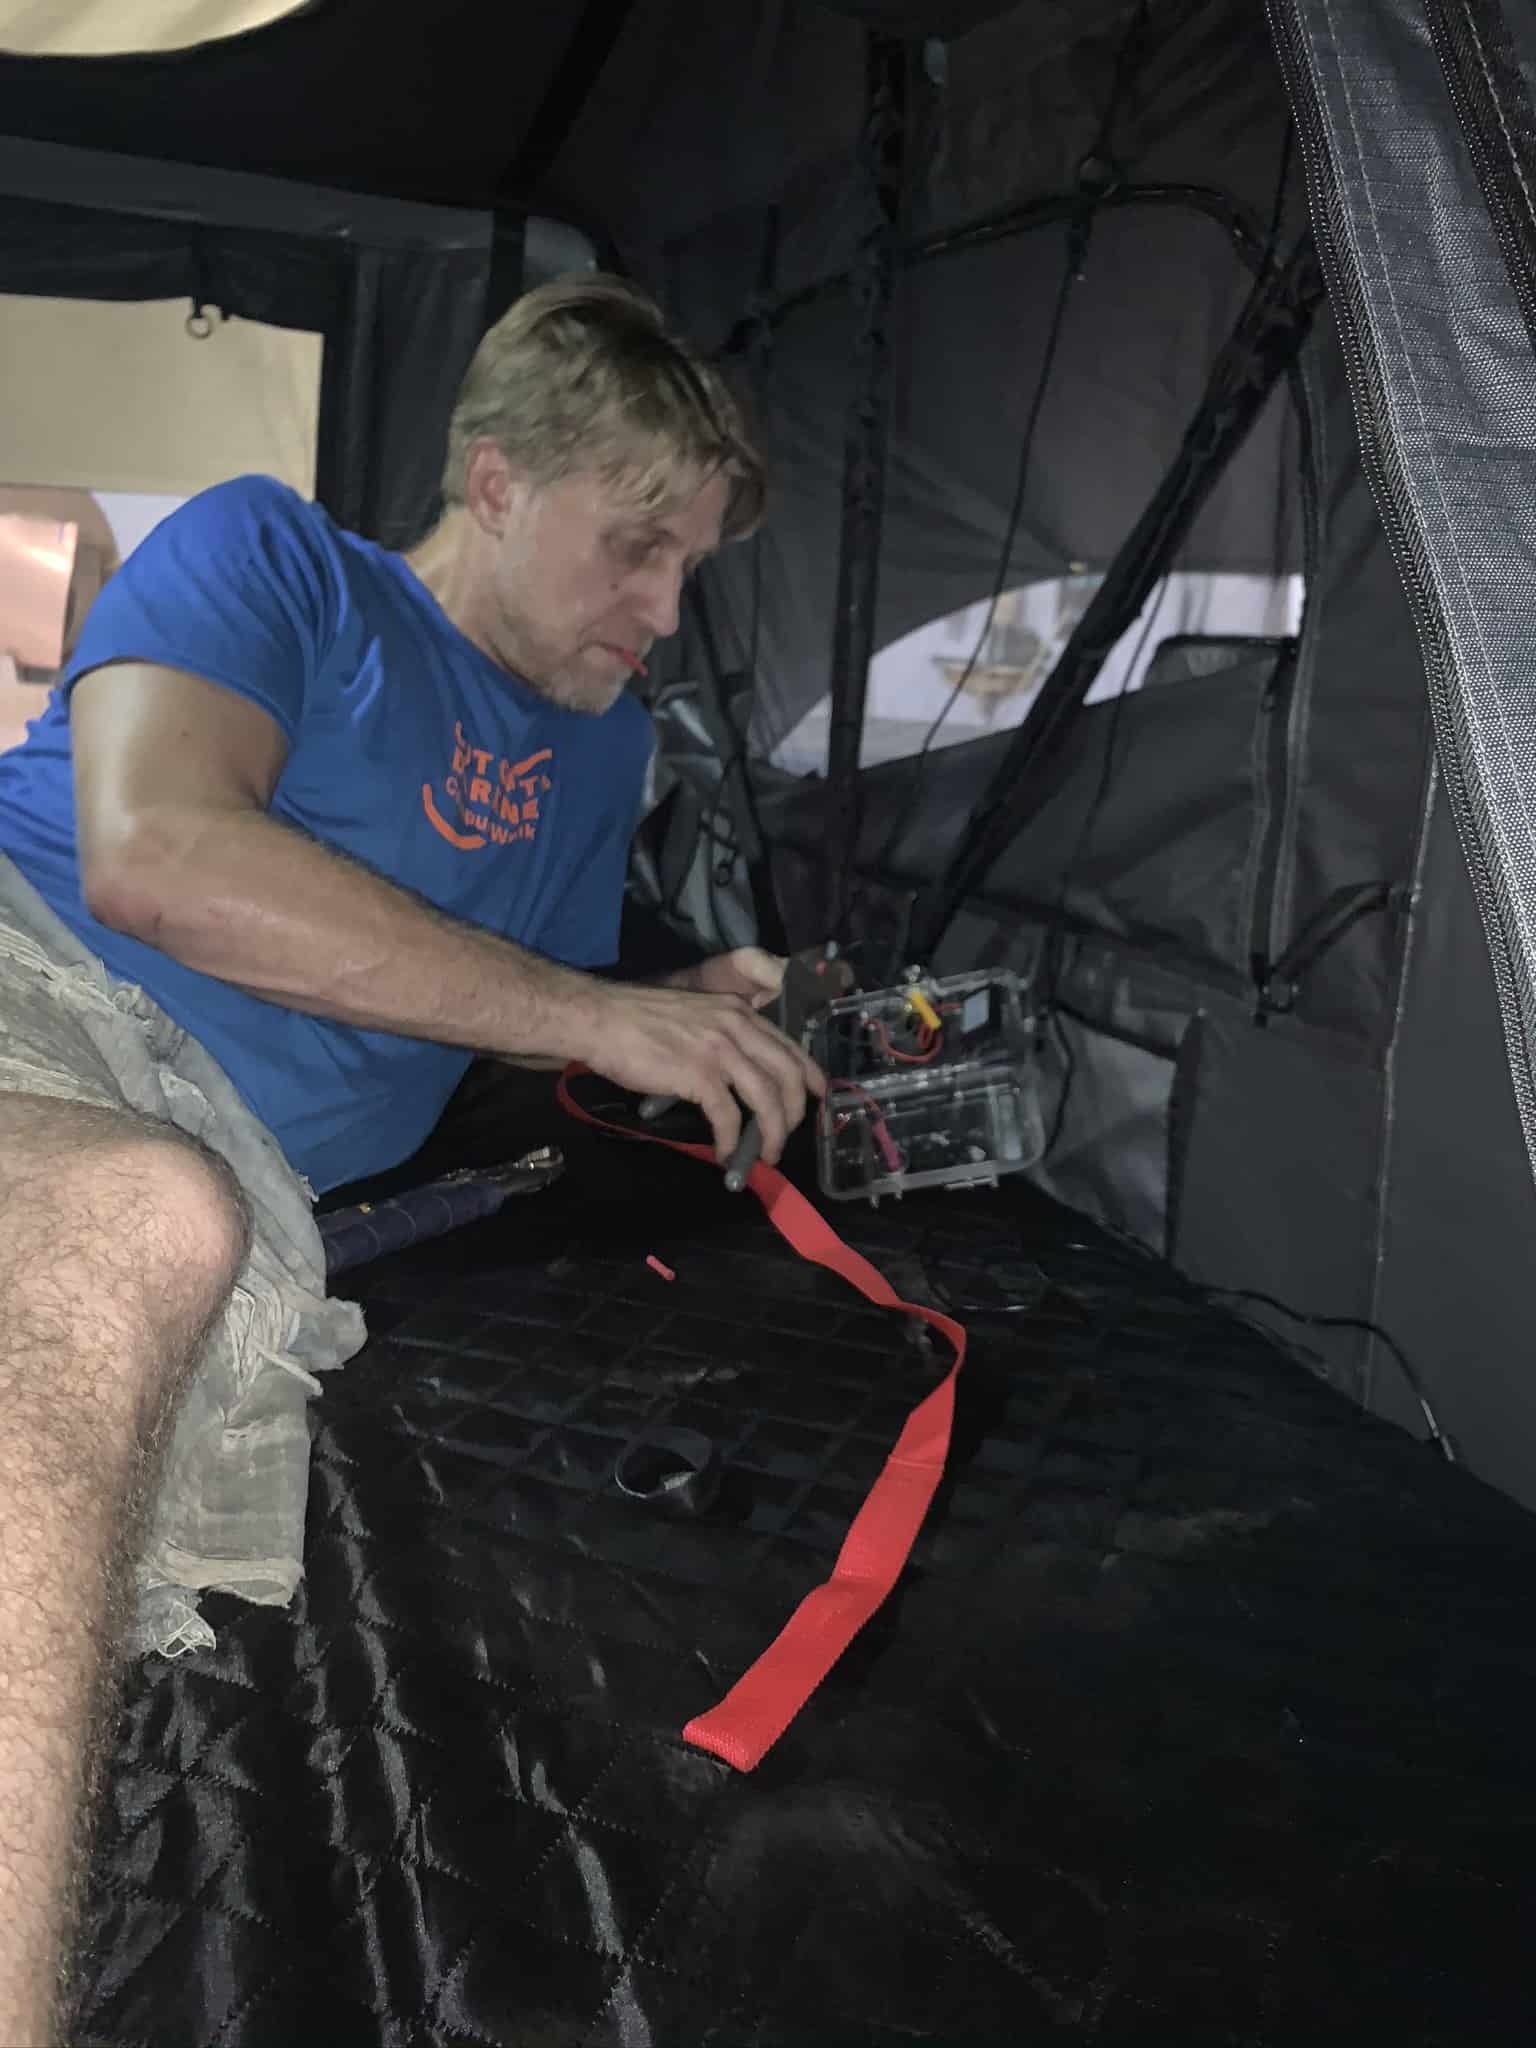
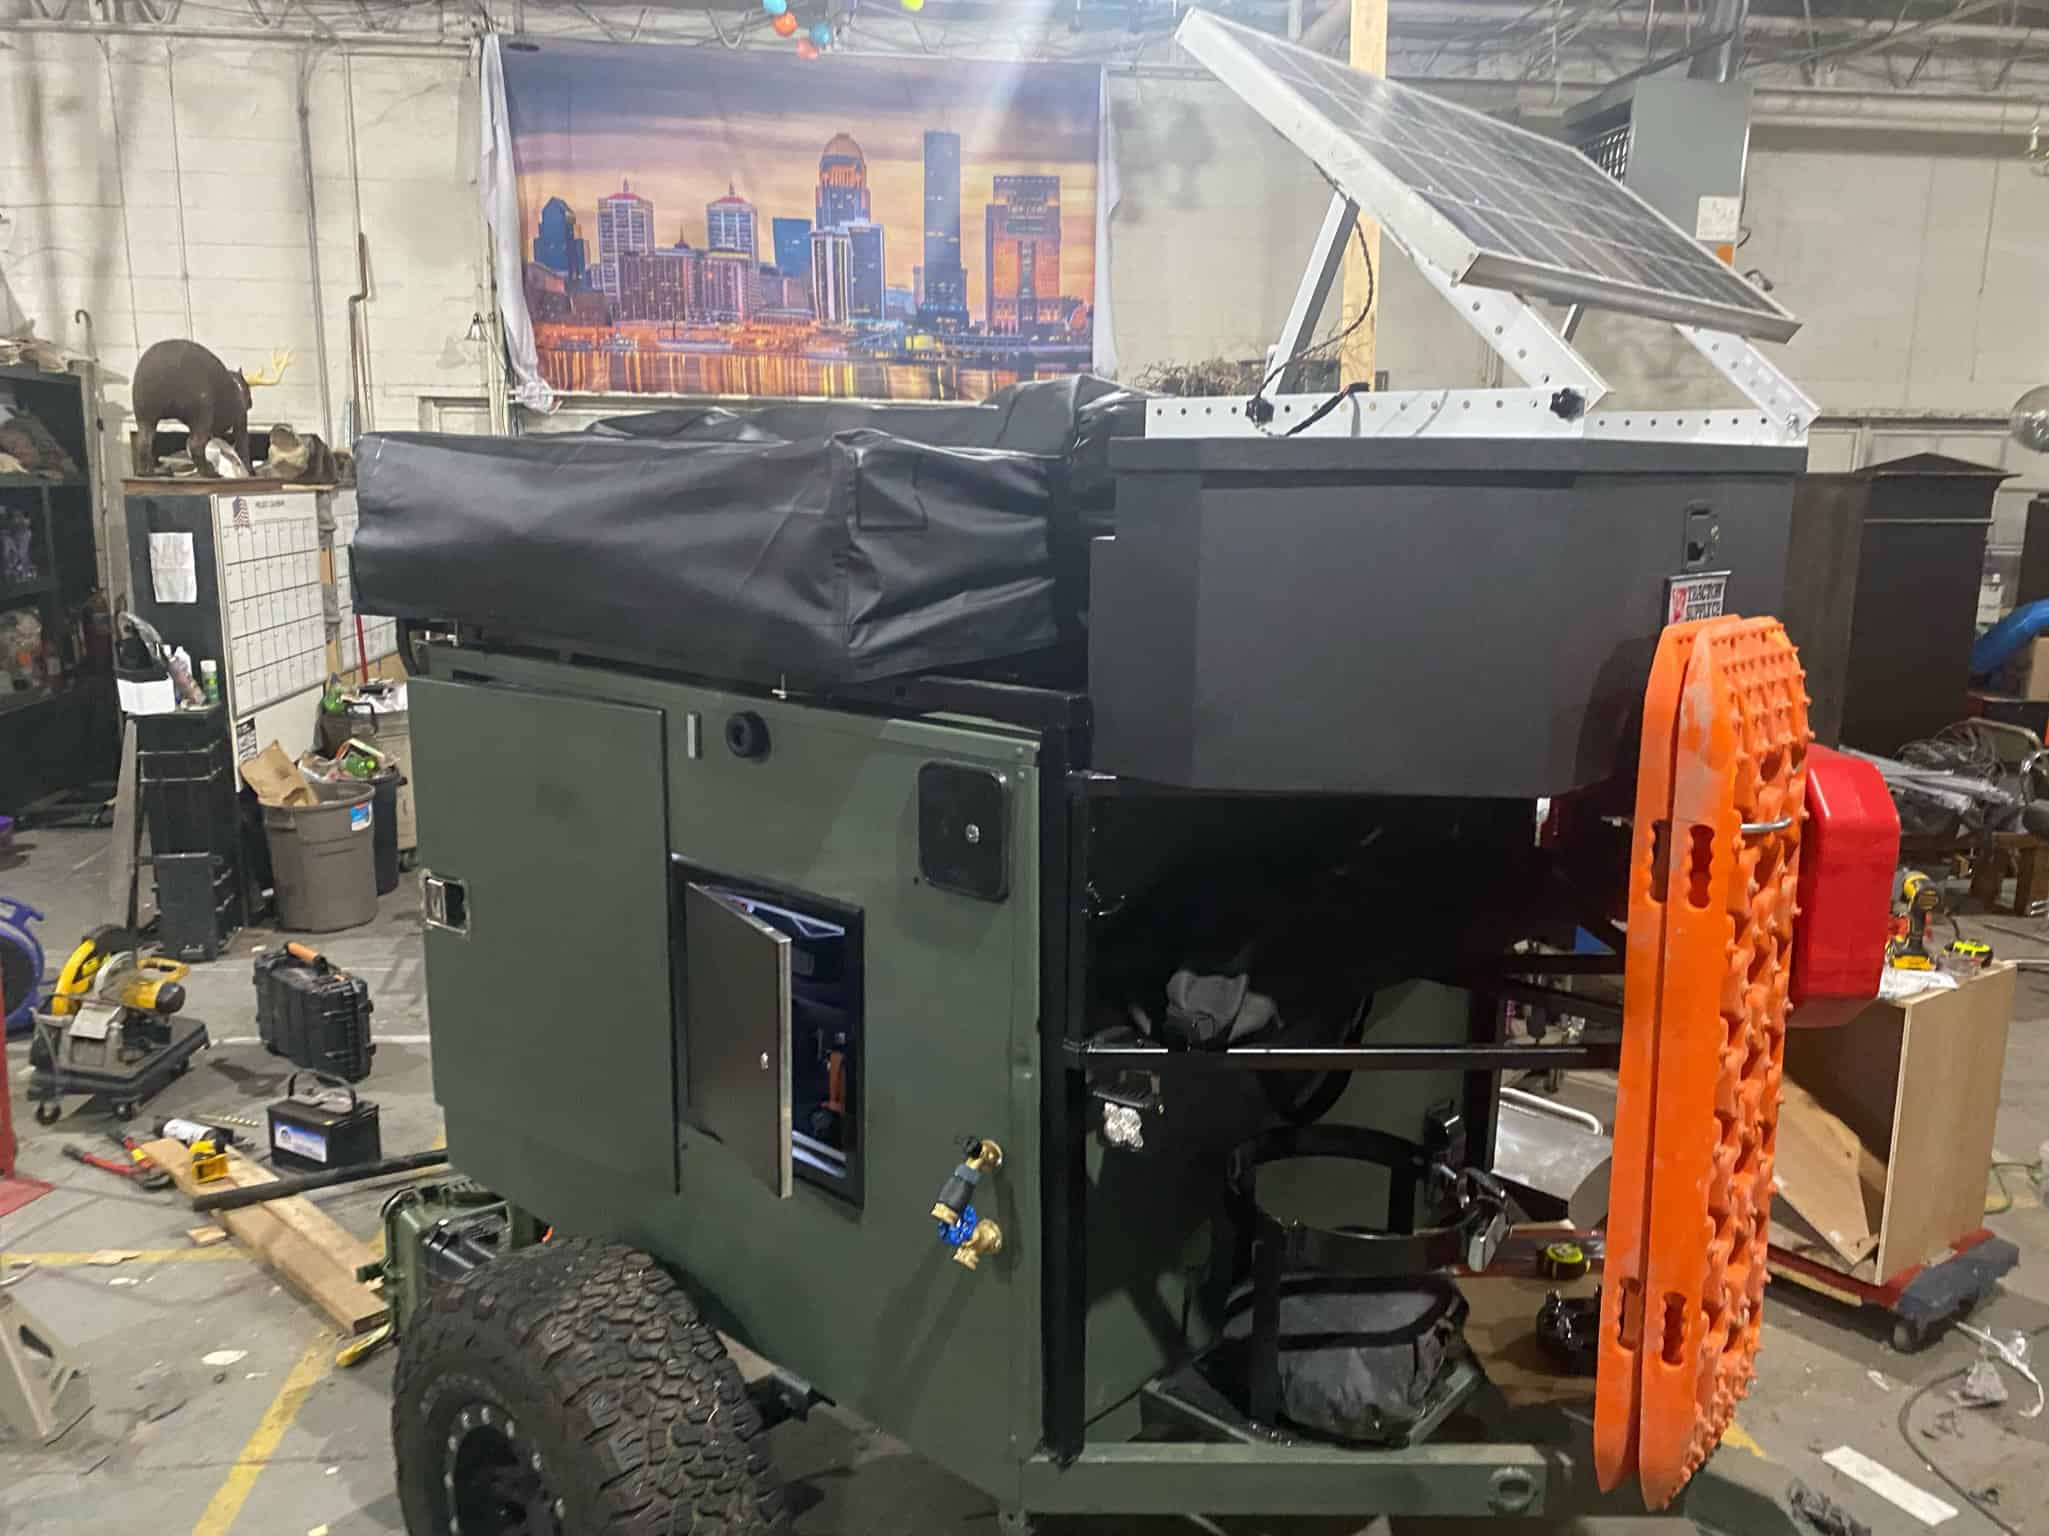
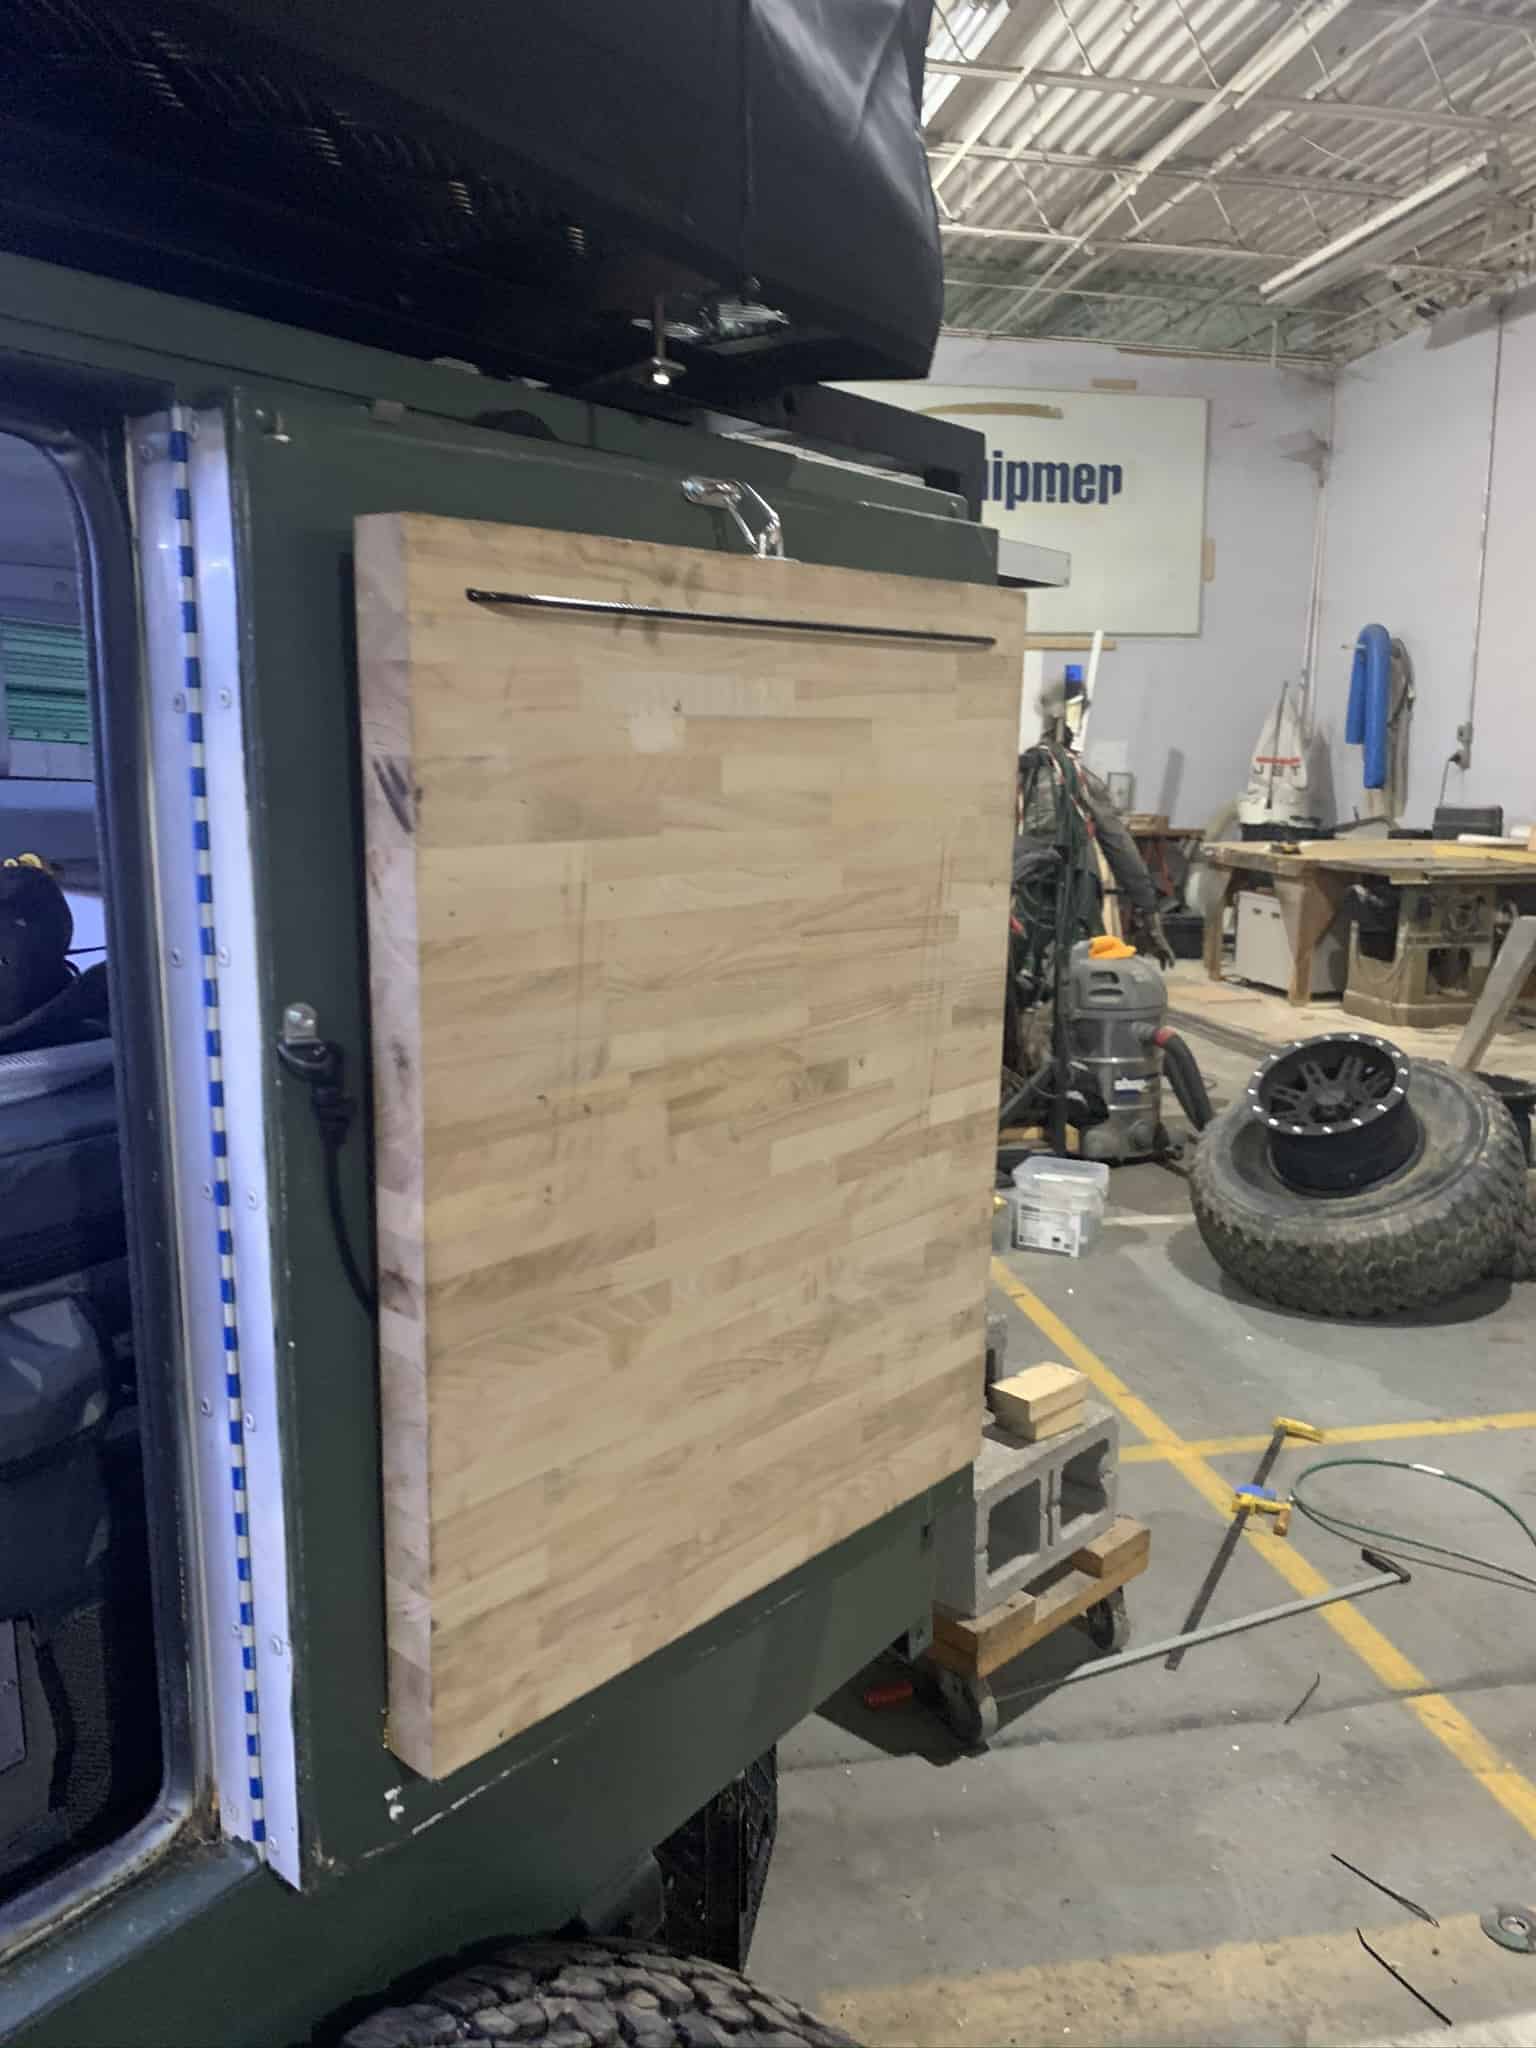
Ran wires up to the tent (so I can charge phones and have tent lighting), welded in a small rack, and installed the storage (grill) and solar rack. Added a flip-down countertop on one of the doors. Yes, it's better to have it than not — it's a cheap addon. Make sure it's easy to get to.
/ Shore Power and Support Legs
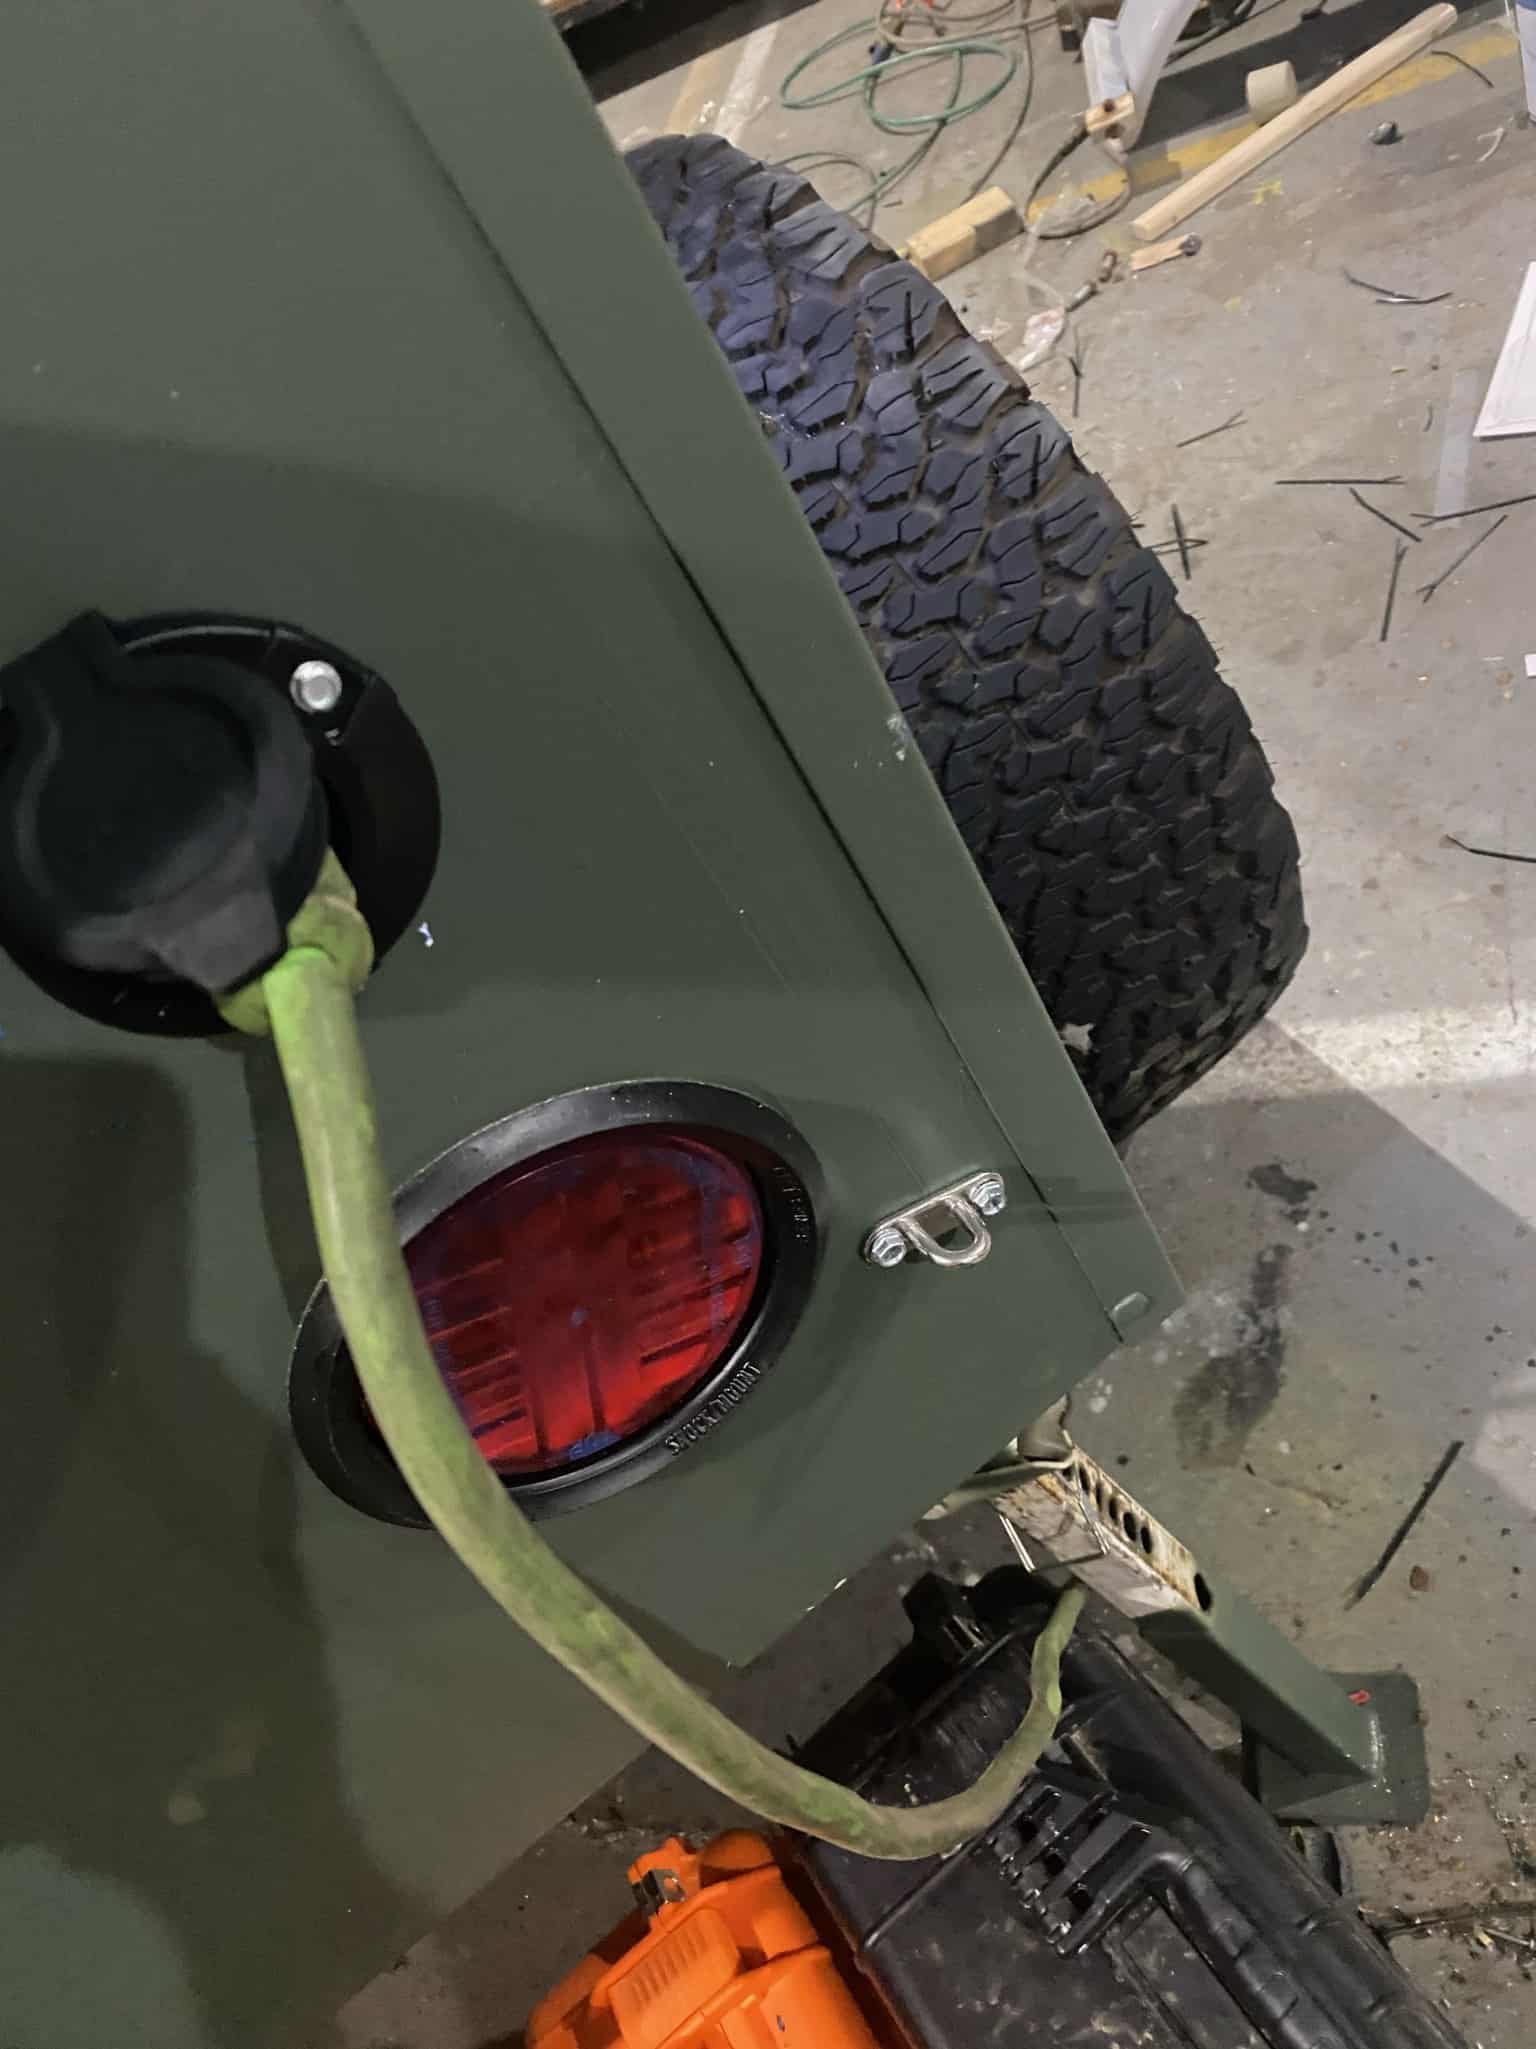
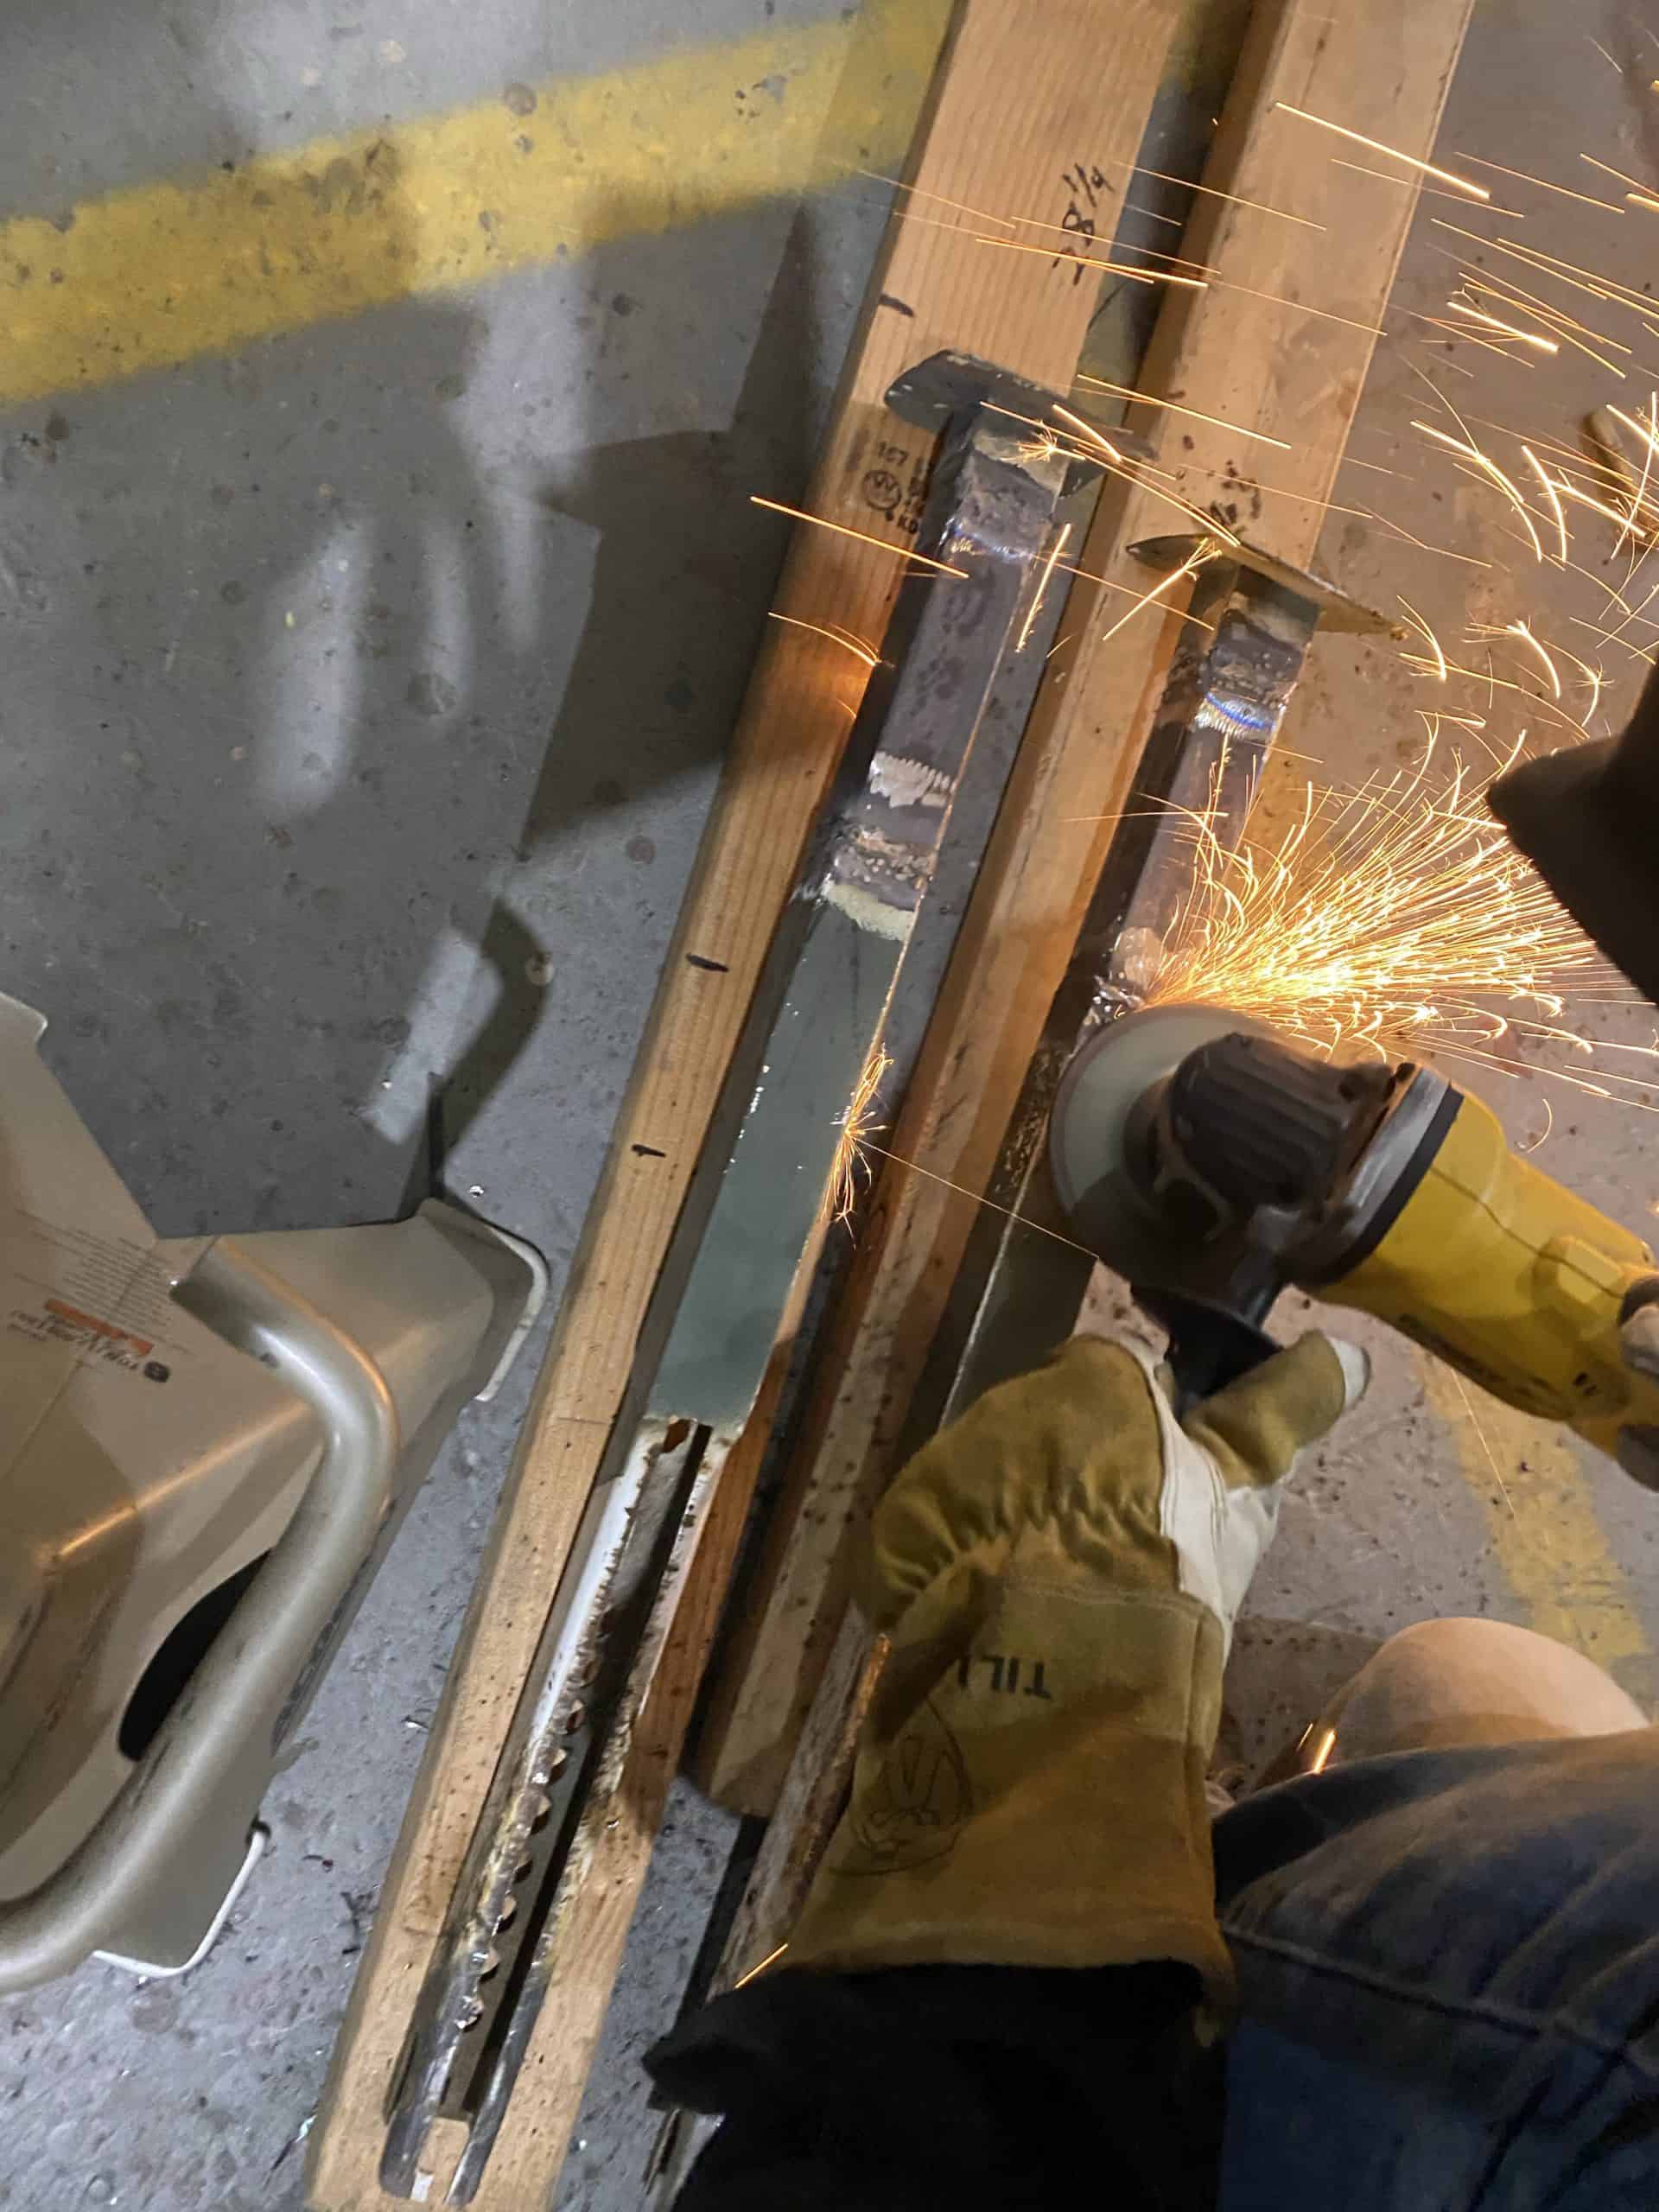
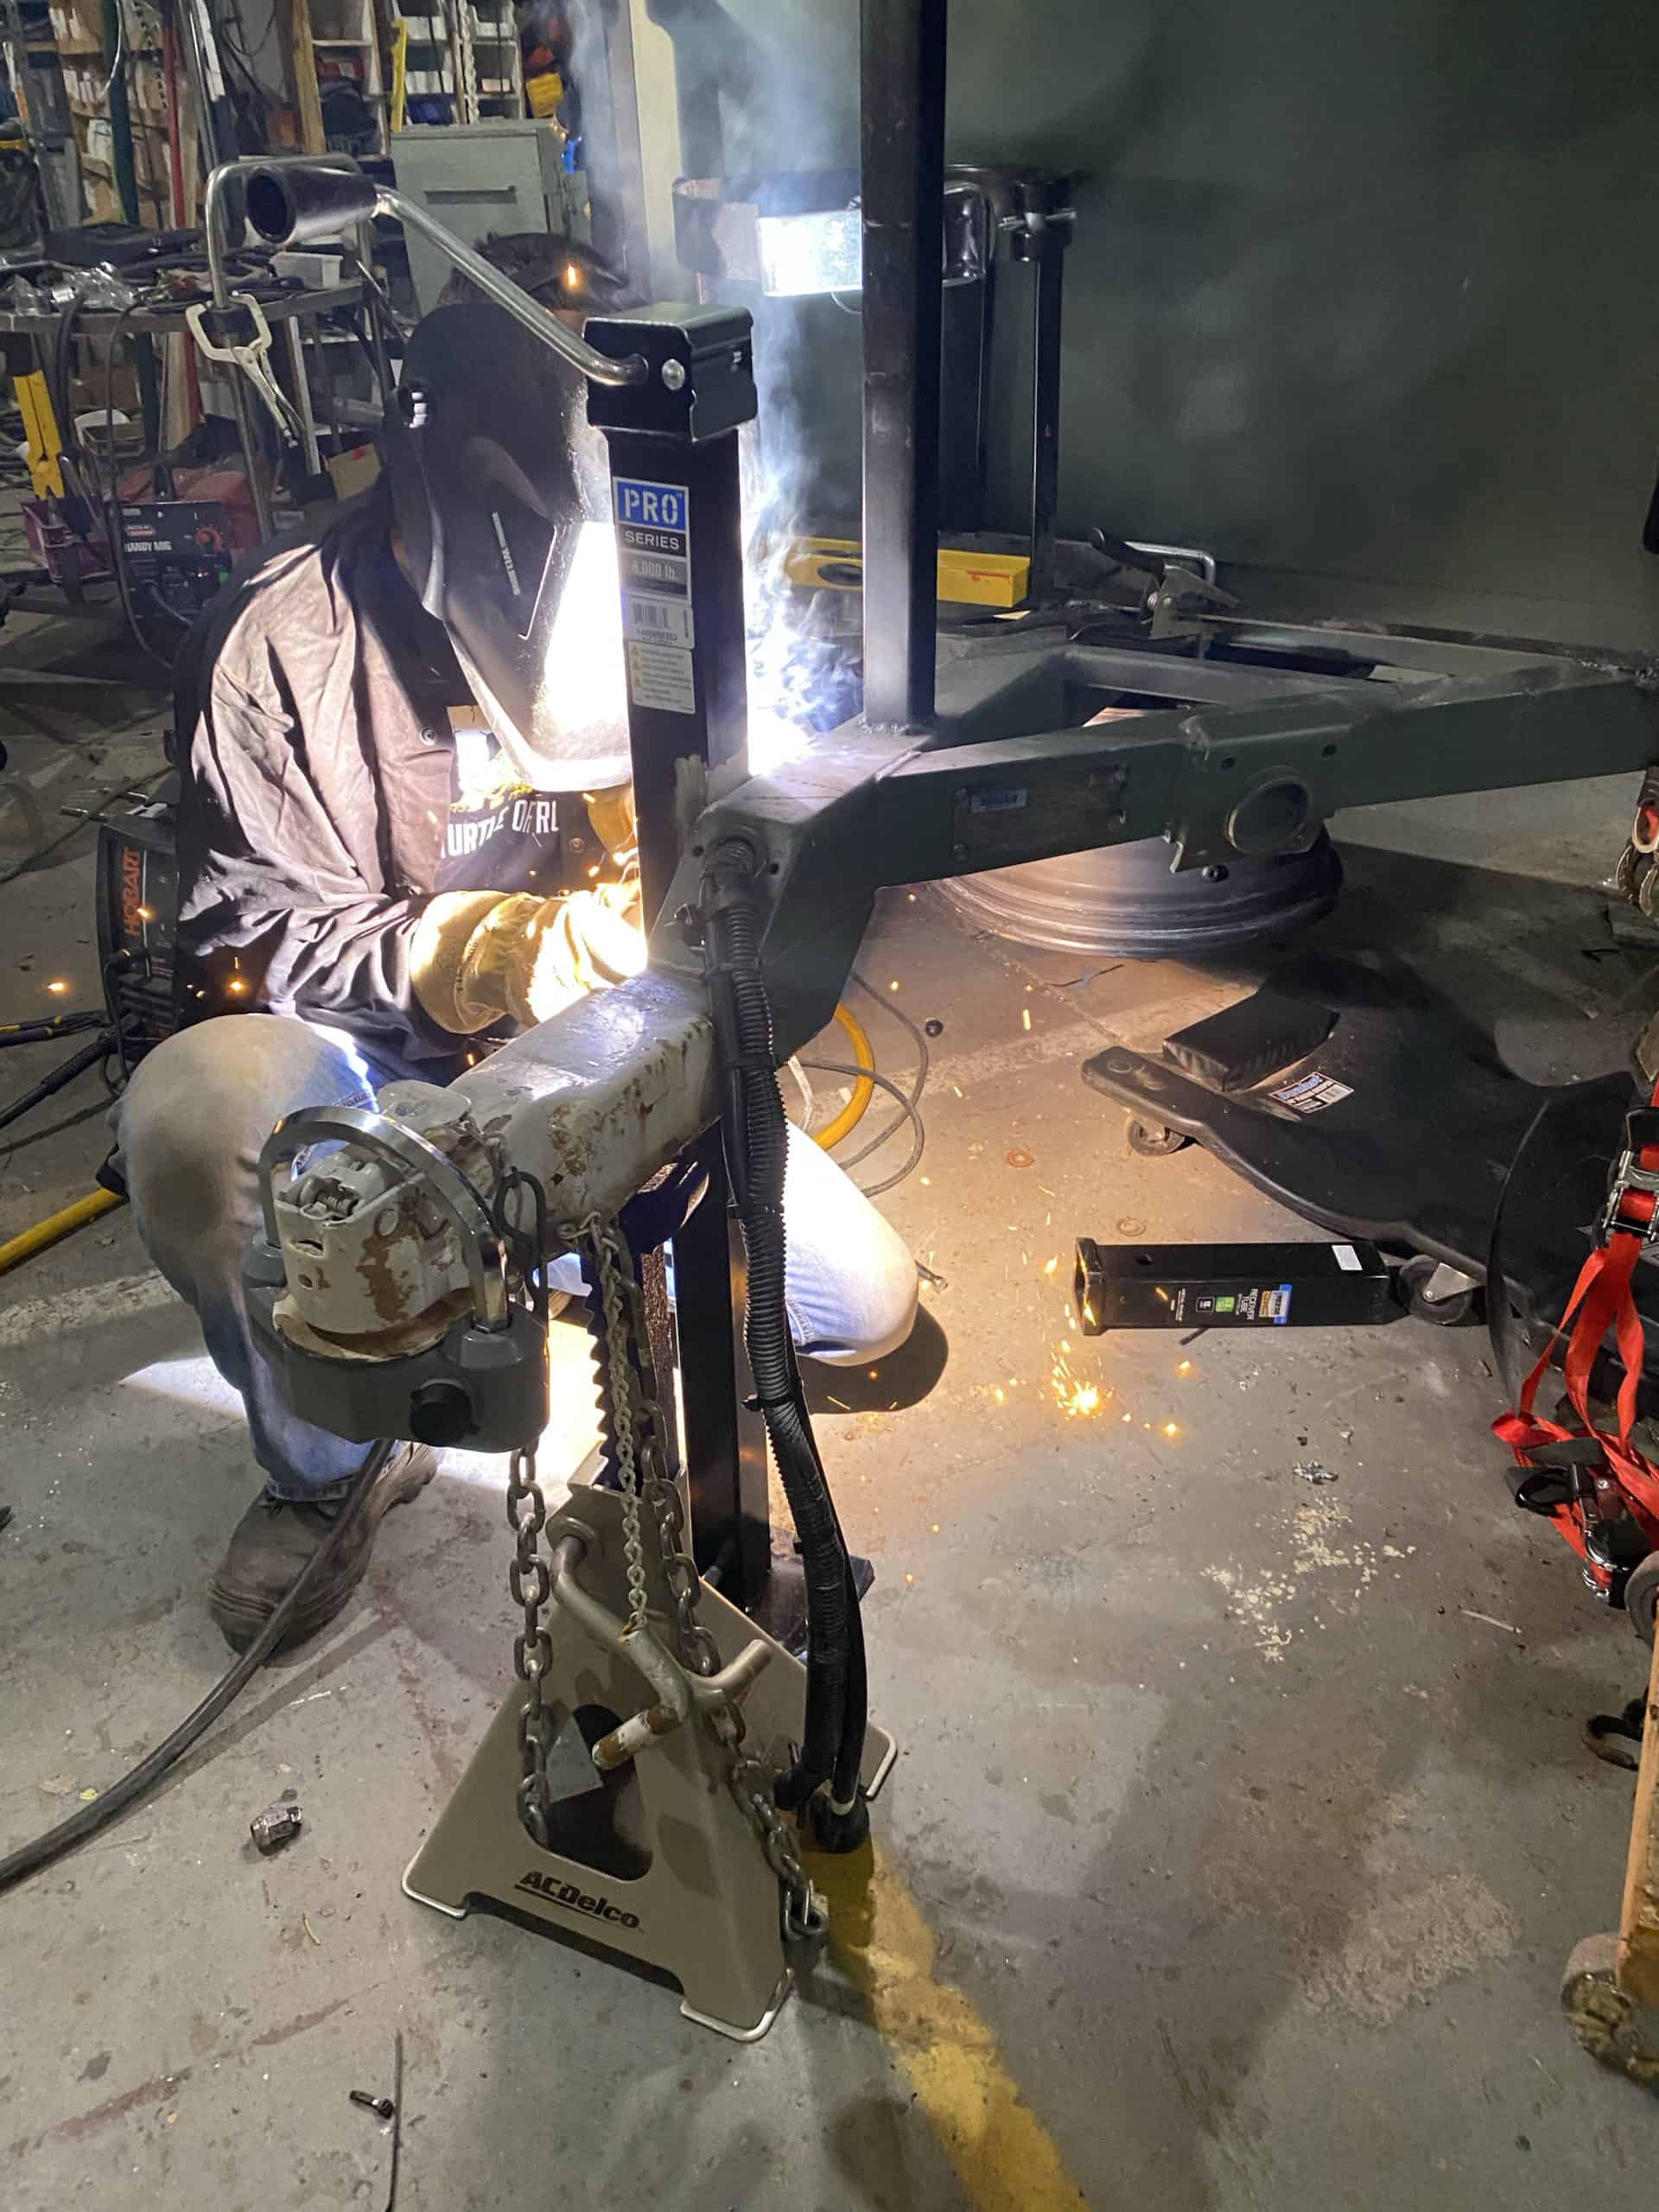
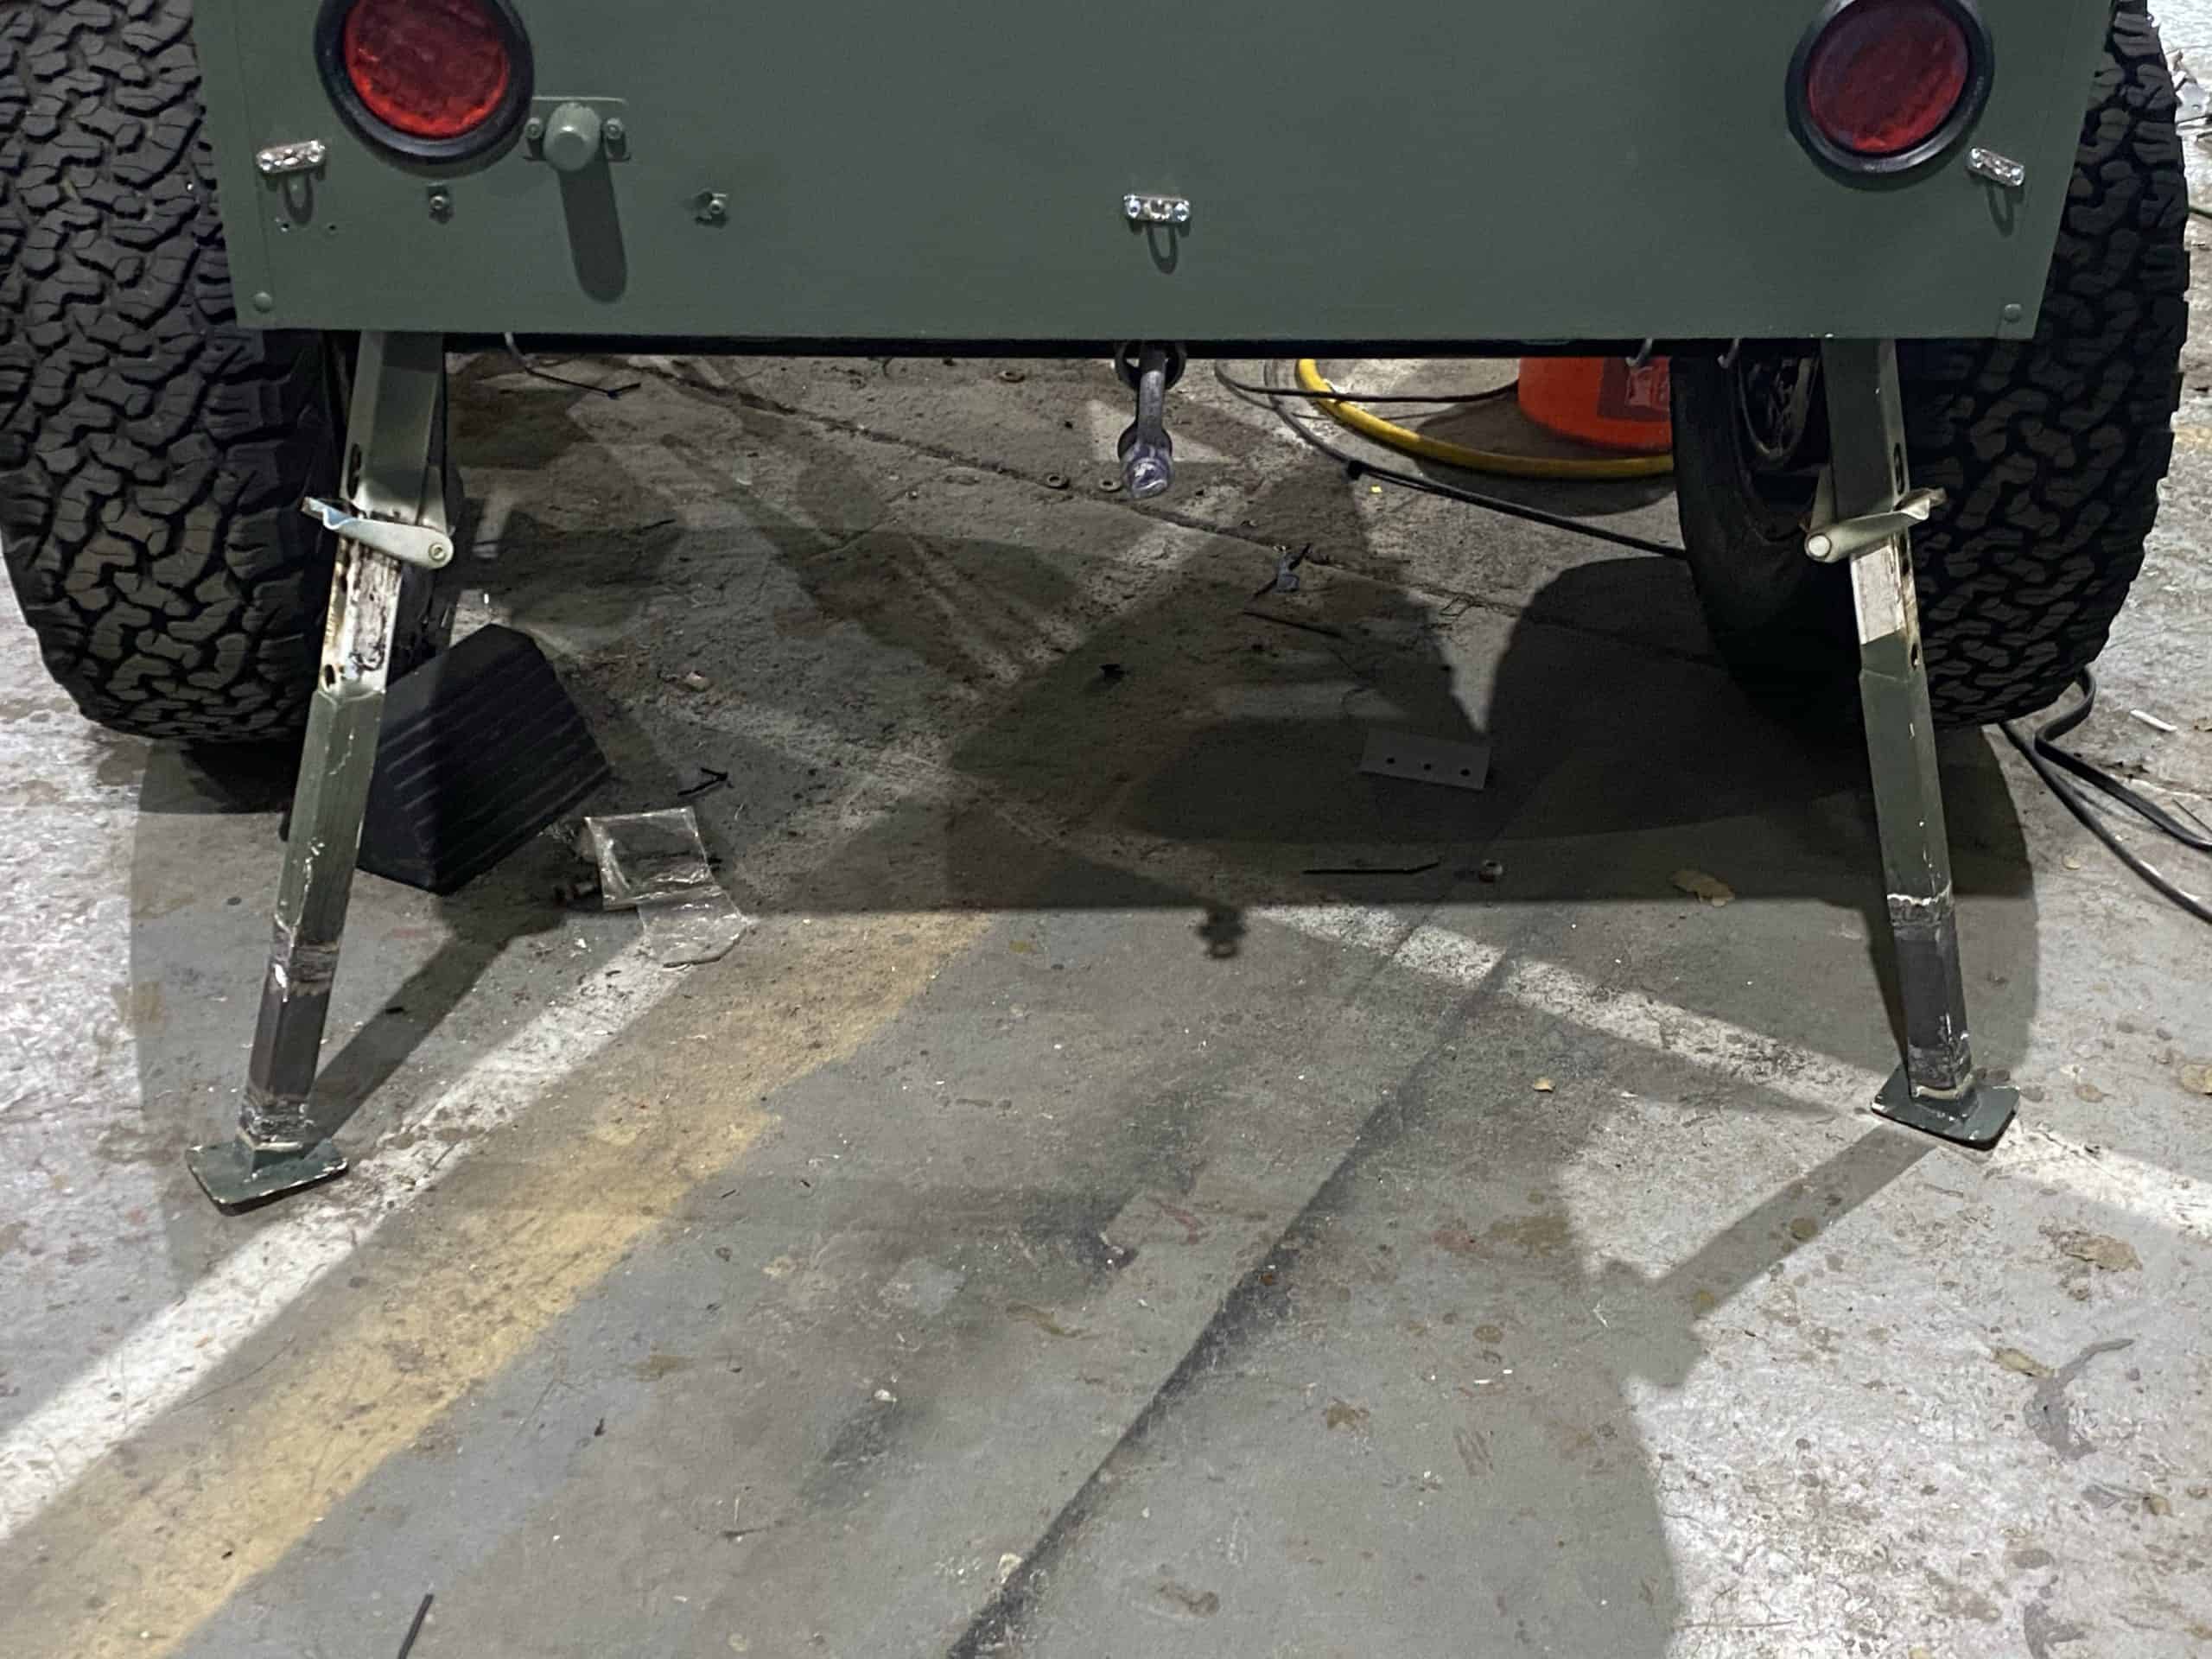
In case I'm ever at a campground.. I added shore power (110v) so I can charge and run everything off a campsite if I ever need to. Note to self: pack an extension cord. I also extended the rear support legs and added a front support post, so we didn't end up with vertigo every time we got in the tent.
/ The Camping Water Heater
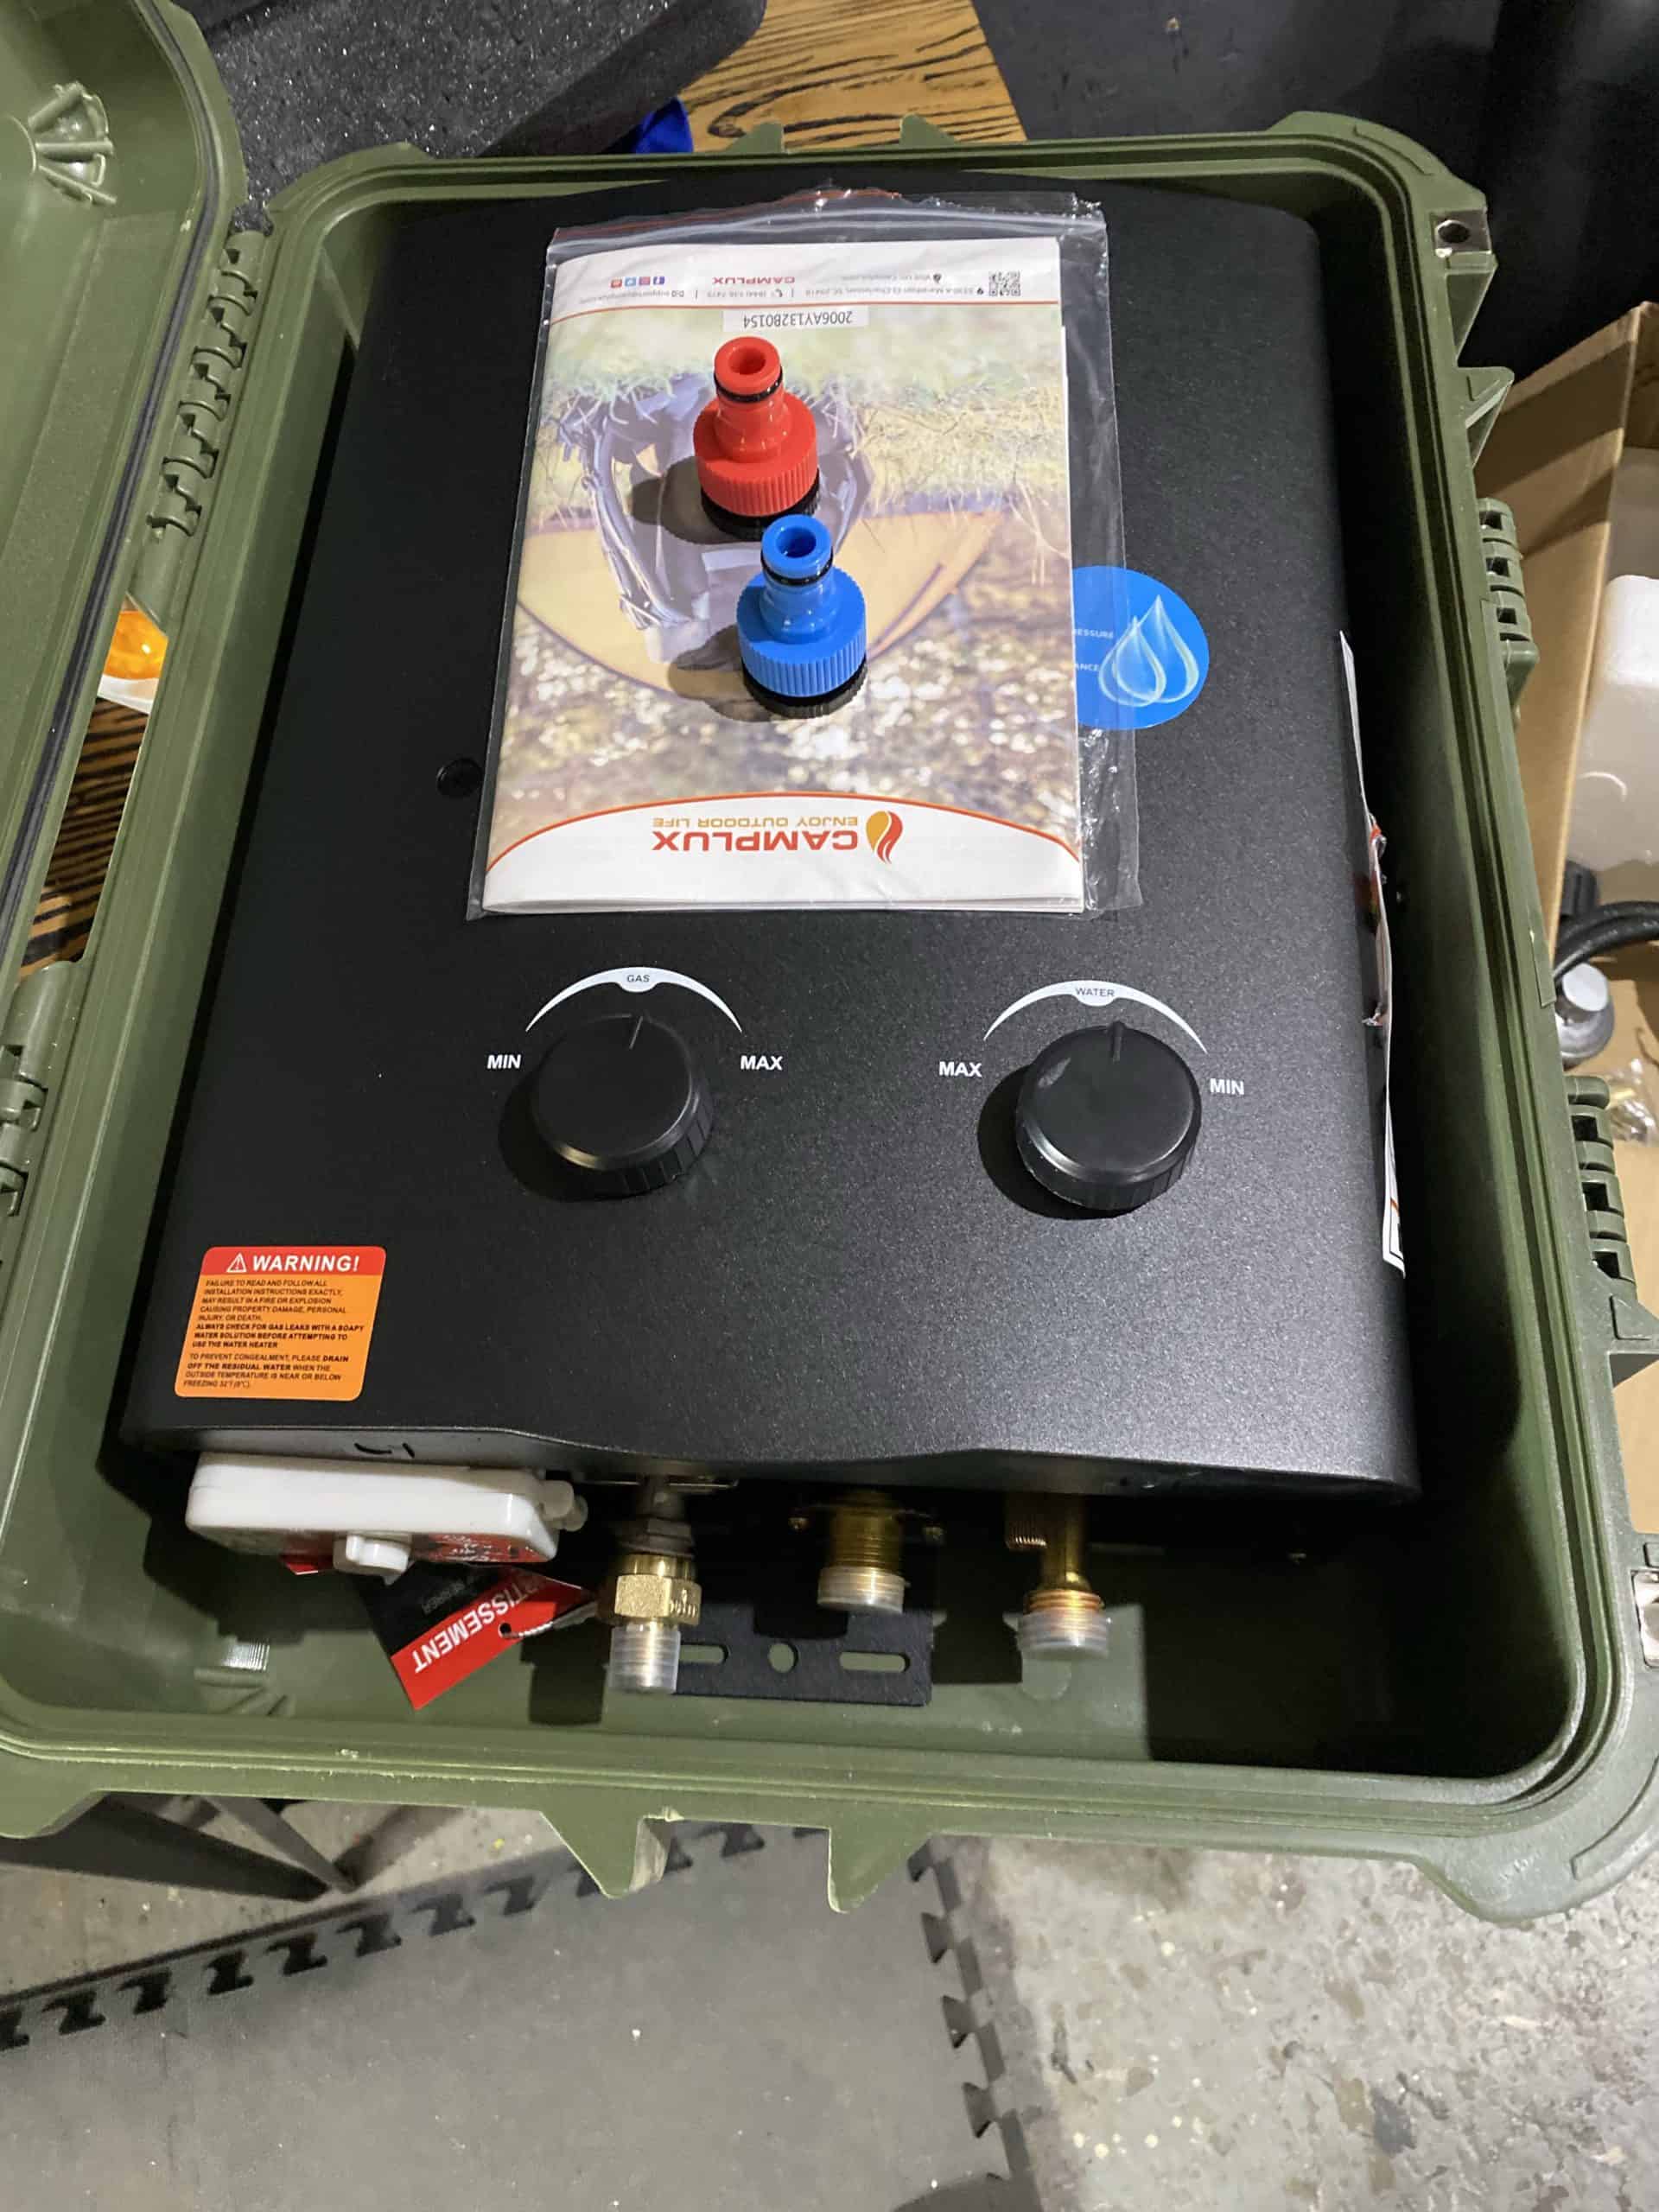
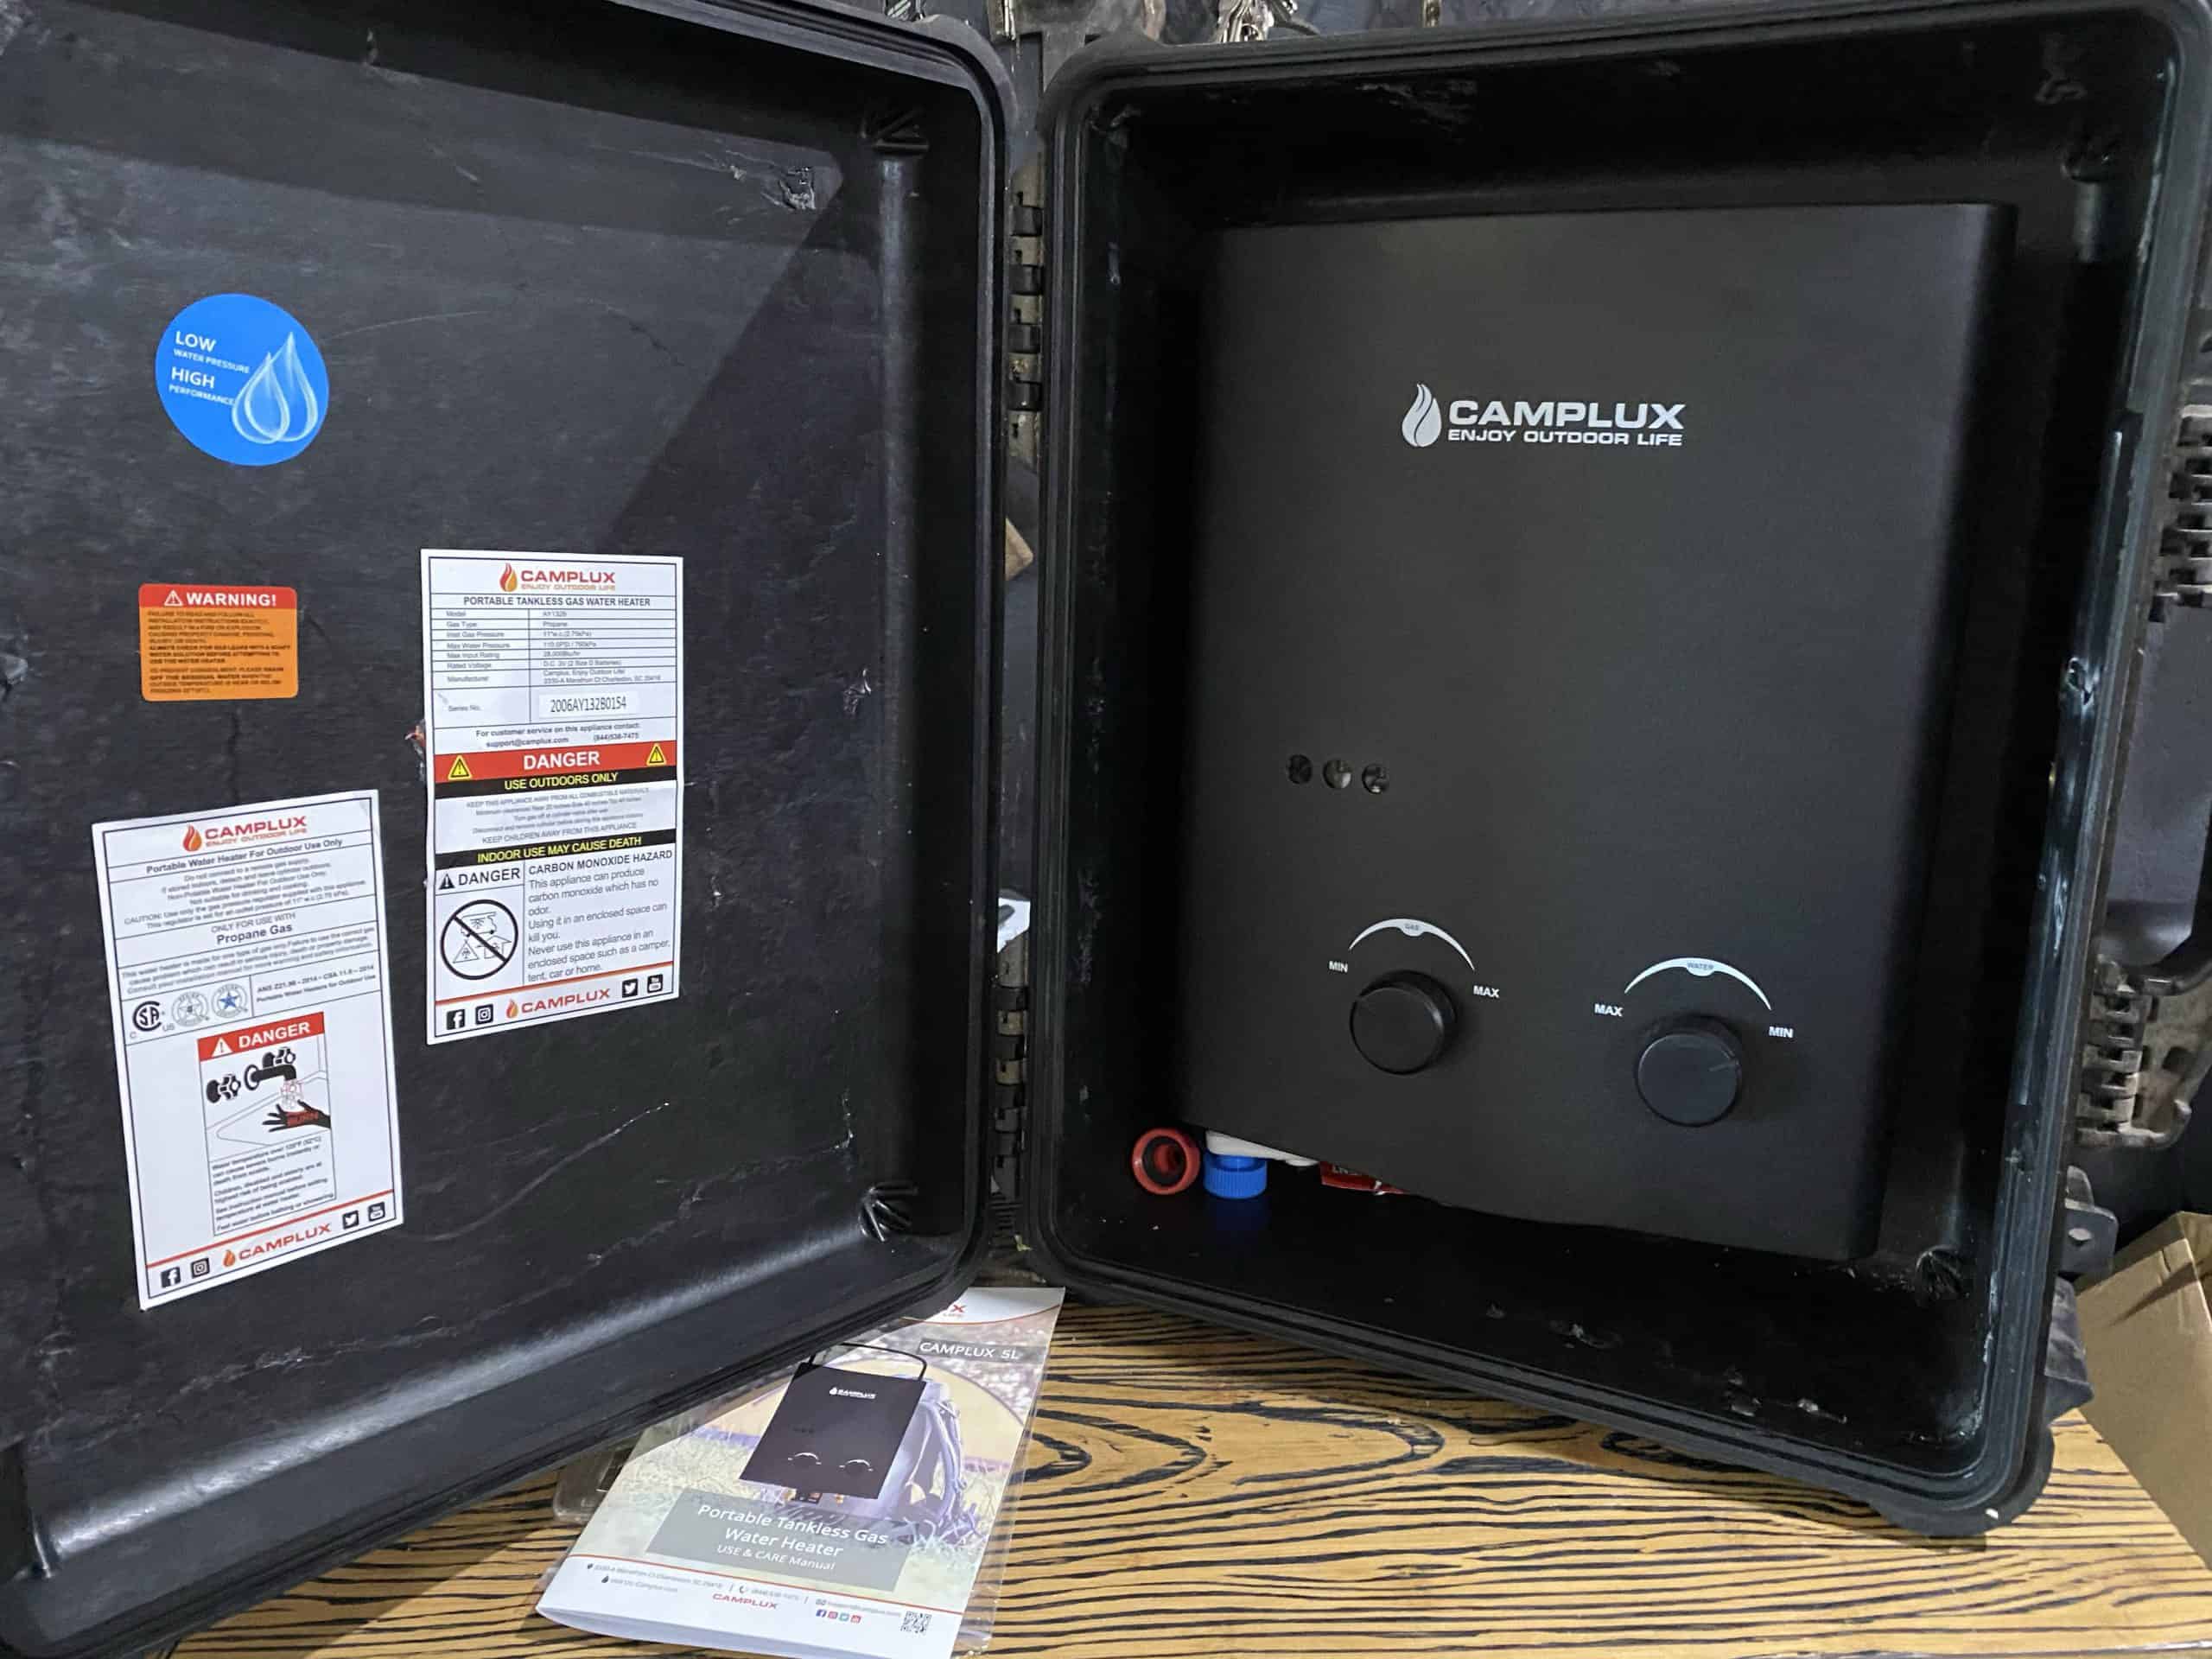
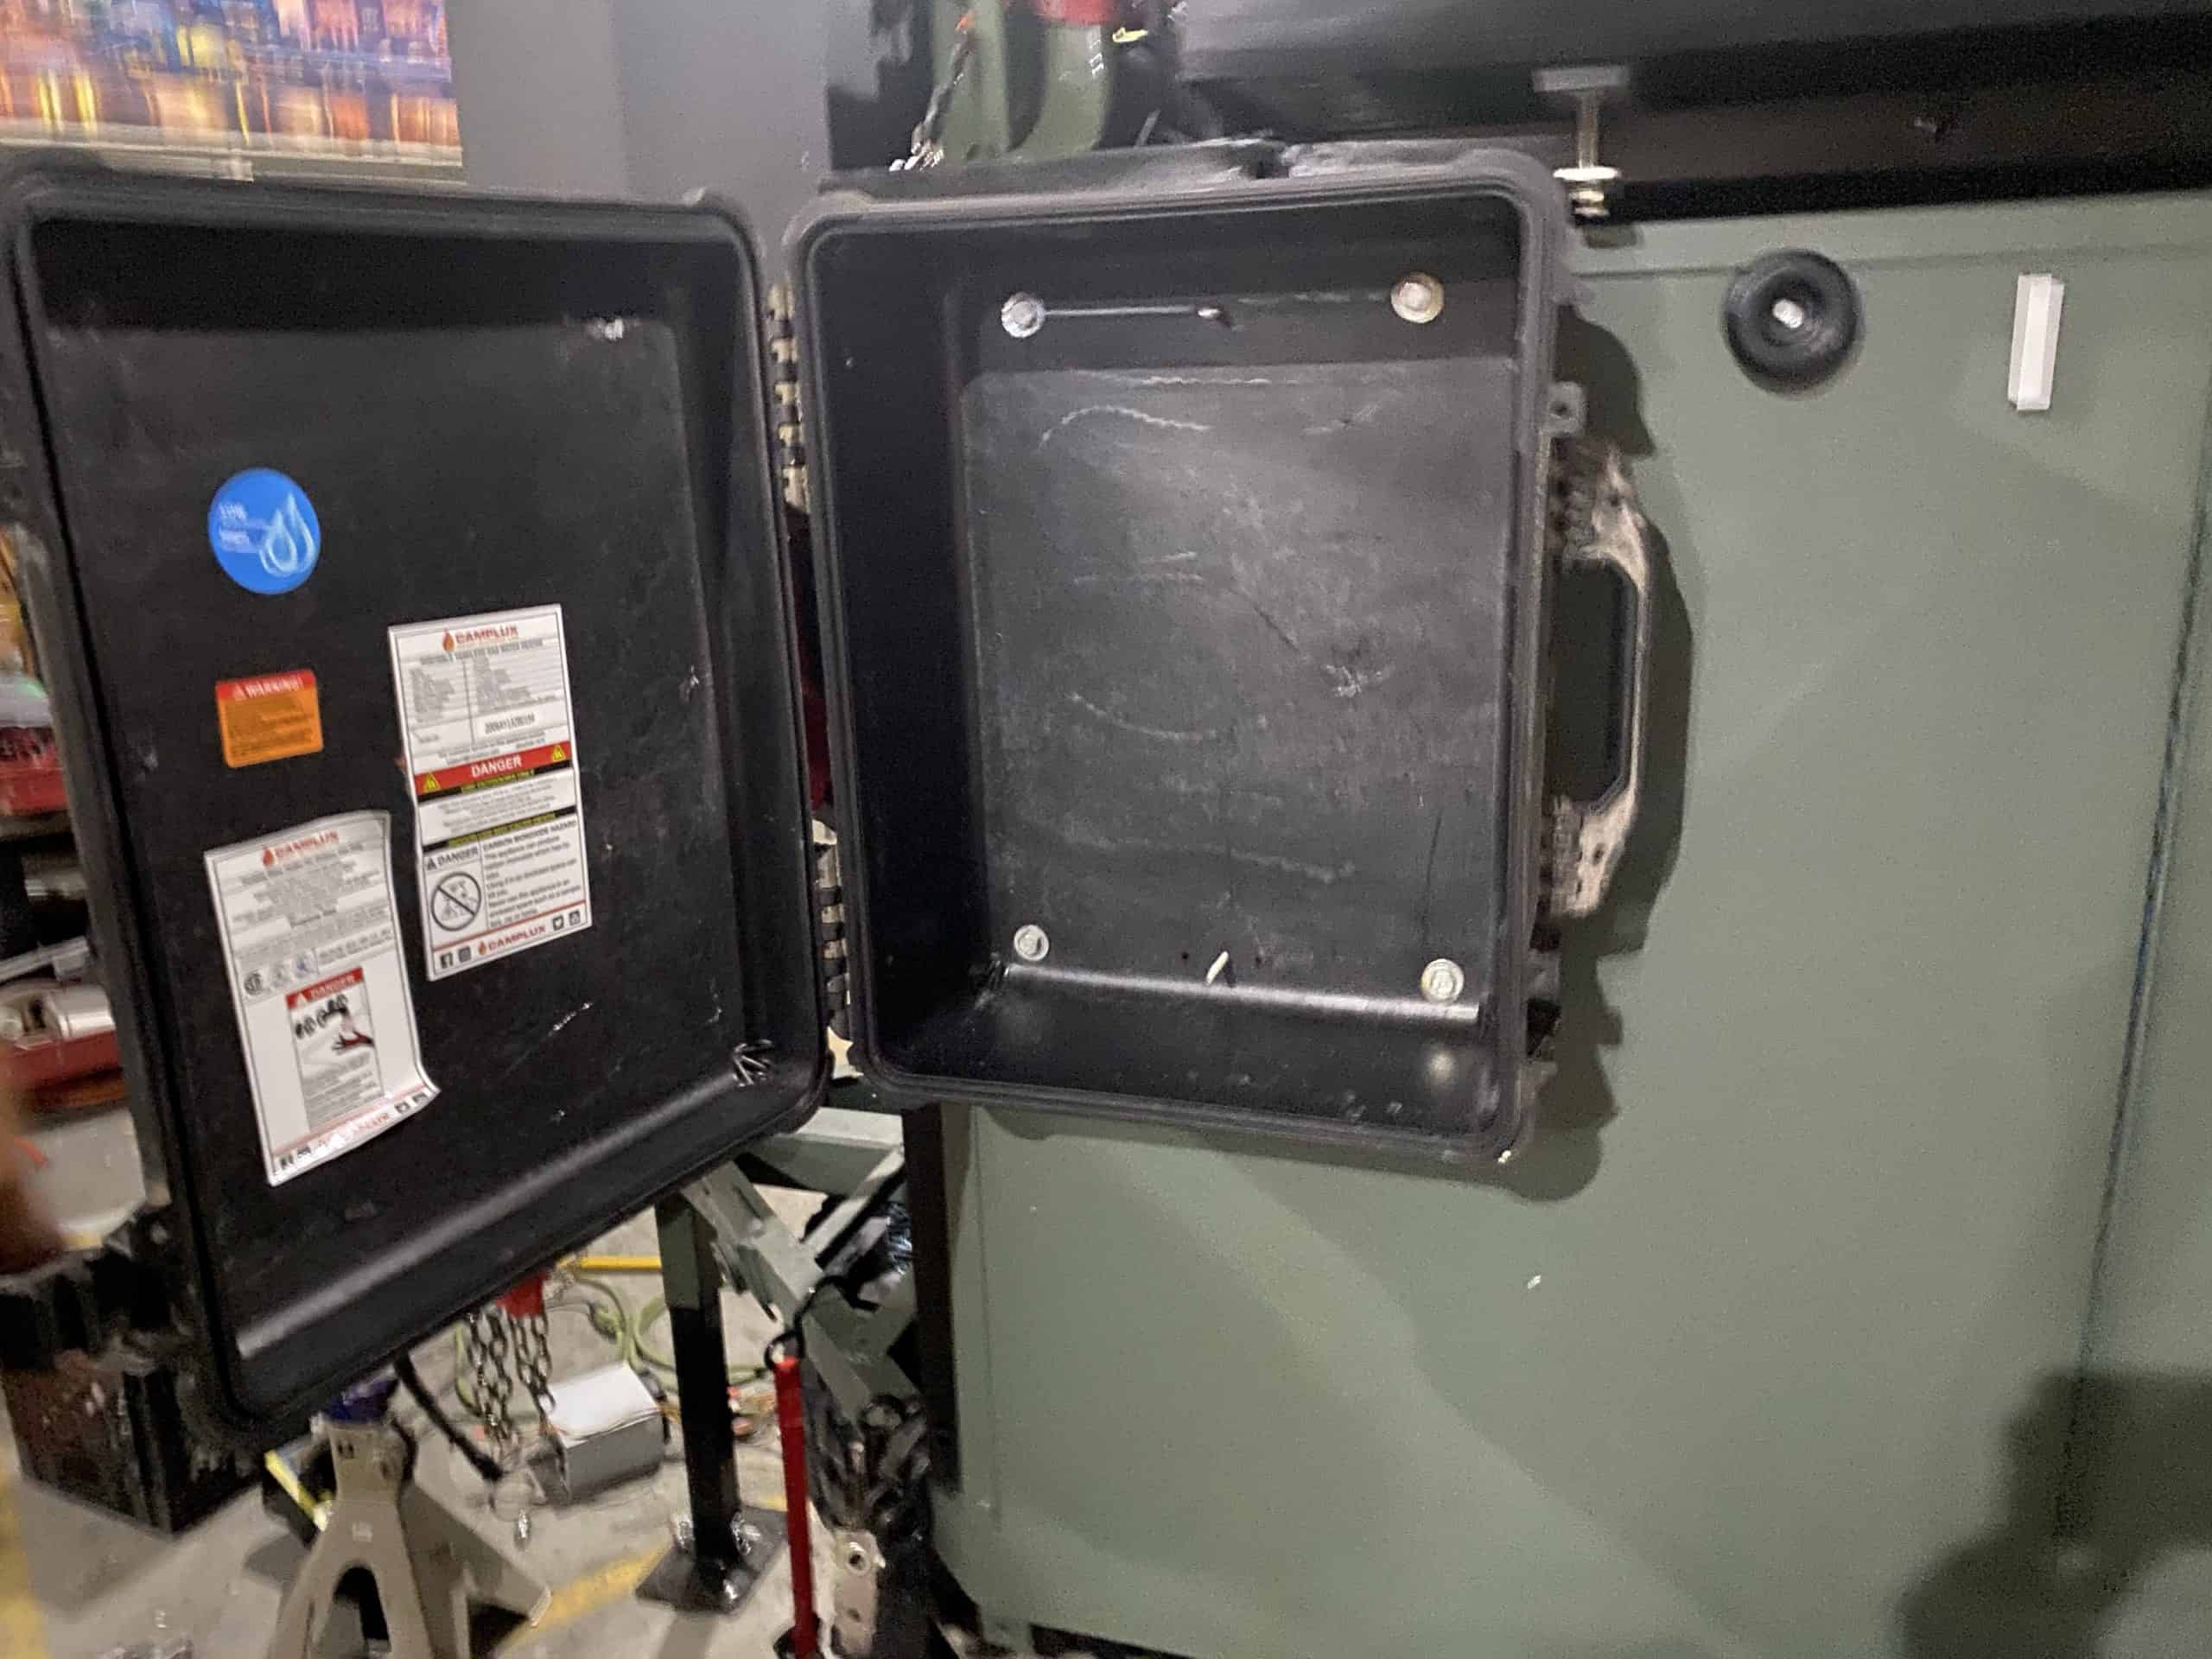
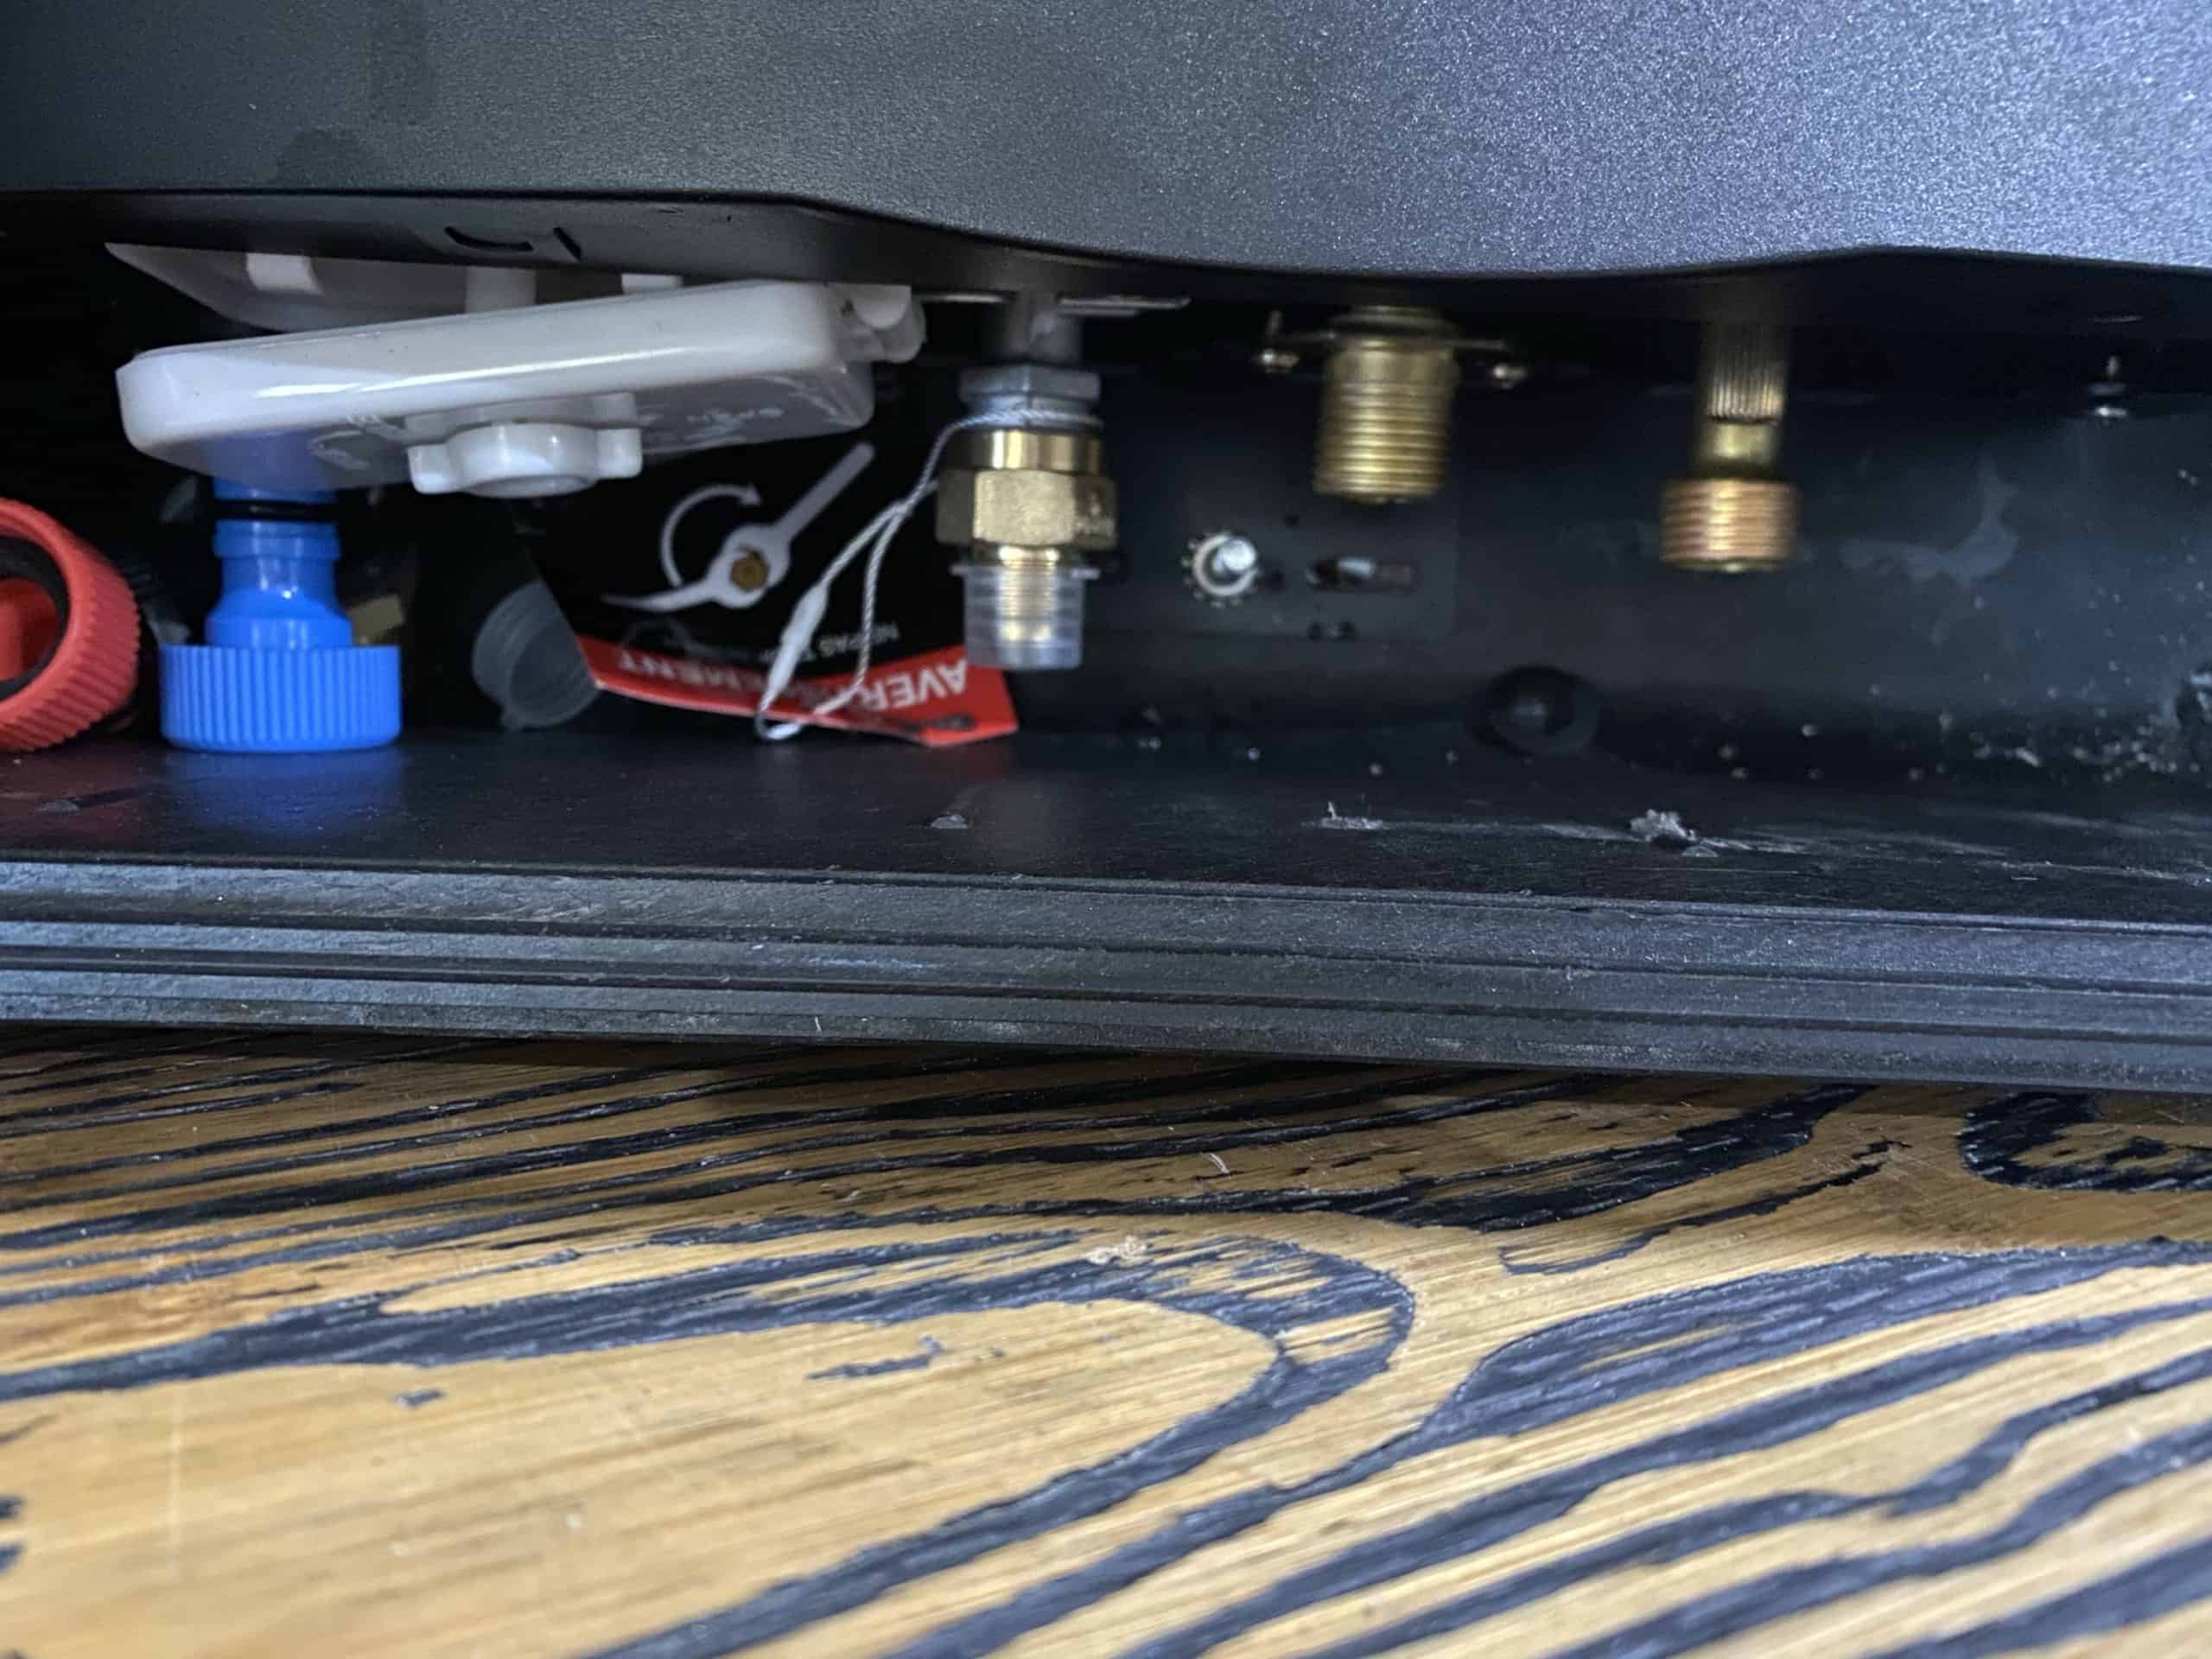
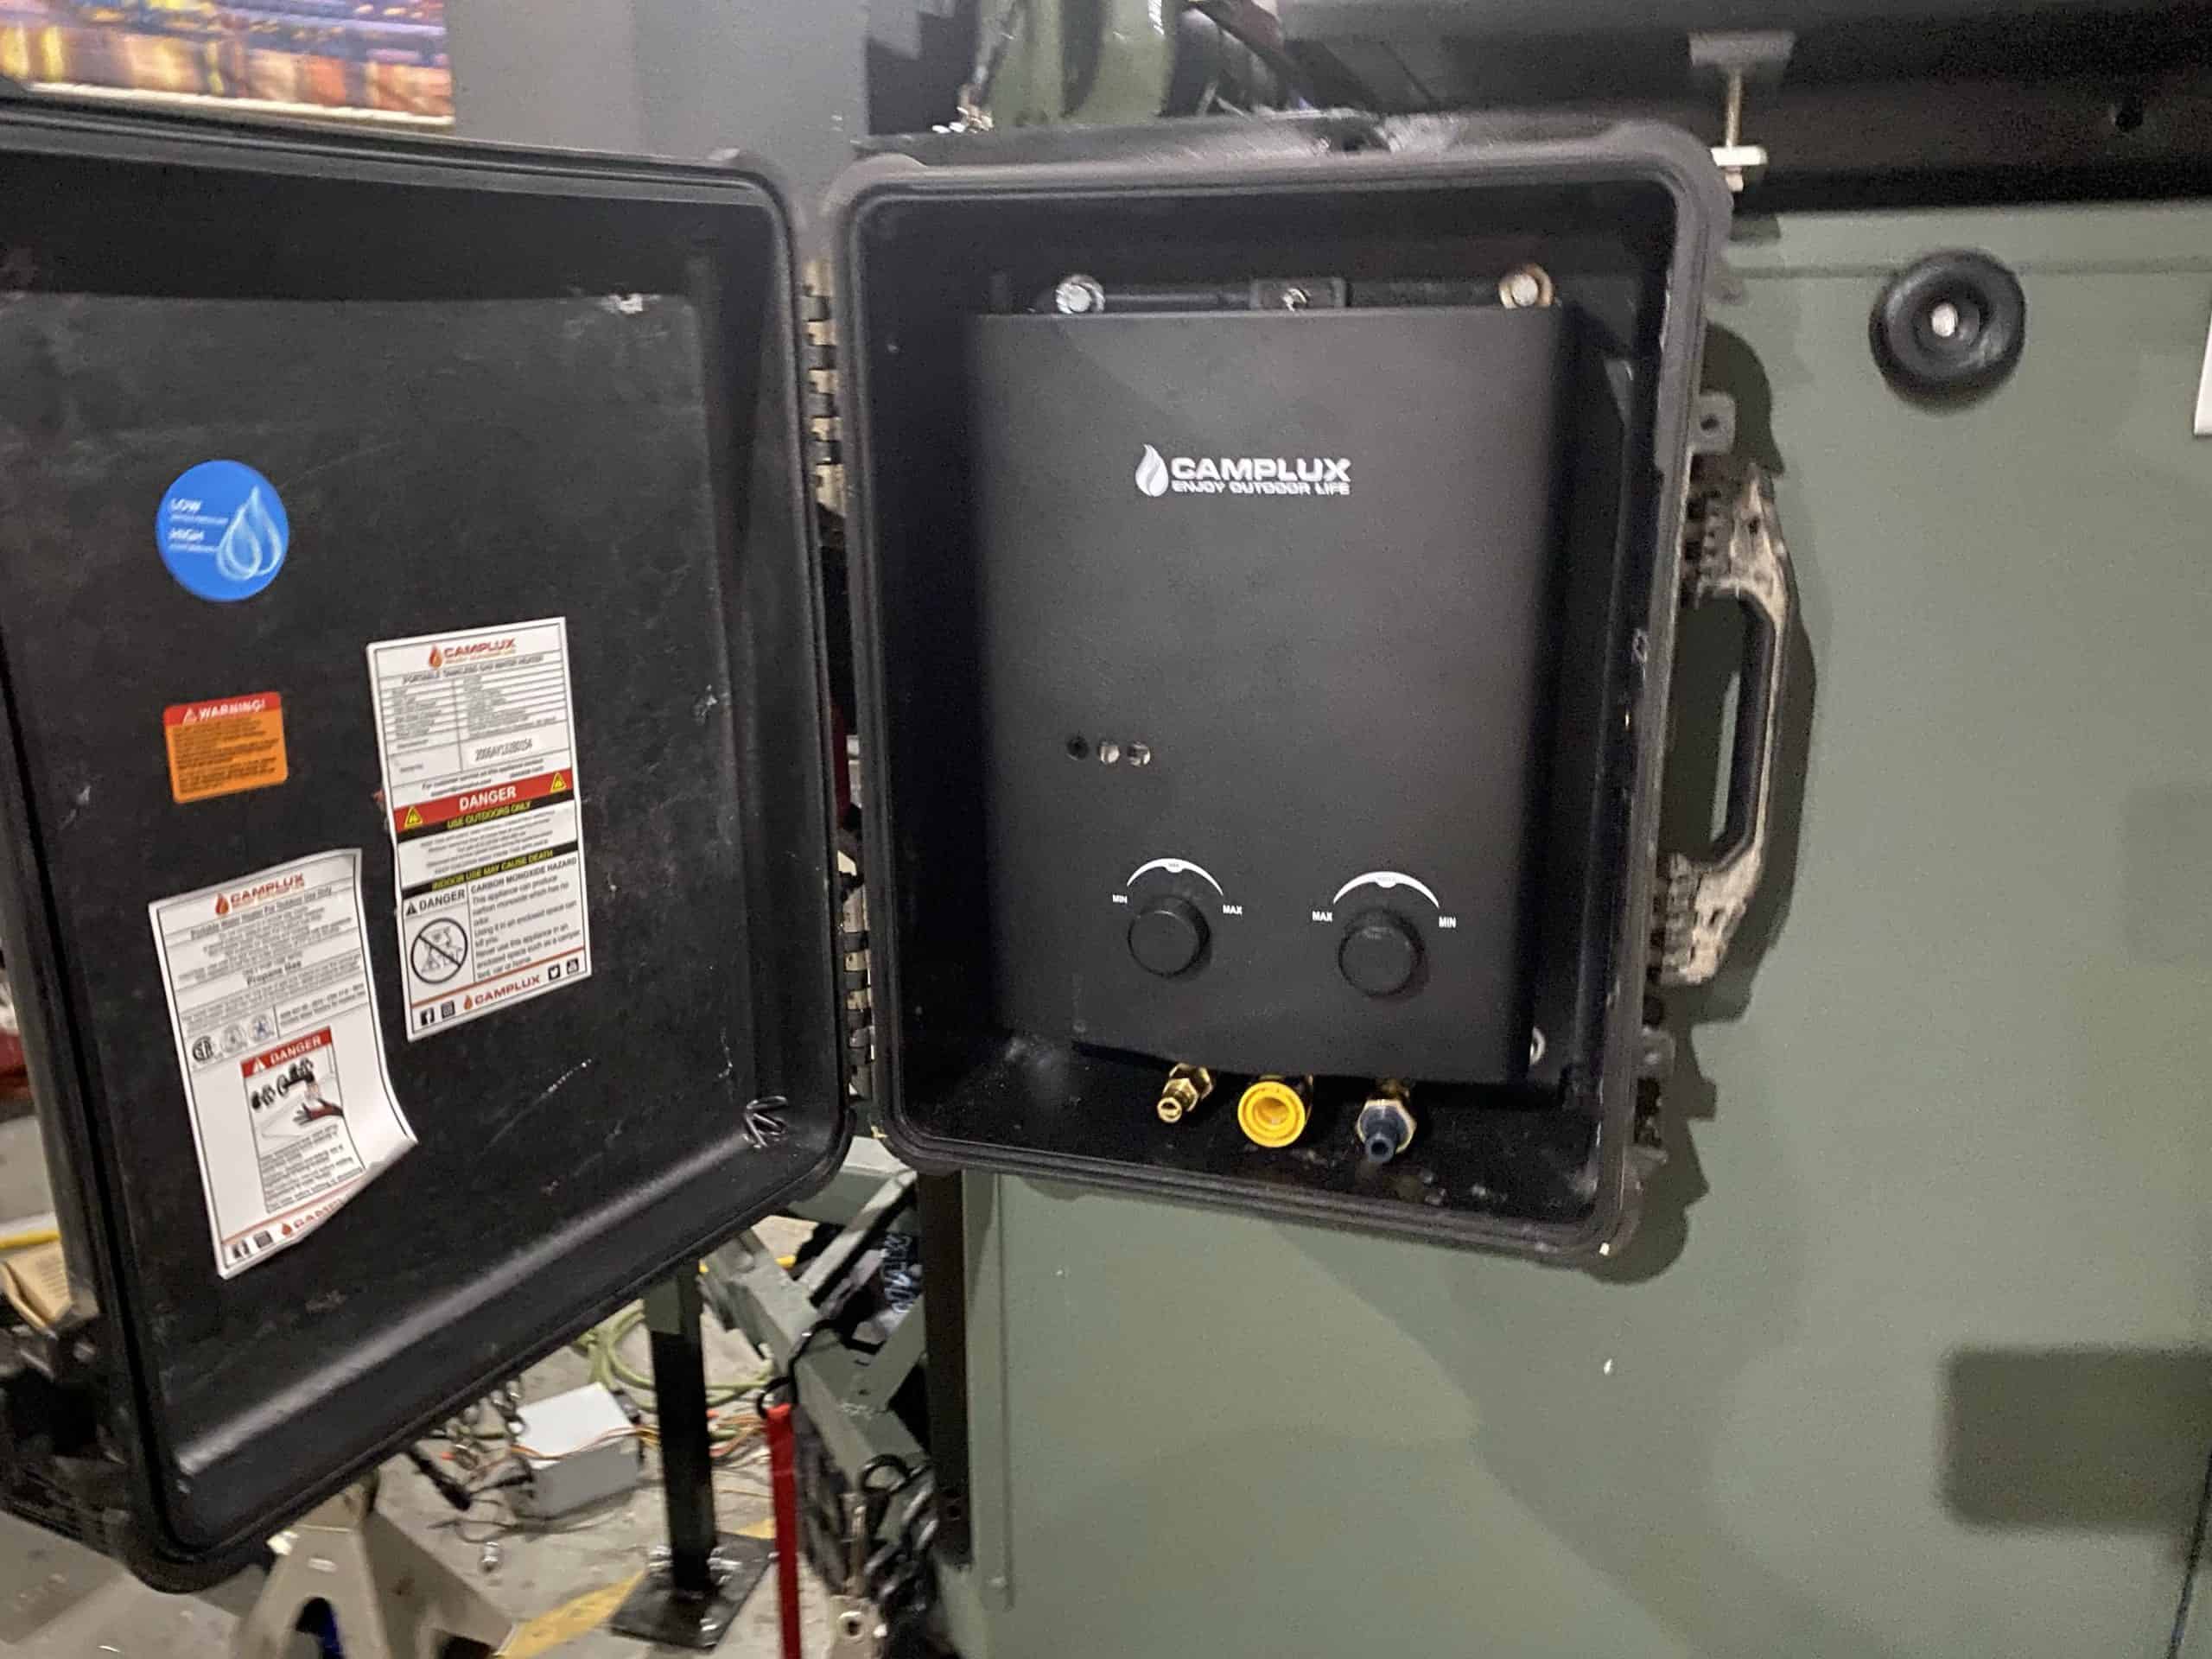
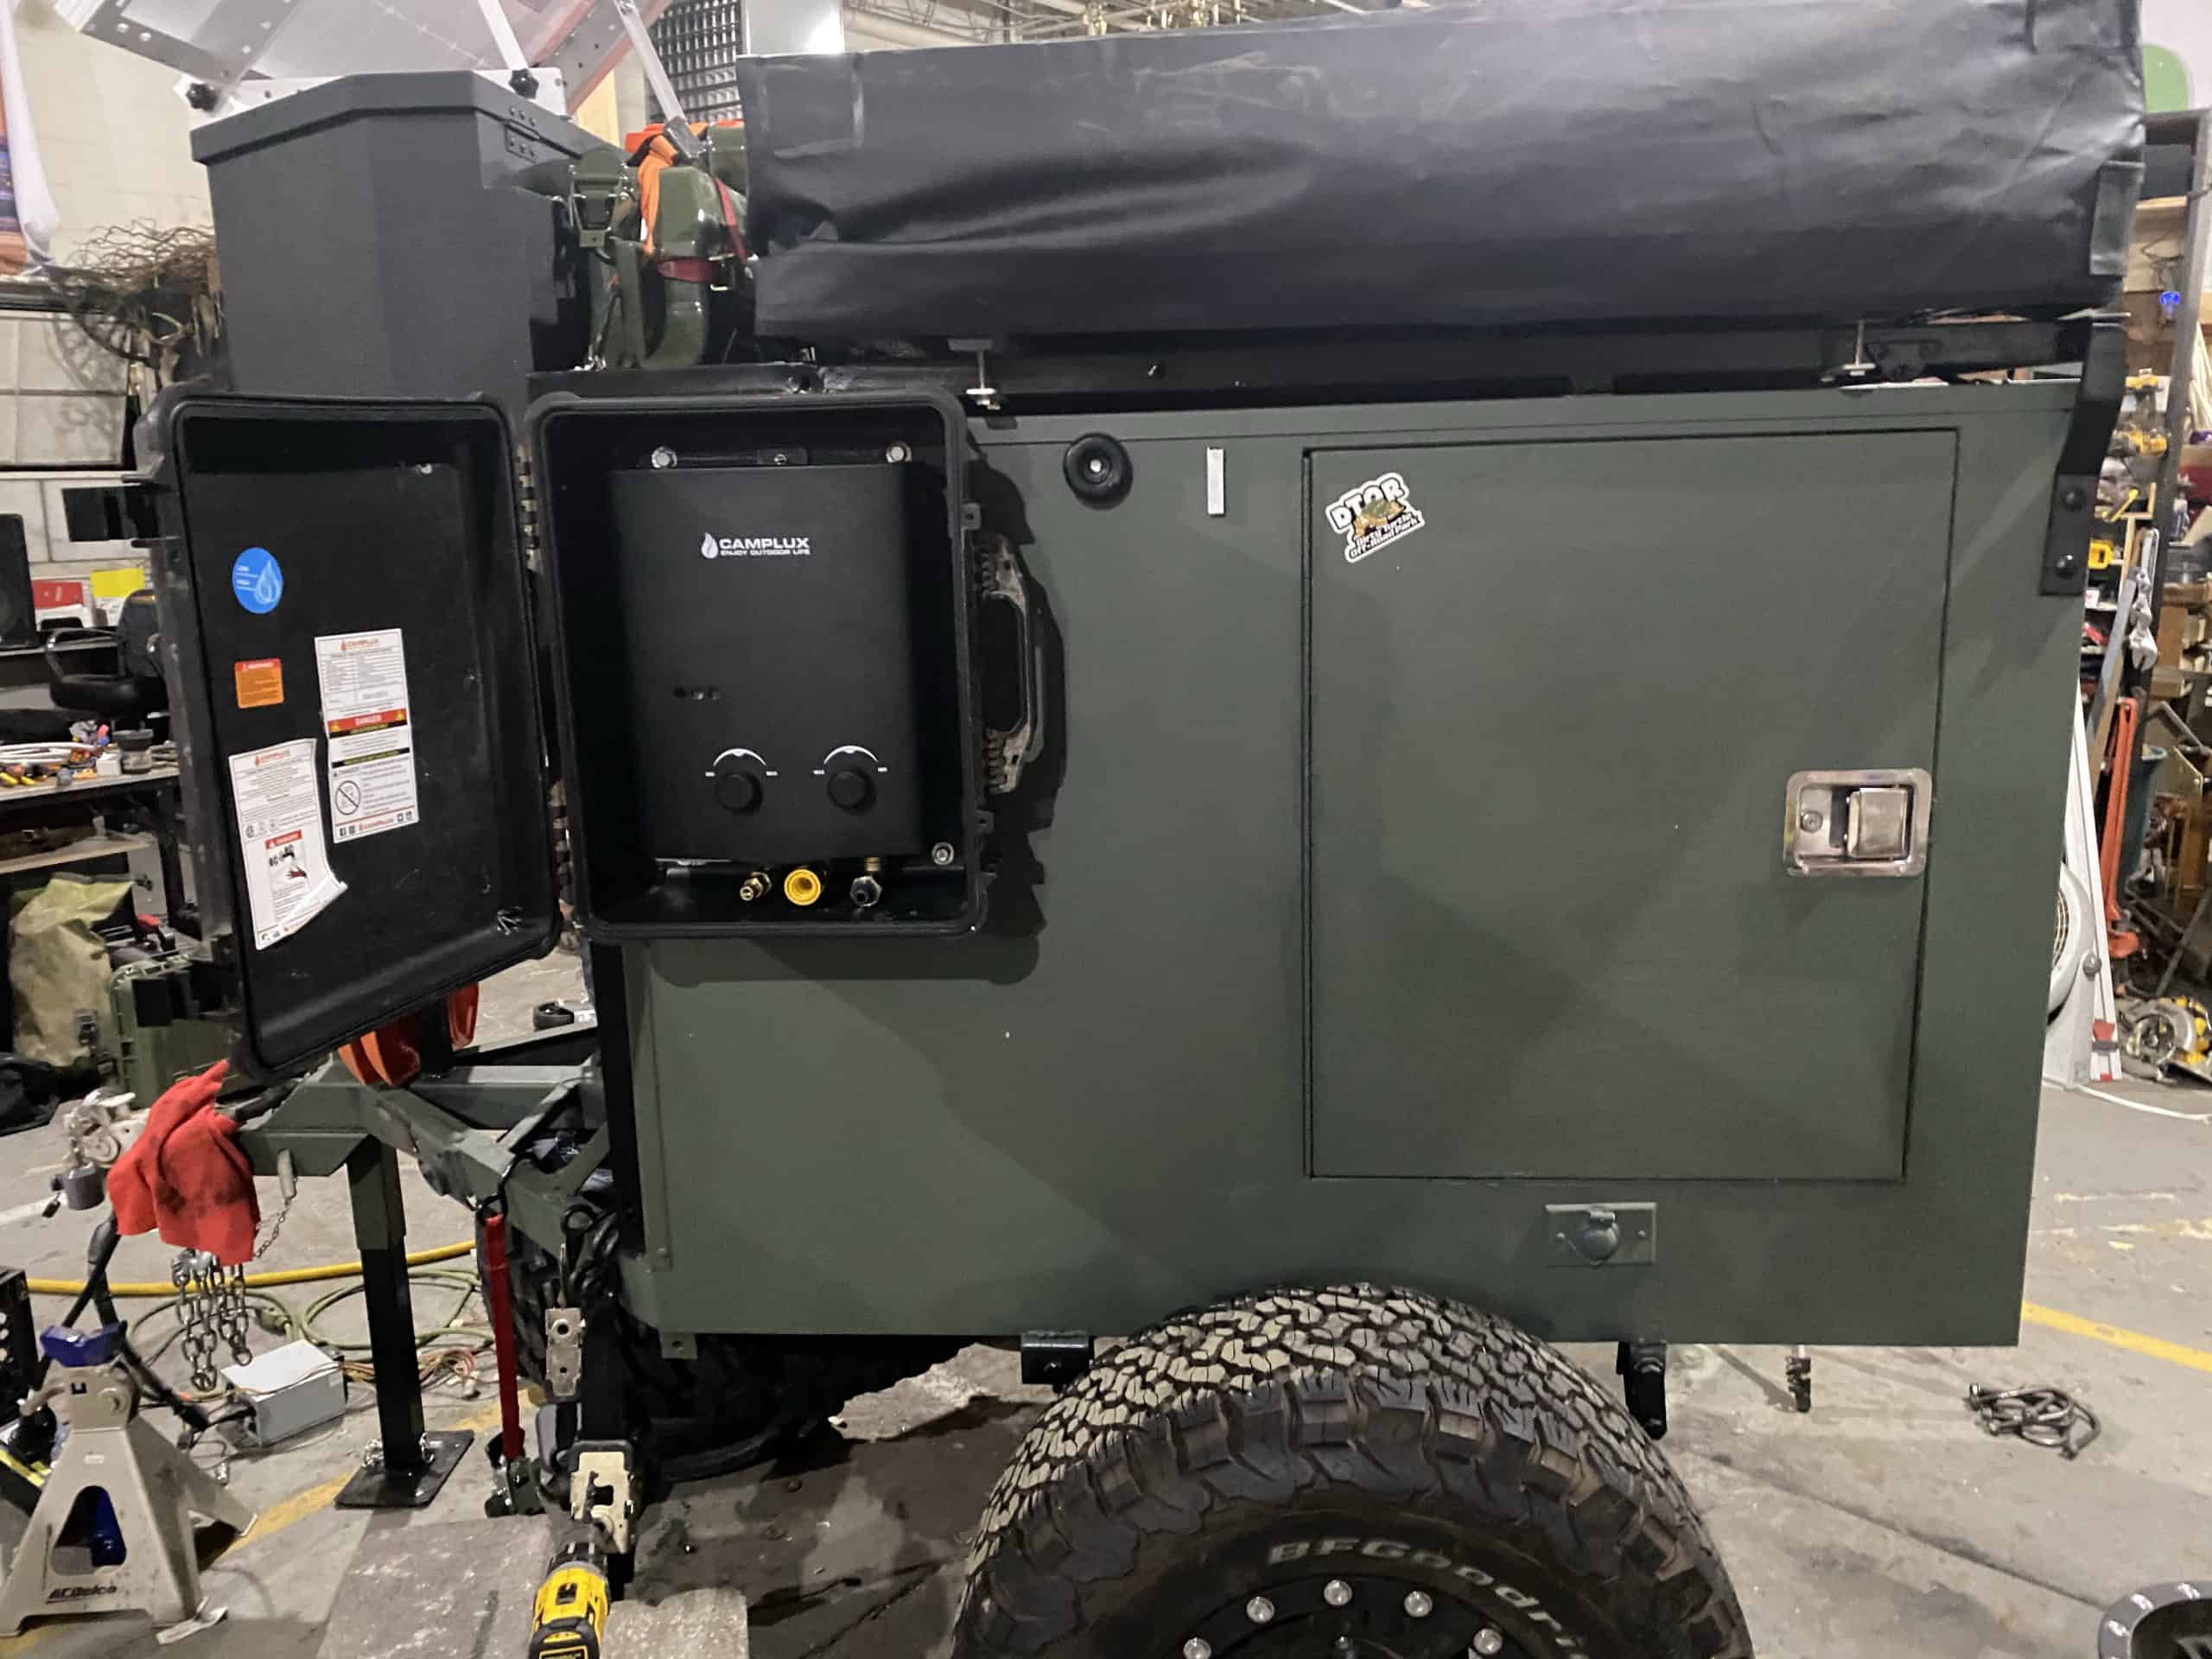
I opted to splurge for a camping water heater... I mean, not much better than a grilled filet, a cold beer, some relaxing, and a hot shower before bed.. well that's the thought anyway. I mounted it in a Pelican case I already had, bolted to the frame of the box, with quick connectors and a propane quick connect. A padlock secures it away, protected from the elements but quickly accessible, and open-air (kinda needed for a propane water heater).
/ Every Square Inch Matters
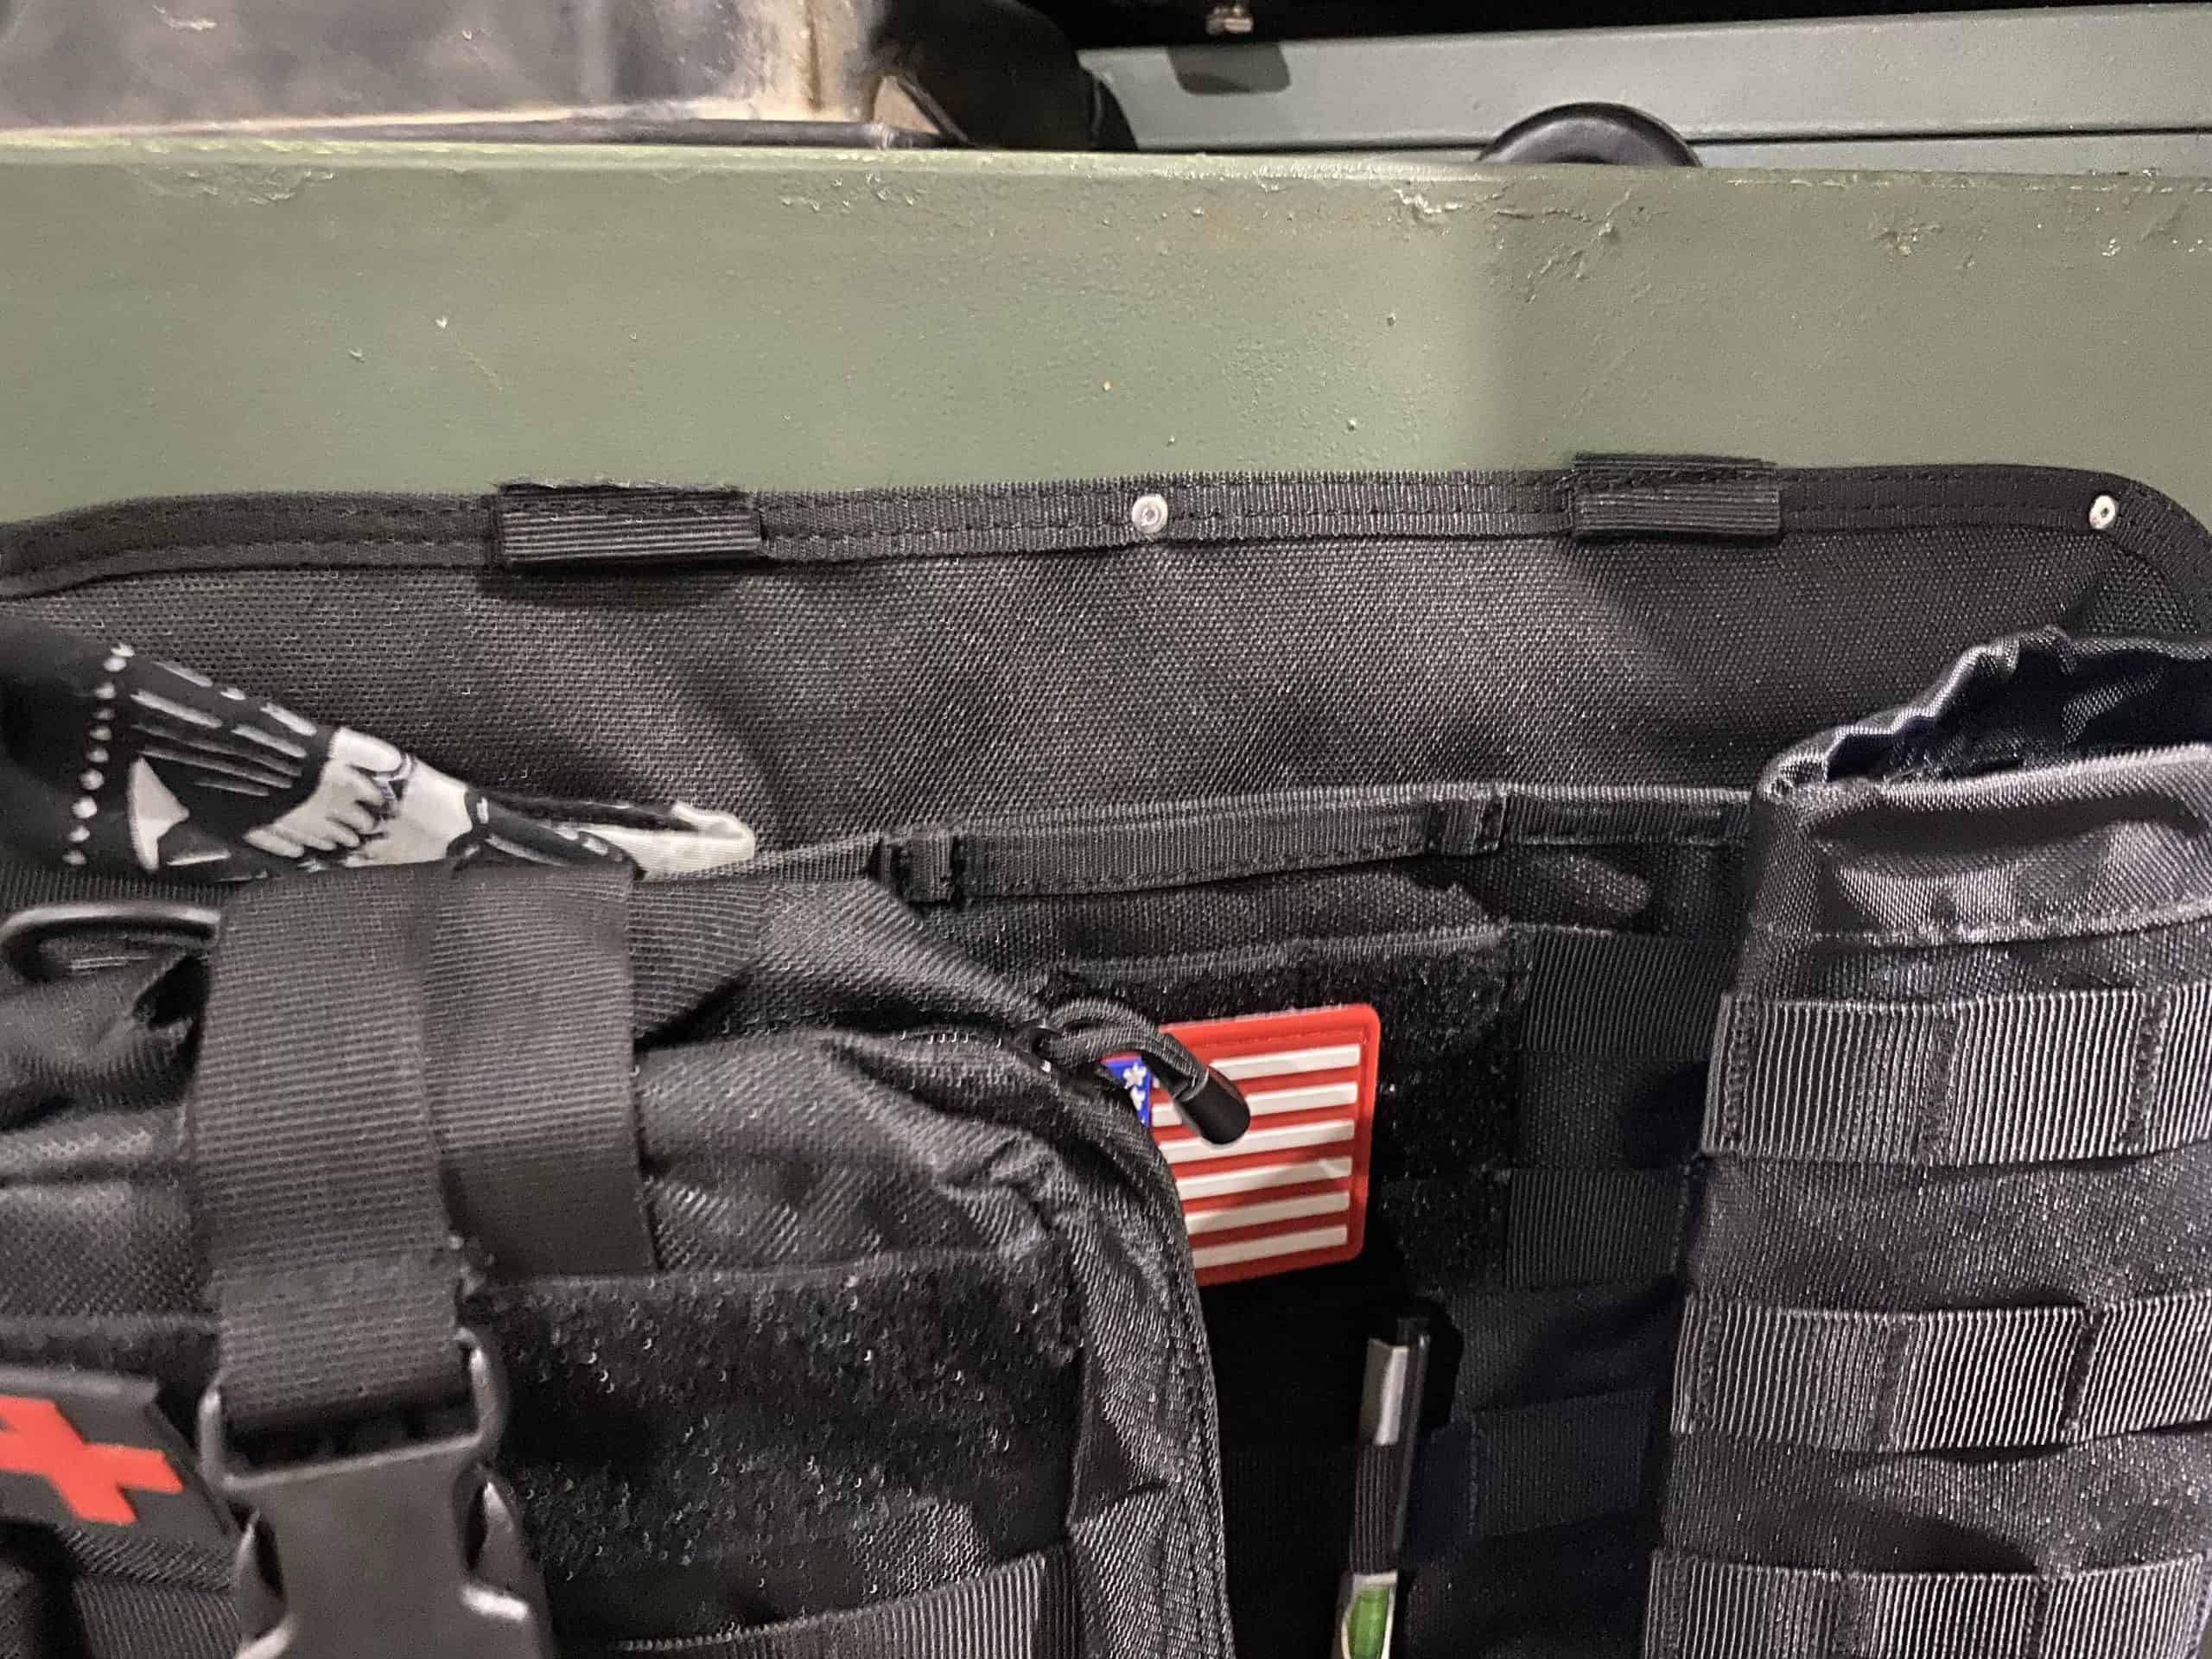
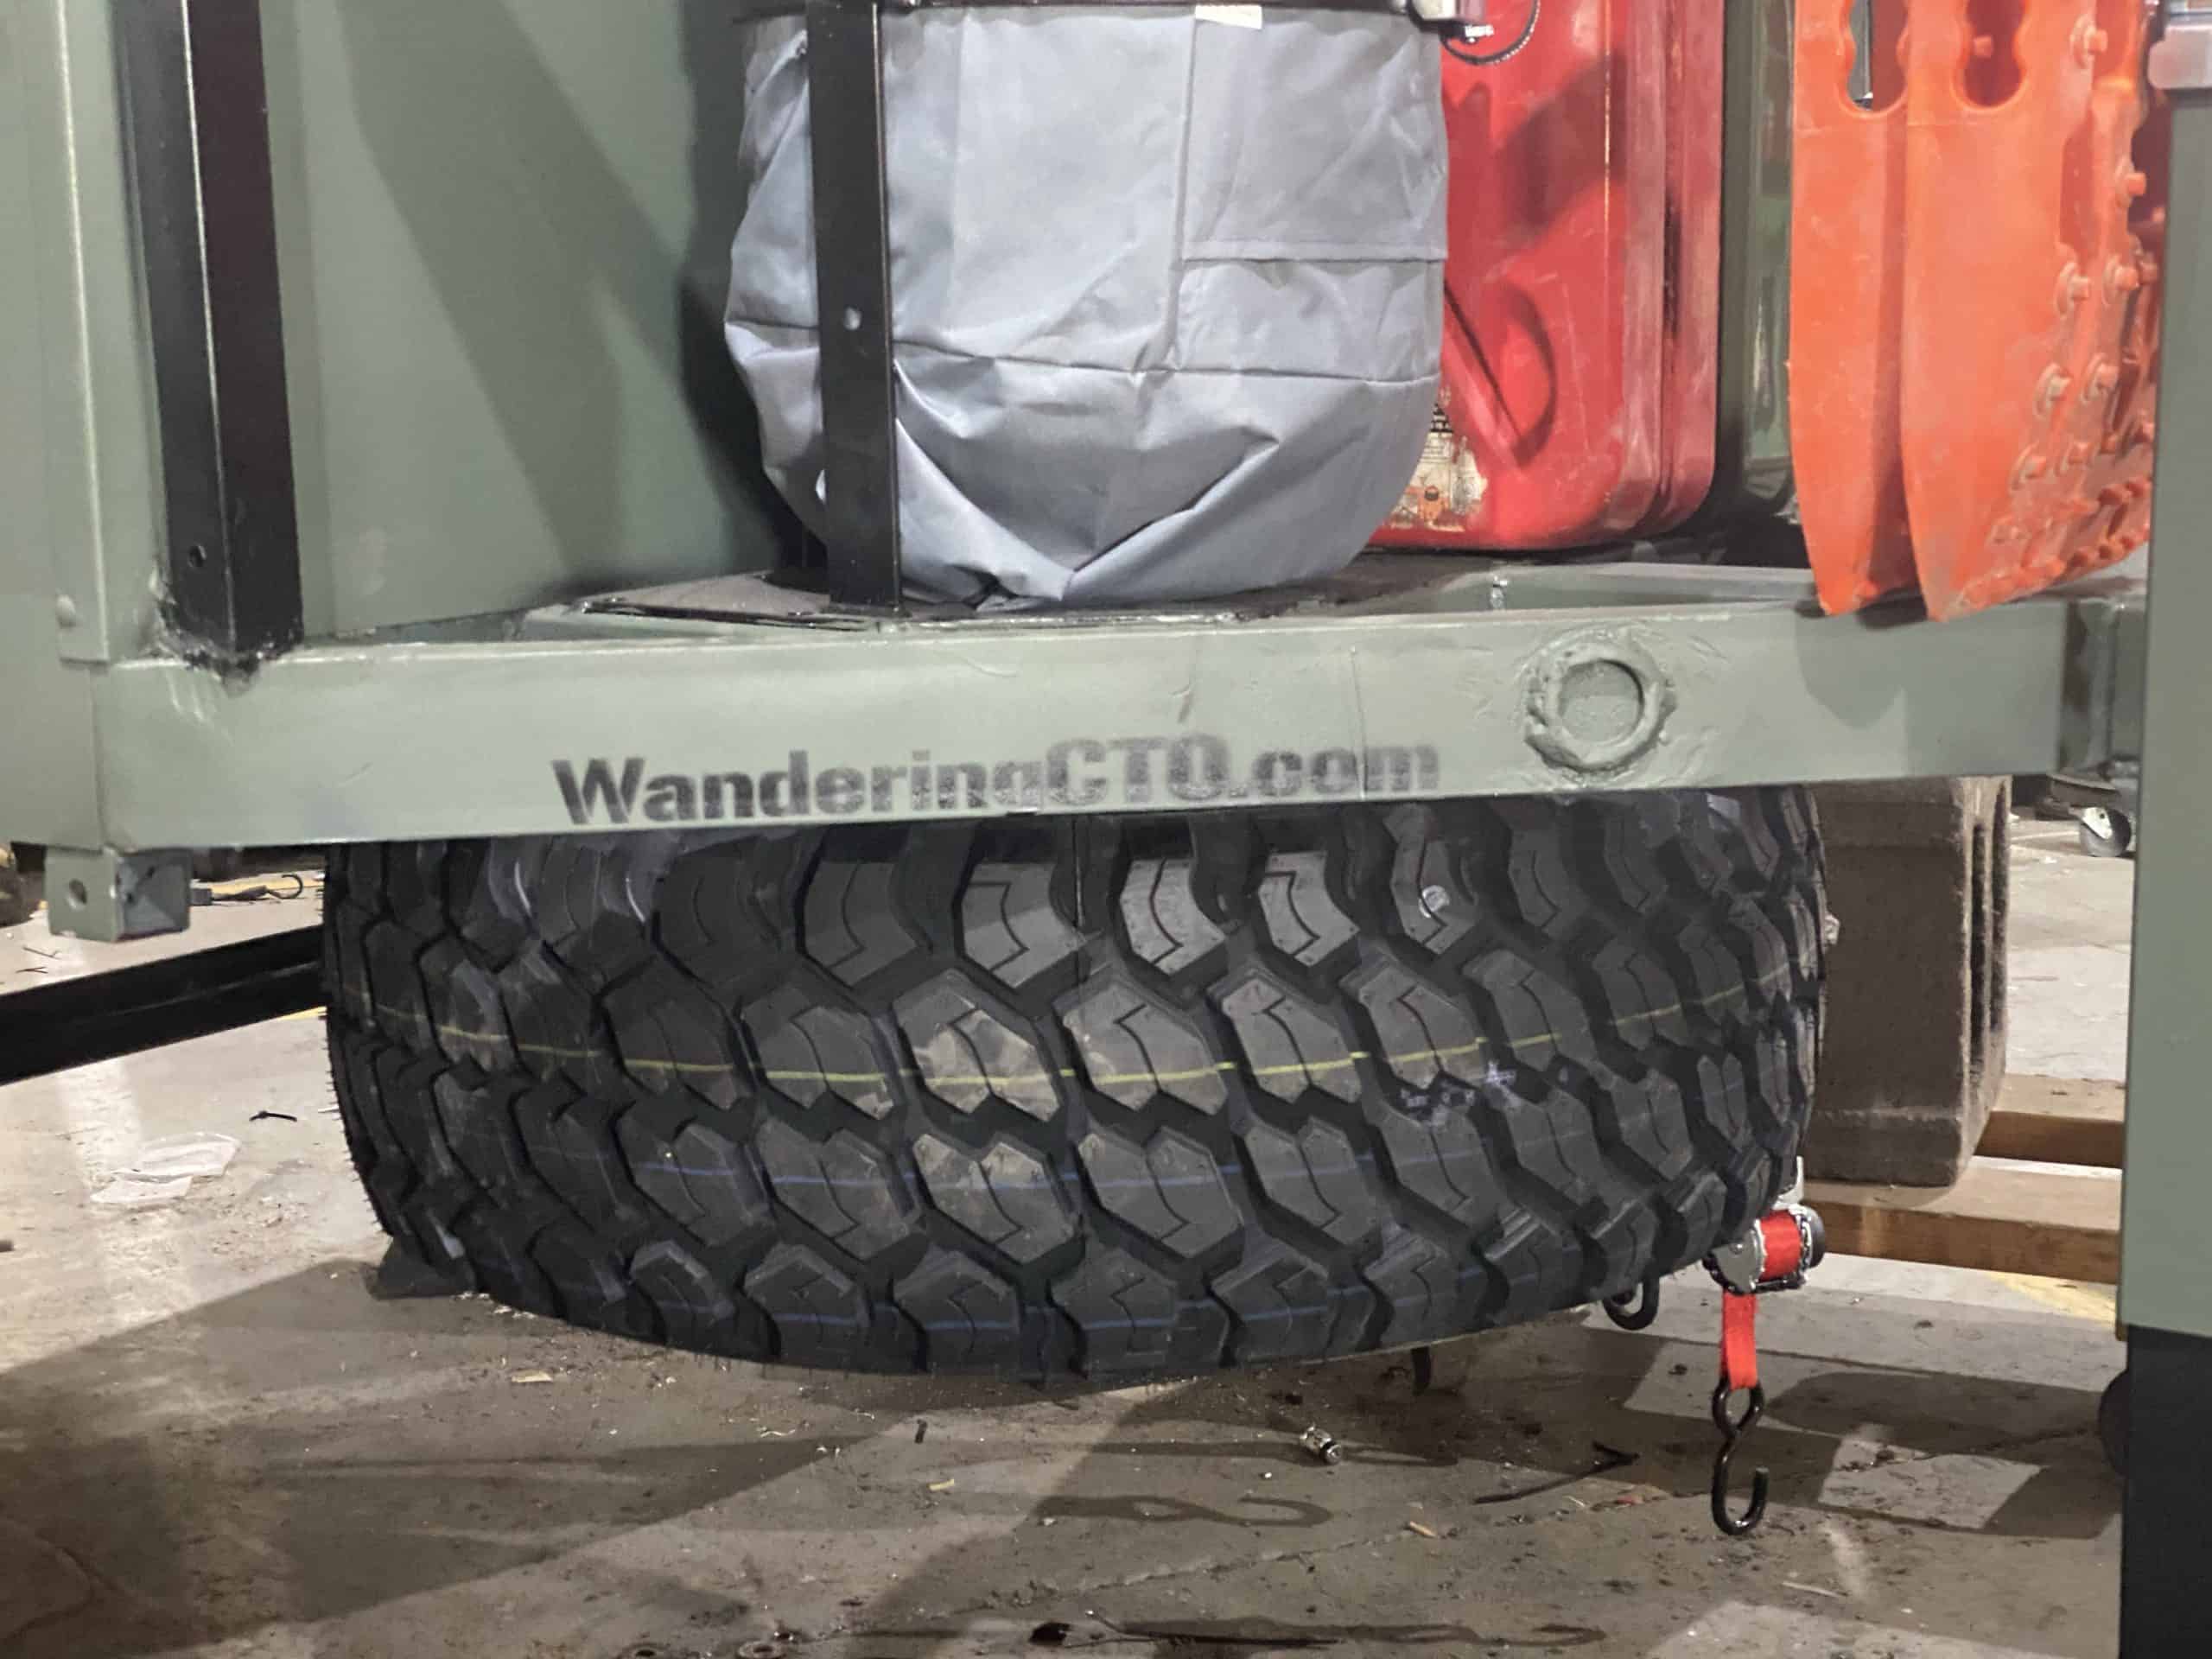
Added a chunk of cargo net to keep things in place in the front nose, riveted a "back seat" organizer to the door (unused space!), and mounted a spare tire underneath. I like it.
/ Charging From the Tow Vehicle
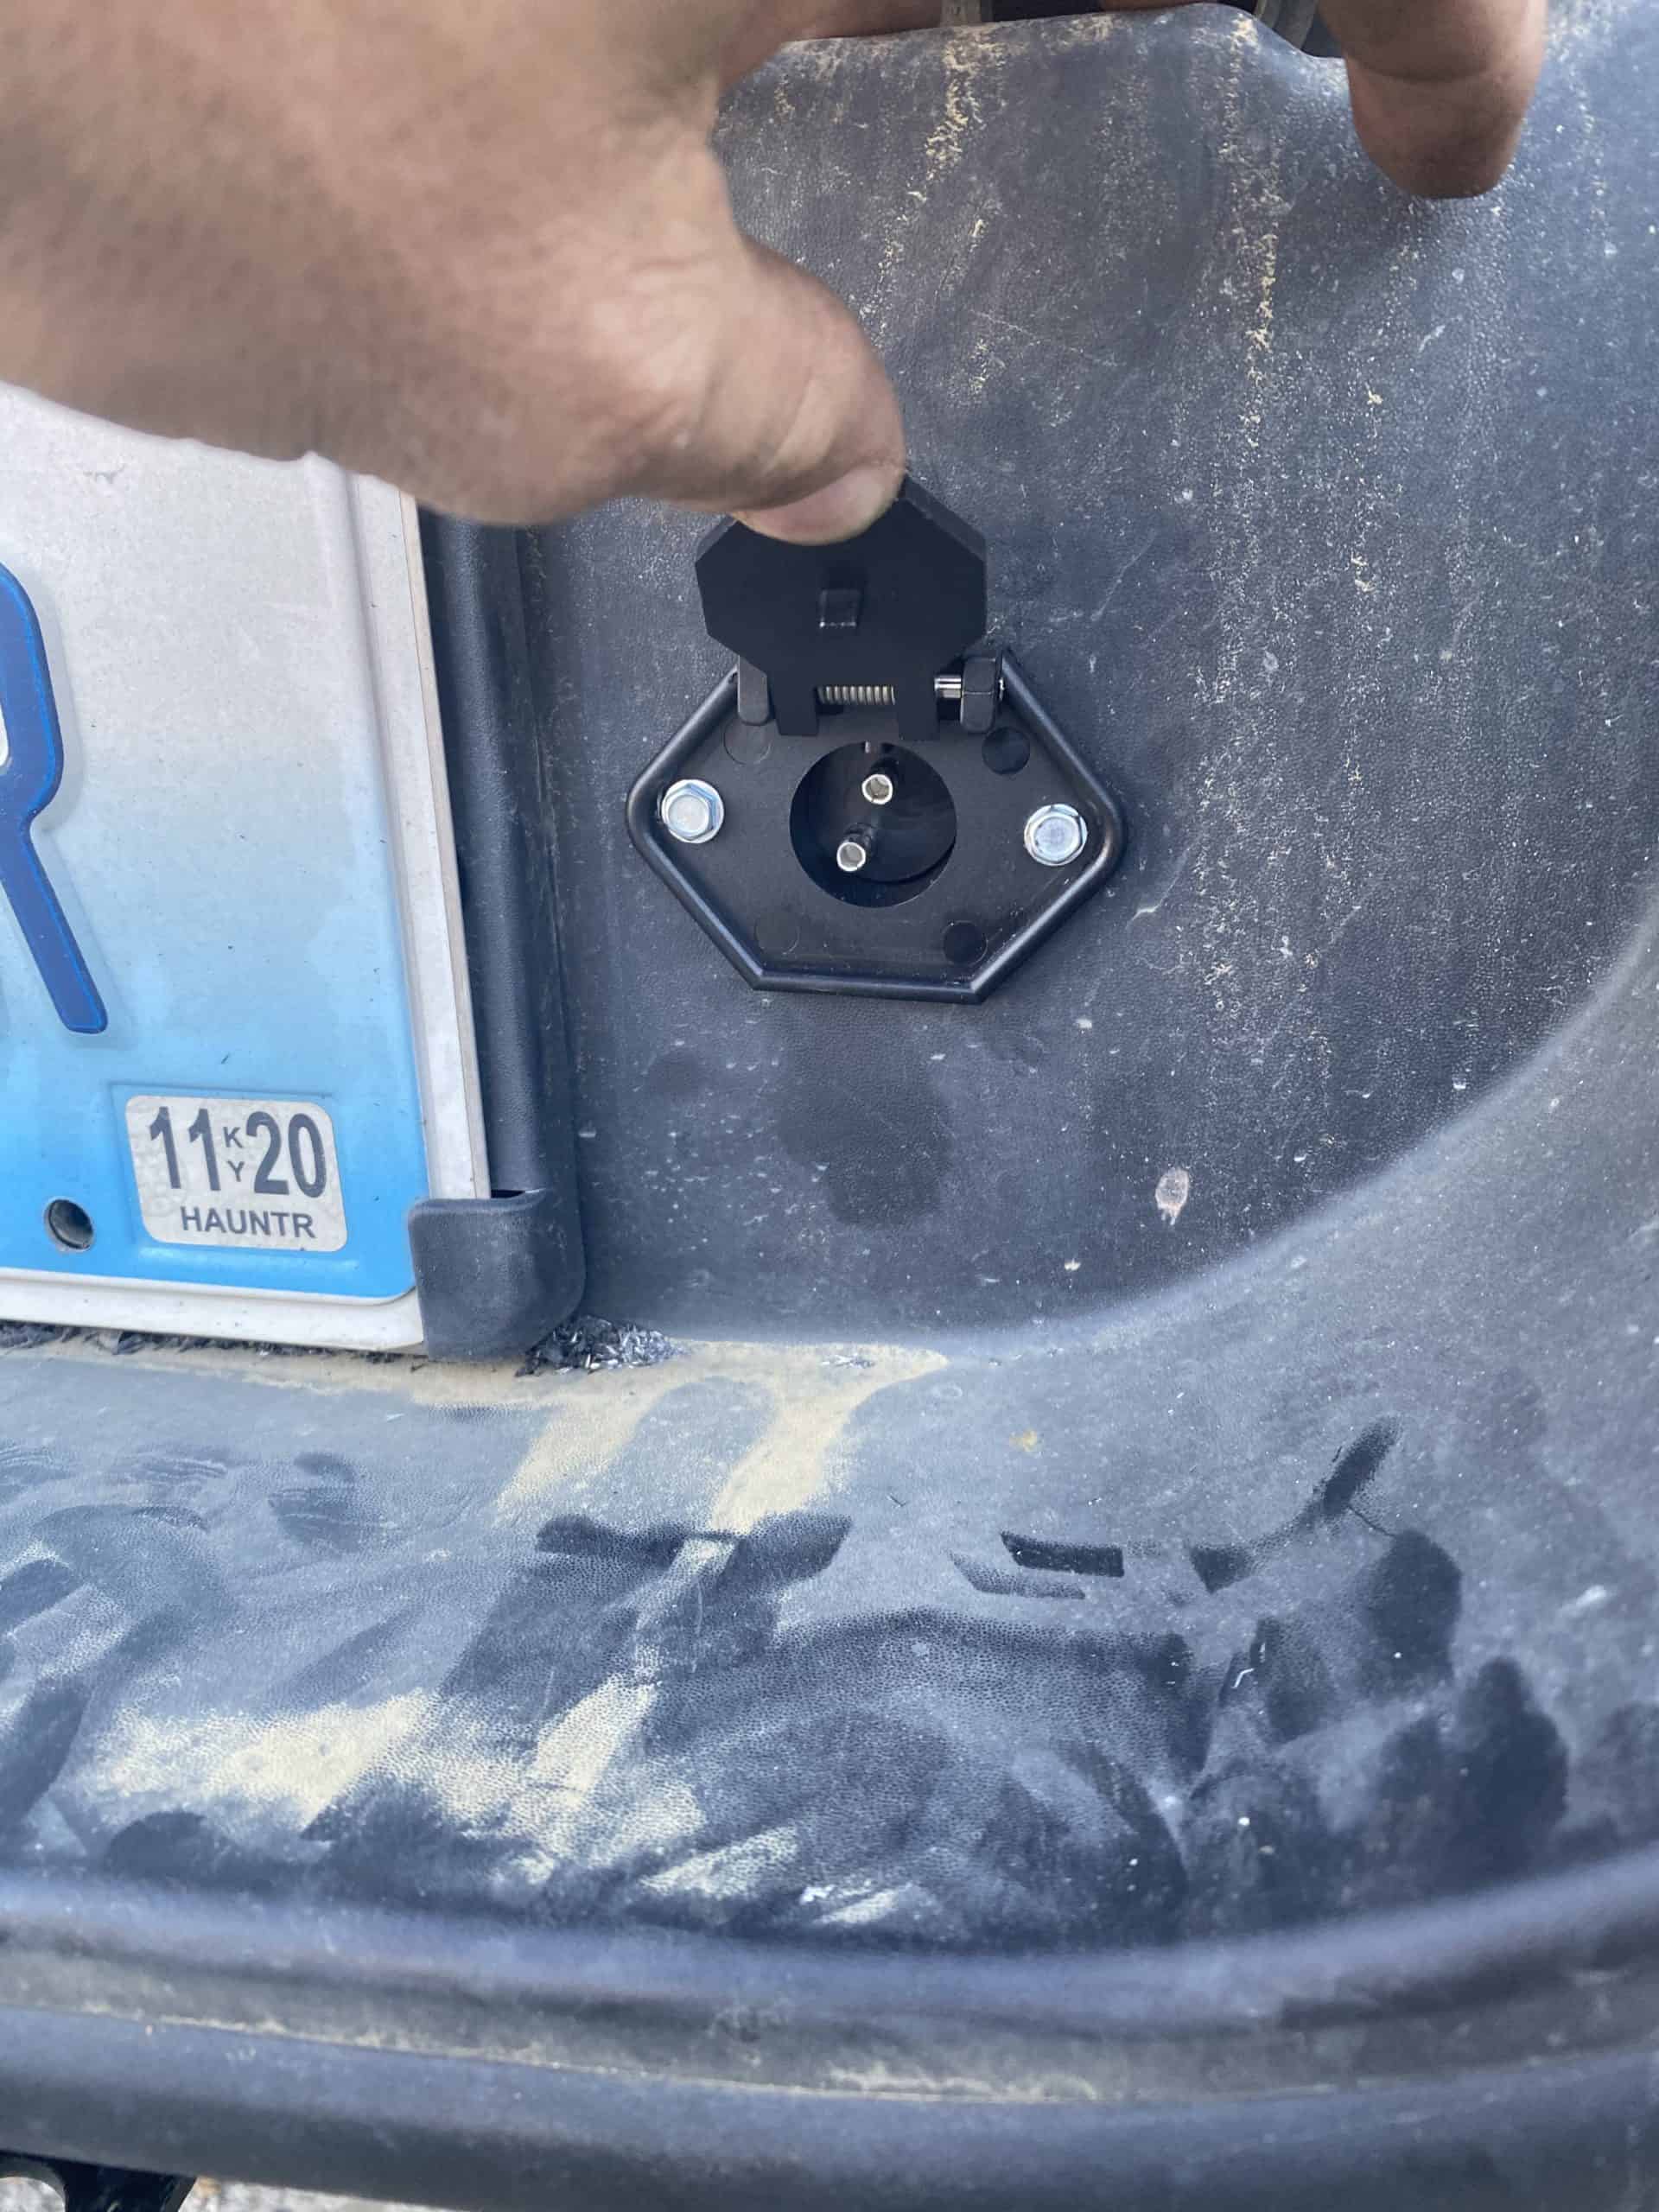
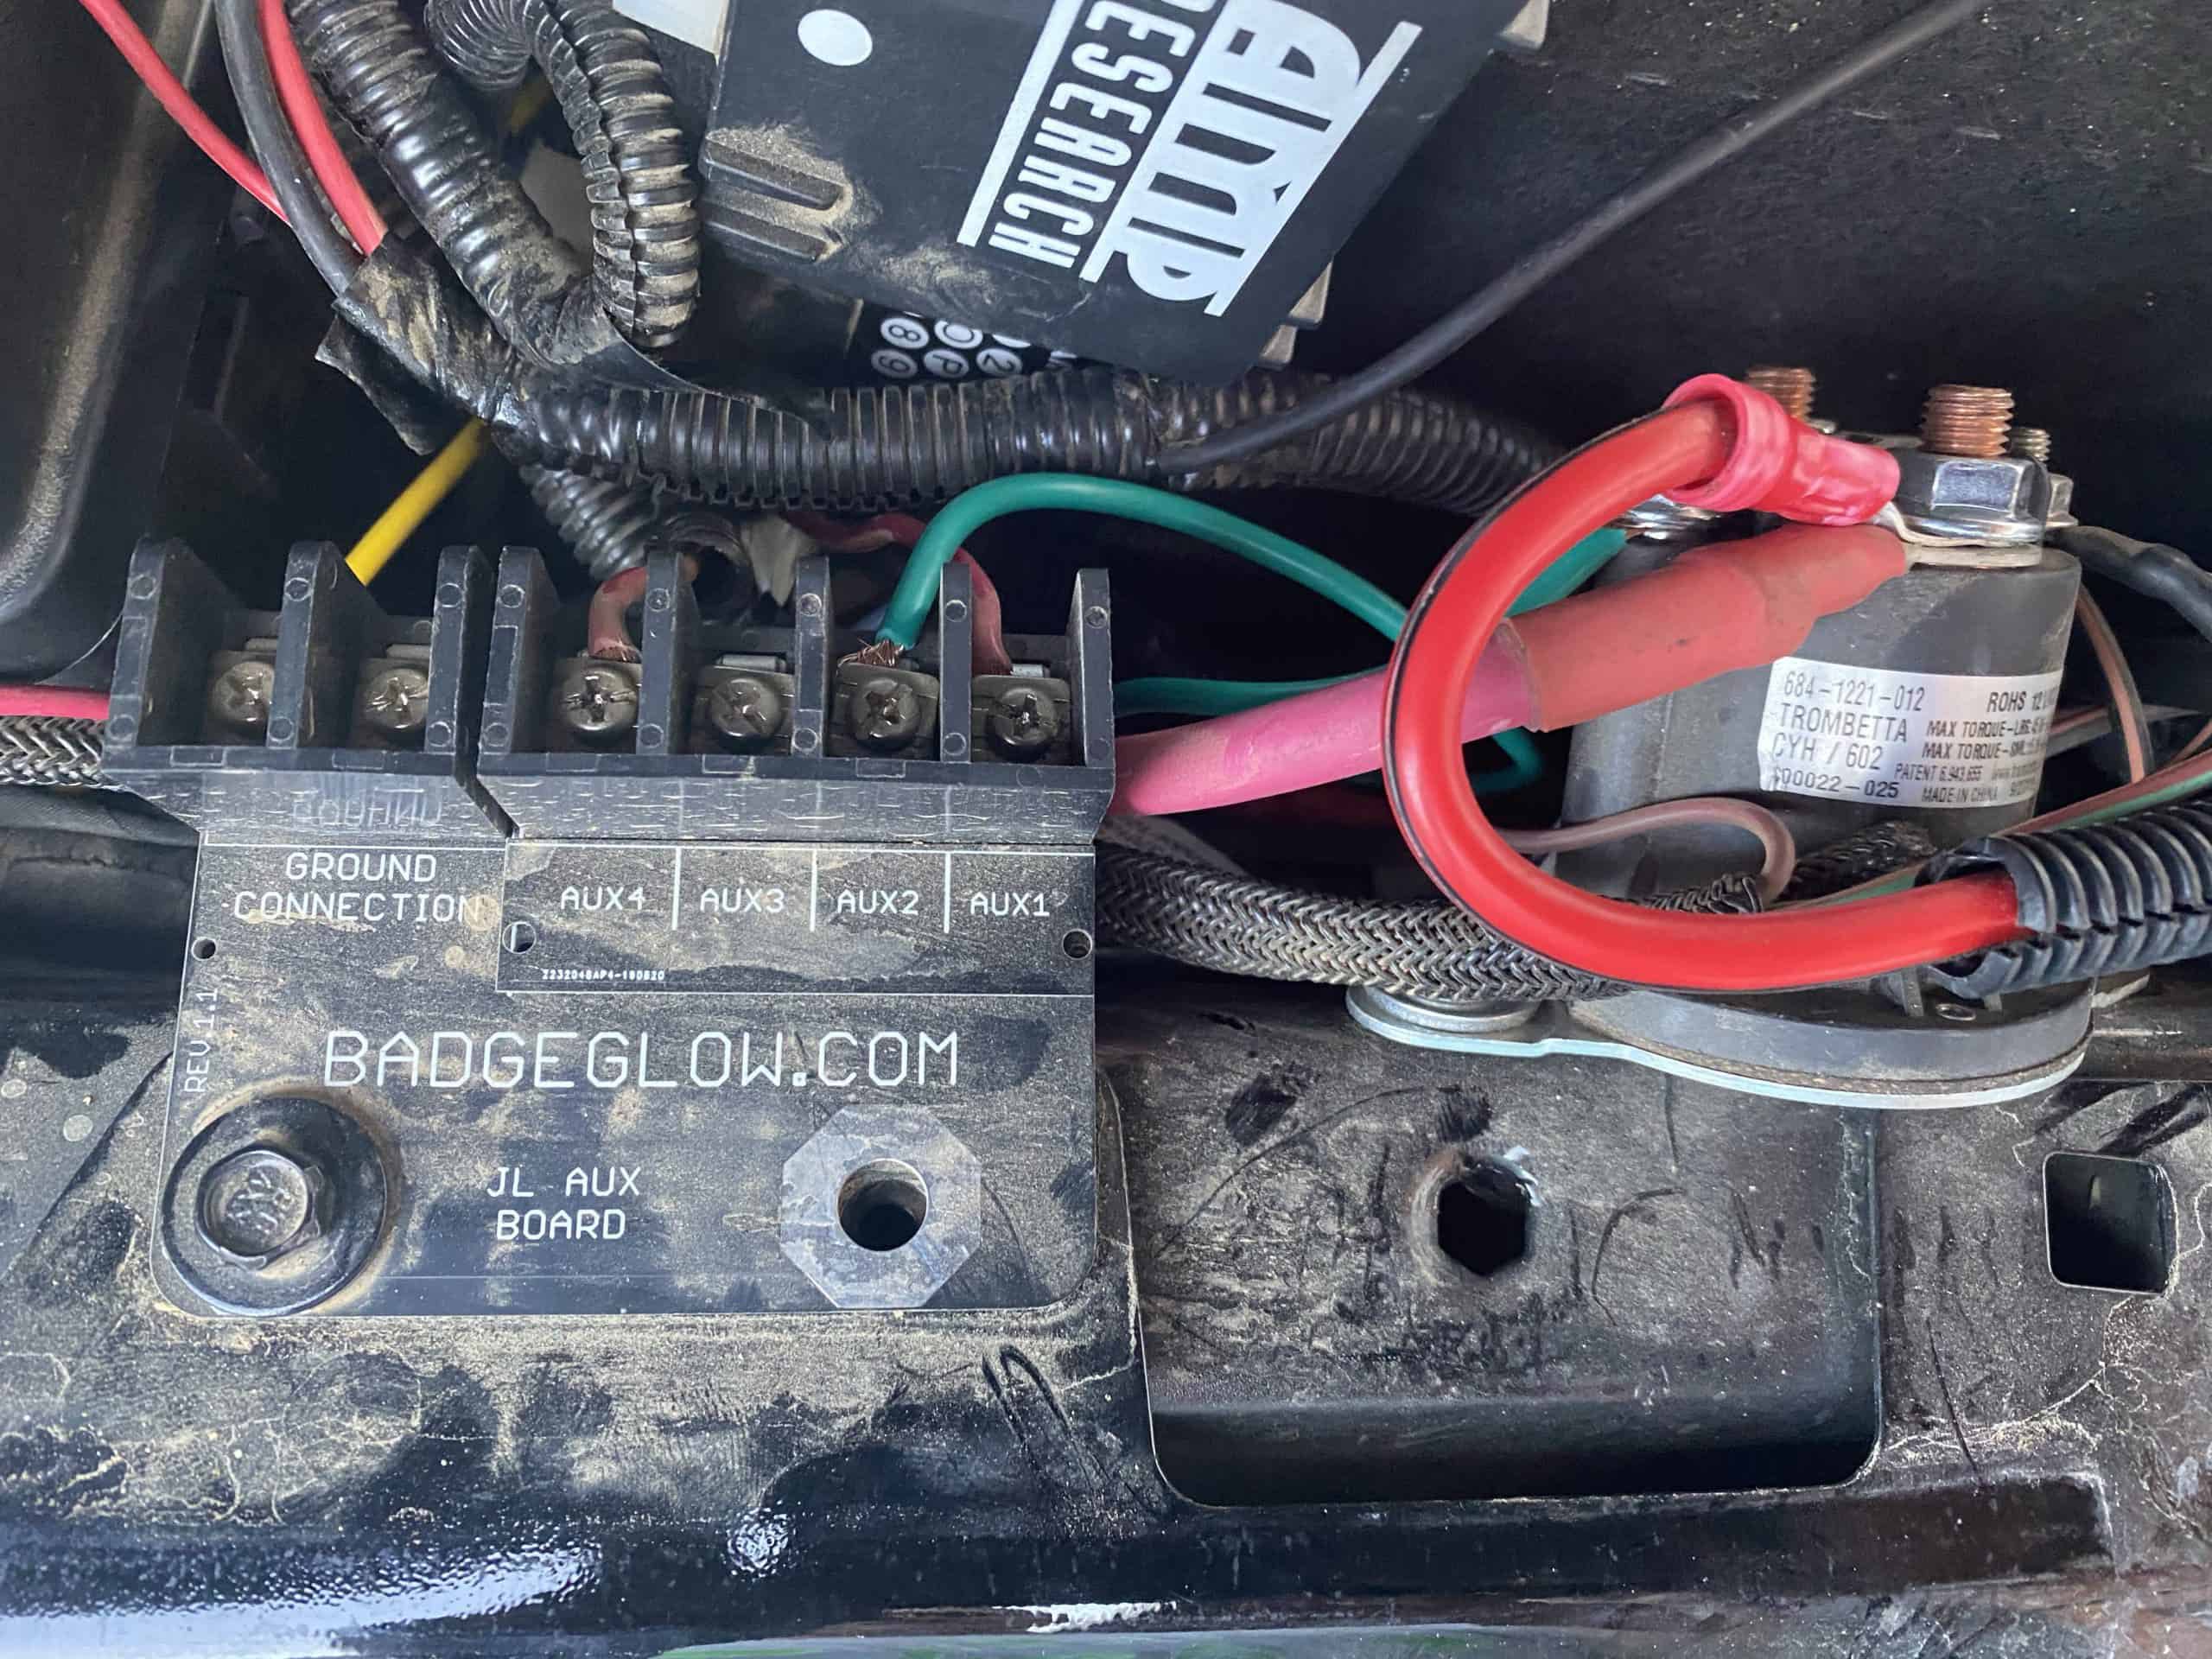
If the solar was ever not working as desired, I wanted a way to charge the trailer battery from the vehicle alternator — I hit an aux switch on my dash and it connects the trailer to the car battery. This deserved a separate post with more details: Trailer Battery Connection to my Tow Vehicle.
I'm not done yet.. so more to come..